How to Fix a Dripping Kitchen Faucet in 10 Easy Steps
Dealing with a dripping kitchen faucet can be incredibly frustrating. If you’ve noticed that constant drip, drip, drip, you’re not alone—many people struggle with this annoying problem. Not only does it waste water, but it can also drive up your utility bills and cause annoying noises.
Luckily, fixing a dripping kitchen faucet is something you can often tackle yourself with a few simple tools and a bit of know-how.
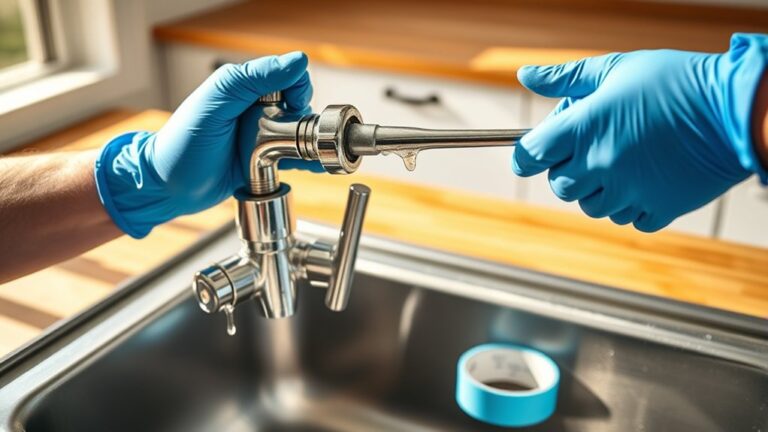
To fix a dripping kitchen faucet in 10 easy steps, start by turning off the water supply and removing the handle to access internal parts.
Inspect washers, O-rings, and cartridges for wear or mineral buildup and replace any damaged components.
Clean parts soaked in vinegar if needed, then carefully reassemble the faucet.
Test for leaks and make certain smooth operation.
If the drip persists, check your work or consider professional help.
You’ll find detailed guidance to make repairs straightforward and effective.
Key Takeaways
- Turn off the water supply before inspecting the faucet to prevent flooding or further leaks.
- Remove the faucet handle and inspect washers, O-rings, and cartridges for wear or mineral buildup.
- Soak parts in vinegar to dissolve mineral deposits and clean thoroughly with a toothbrush.
- Replace damaged washers, O-rings, or cartridges with exact matches and reassemble the faucet carefully.
- Turn on the water supply and test the faucet for leaks. If dripping persists, seek professional help.
Identify the Cause of Your Dripping Kitchen Faucet
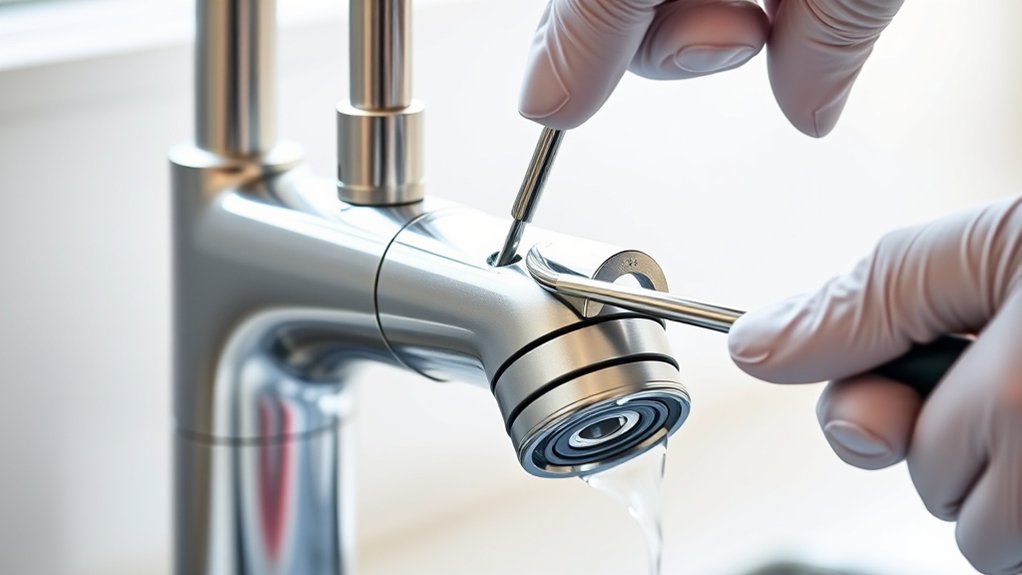
Before you can fix a dripping kitchen faucet, you need to pinpoint what’s causing the leak. Most leaks stem from worn-out washers, damaged seals, or corroded valve seats. Start by turning off your water supply, then carefully examine the faucet to spot any obvious damage or buildup.
Identifying the root cause helps you address the problem efficiently, saving water and contributing to water conservation efforts. A leaking faucet wastes gallons daily, so fixing it promptly supports both your wallet and the environment.
Besides functionality, consider how your faucet’s condition affects faucet aesthetics. A persistent drip can cause unsightly stains and mineral deposits, diminishing your kitchen’s overall look.
Gather the Tools You’ll Need
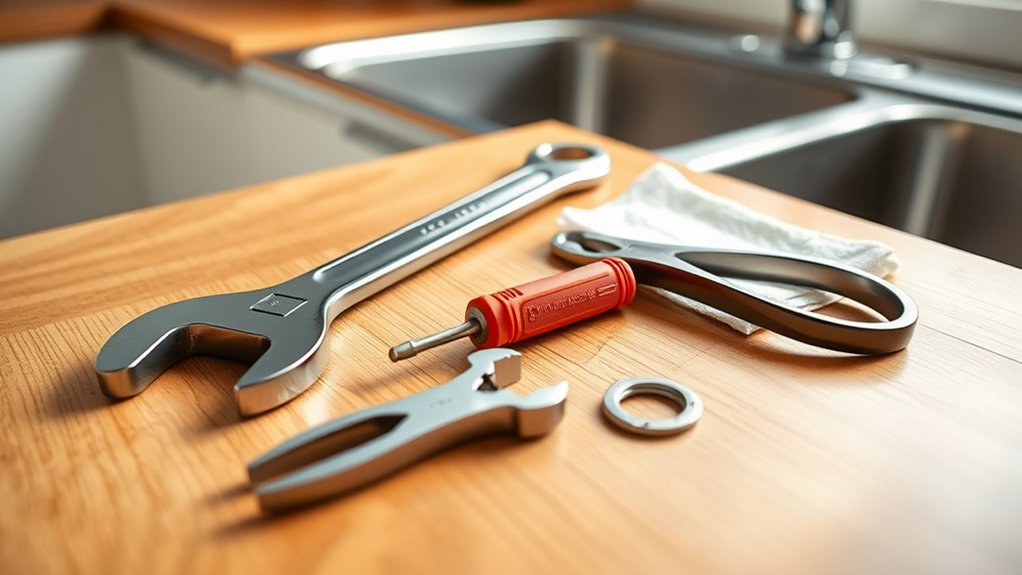
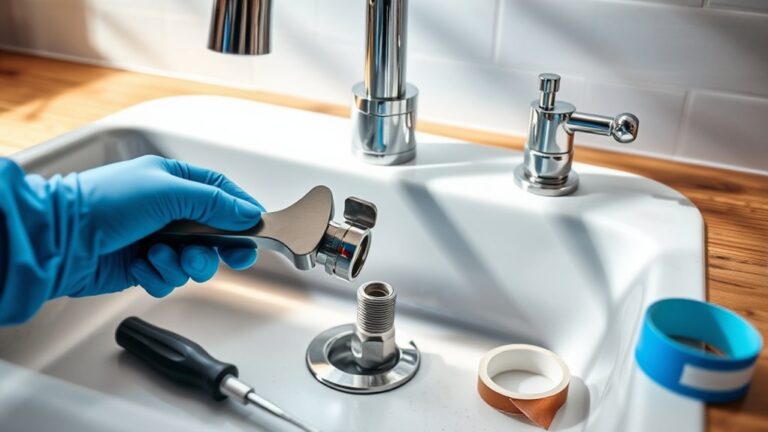
Although fixing a dripping kitchen faucet might seem straightforward, having the right tools on hand makes the job much easier and faster. You’ll want a few essentials: an adjustable wrench, a flat-head screwdriver, a Phillips screwdriver, and replacement washers or O-rings.
A flashlight can help you see inside tight spaces, and a small container will hold tiny parts so you don’t lose them.
Pay attention to your faucet aesthetics when choosing replacement parts, making sure they match the finish and style to maintain your kitchen’s look. Properly fixing the drip not only preserves your faucet’s appearance but also supports water conservation.
A dripping faucet can waste gallons of water daily, so you’re helping the environment and reducing your water bill. Gathering these tools ahead of time lets you work efficiently and guarantees your repair goes smoothly from start to finish.
Turn Off the Water Supply Before Repairs
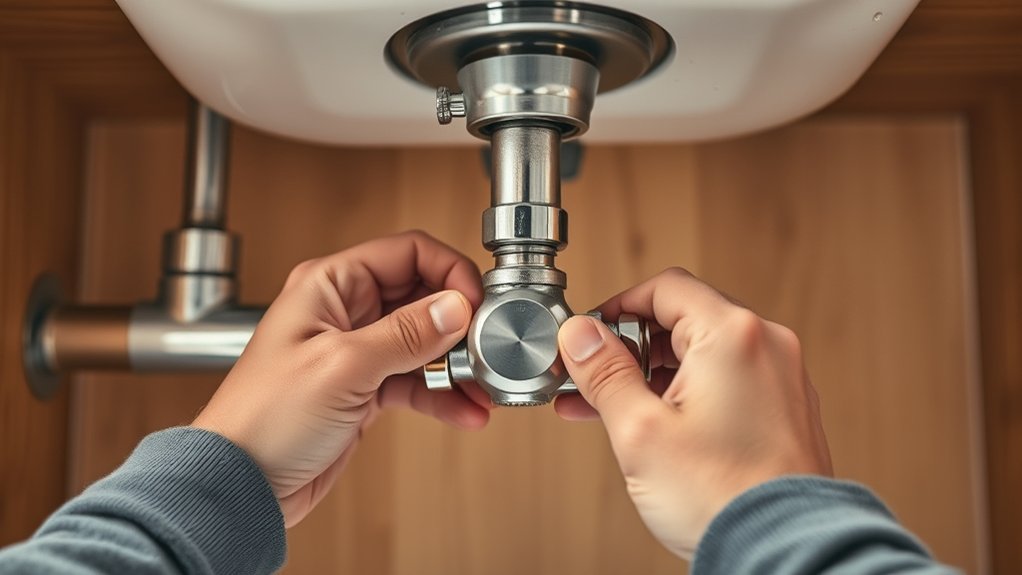
Before you start fixing that drip, make sure to turn off the water supply first. You can either find the main water valve or just shut off the valves right under the sink. Once you’ve done that, give the faucet a quick test to make sure the water flow has stopped completely.
Locate Main Water Valve
Since fixing a dripping kitchen faucet involves working with water lines, you’ll need to turn off the main water supply to prevent any leaks or flooding. Start by locating your home’s main water valve, usually found near the water meter, in the basement, or outside by the foundation.
Turning off this valve stops water flow throughout your entire house, helping you avoid messy spills during repairs and supporting water conservation. By ensuring no water runs while you work, you protect your faucet’s aesthetics from water damage and corrosion caused by constant drips.
Once you find the valve, turn it clockwise to shut it off completely. This step is essential before you proceed, so your repair goes smoothly without unexpected water flow interrupting your fix.
Shut Off Under-Sink Valves
Where exactly do you shut off the water once the main valve is closed? Look under your sink for the individual shut-off valves, usually small knobs or levers connected to the water lines feeding your faucet. Turning these valves clockwise stops water flow directly to the faucet, allowing you to work without risking leaks.
This step is essential for water conservation because it prevents unnecessary water waste during repairs. Plus, it helps maintain your faucet’s aesthetics by avoiding water stains or damage caused by drips. Make sure both the hot and cold under-sink valves are fully closed before starting any work.
Shutting off these valves gives you control over the water supply locally, making the repair process safer and cleaner without affecting the rest of your home’s plumbing.
Test Water Flow Stop
After closing the under-sink valves, you need to confirm that the water supply to your faucet has completely stopped. Turn on the faucet handle and watch carefully. If no water flows, you’ve successfully stopped the flow, which helps prevent unexpected leaks and supports water conservation.
If water still trickles out, double-check that the valves are fully shut or consider turning off the main water supply. Ensuring the water stops before repairs protects your faucet’s internal parts and preserves its aesthetics by preventing water damage or stains during your work.
Taking this simple step guarantees a smoother repair process and keeps your kitchen looking clean and well-maintained. Don’t skip this essential test. It saves time, reduces waste, and keeps your faucet in top shape.
Remove the Faucet Handle to Get Inside
You’ll need a few basic tools, like a screwdriver or an Allen wrench, to remove the faucet handle. First, find the set screw or decorative cap and loosen it to get to the screw underneath.
Once you’ve taken the handle off, you’ll be able to reach the internal parts that might be causing the drip. It’s pretty straightforward once you get that handle removed!
Tools Needed
Before you can fix the dripping faucet, you’ll need the right tools to remove the handle and access the inner components. Start with a flathead or Phillips screwdriver, depending on your faucet’s handle screws.
An adjustable wrench or Allen wrench often helps loosen set screws without damaging the faucet aesthetics. You’ll also want a pair of pliers for gripping and turning stubborn parts.
Having a cloth or small container nearby prevents losing tiny screws and protects your sink’s finish. Using these tools properly not only preserves your faucet’s look but promotes effective water conservation by enabling you to stop leaks fast.
With these essentials ready, you’ll be set to tackle the repair confidently and restore your kitchen faucet’s function efficiently.
Handle Removal Process
Although it might seem tricky at first, removing the faucet handle is a straightforward step that gives you access to the internal parts causing the drip. Start by locating the set screw, often hidden under a decorative cap on the handle. Use an appropriate screwdriver or Allen wrench to loosen the screw.
If the handle feels stuck, gently wiggle it while pulling upwards. These handle removal techniques help prevent damage. Keep the screws and parts organized for reassembly.
When you’re ready to put the handle back, follow handle replacement tips: align the handle properly, tighten screws securely but avoid overtightening, and replace any decorative caps. Mastering this step guarantees smooth progress in fixing your dripping faucet without unnecessary hassle.
Accessing Internal Components
Once you remove the faucet handle, you gain direct access to the internal components responsible for the drip. Start by inspecting the cartridge, valve seats, or O-rings, as these parts often cause leaks. Be sure to turn off the water supply to avoid unexpected water pressure that might complicate repairs.
While you’re inside, take a moment to check the faucet aerator; buildup here can affect water flow and pressure, sometimes mimicking a drip issue. Carefully clean or replace any worn parts you find.
Reassemble the handle once everything looks good, then turn the water back on to test for leaks. Accessing these internal components is essential for a thorough fix and will help you stop that annoying drip for good.
Inspect the Cartridge and Valve for Damage
Since a worn or damaged cartridge and valve often cause leaks, you’ll want to carefully examine both components. Start with the cartridge by removing it from the faucet assembly. Look for visible cracks, corrosion, or worn seals that could be causing the drip. If you notice any damage or signs of wear, cartridge replacement is necessary to restore proper function.
Next, perform a thorough valve inspection. Check the valve seats and O-rings for deterioration or buildup that might prevent a tight seal. If the valve shows damage or significant wear, it’s best to replace it to stop leaks effectively. Remember, even minor imperfections can cause persistent dripping.
Clean Mineral Deposits From Faucet Parts
You can usually tell if there’s mineral buildup by spotting those white, chalky deposits on your faucet parts. When you see them, a good way to clean things up is to soak the parts in vinegar for at least 30 minutes. This helps dissolve the deposits.
Using vinegar like this really works to get your faucet back to normal. It can restore smooth water flow and even stop leaks that happen because parts get clogged. So, it’s a simple trick that makes a big difference!
Identifying Mineral Buildup
Although mineral buildup might seem harmless at first, it can cause your faucet to drip by preventing parts from sealing properly. To identify mineral buildup, look for white or chalky deposits around the base, spout, and aerator of your faucet.
These deposits result from hard water, which contains high levels of minerals like calcium and magnesium. Water hardness varies by location, so if you notice frequent buildup or a persistent drip, mineral deposits are likely the culprit.
Check the faucet’s moving parts and seals closely. Mineral buildup often causes stiffness or irregular movement. By spotting these signs early, you can target the problem before it worsens and leads to leaks.
Identifying mineral buildup is key to fixing your dripping faucet effectively.
Soaking Faucet Components
Mineral deposits can stubbornly cling to your faucet’s internal parts, making a simple drip harder to fix. To tackle this, you’ll want to soak the affected components to loosen and remove buildup.
Carefully disassemble your faucet according to its design, paying close attention to washers, O-rings, and cartridges. Soaking these parts helps restore their function and prevents leaks that waste water, supporting water conservation efforts.
Since faucet designs vary, verify you keep track of each piece’s placement for easy reassembly. Regularly cleaning these components not only stops drips but also extends your faucet’s lifespan.
Using Vinegar Effectively
When tackling stubborn mineral deposits on your faucet parts, vinegar proves to be a powerful and natural cleaning agent. It’s one of the best household cleaning solutions you can use without harsh chemicals.
To use vinegar effectively, follow these vinegar recipes and tips:
- Soak small parts like aerators in a bowl of white vinegar for 30 minutes.
- For larger components, wrap them in a vinegar-soaked cloth and let sit.
- Use an old toothbrush dipped in vinegar to scrub off deposits gently.
- Rinse thoroughly with water and dry to prevent new buildup.
These simple steps help dissolve mineral deposits quickly, restoring your faucet’s function. Incorporating vinegar into your household cleaning routine saves money and keeps your faucet drip-free.
Replace Worn Washers and O-Rings to Stop Drips
Two common culprits behind a dripping kitchen faucet are worn washers and O-rings. These small components create a tight seal inside your faucet, preventing water from leaking. Over time, wear and tear cause them to degrade, letting water drip and wasting precious resources. Replacing these parts not only improves water conservation but also boosts your faucet aesthetics by eliminating annoying drips and stains.
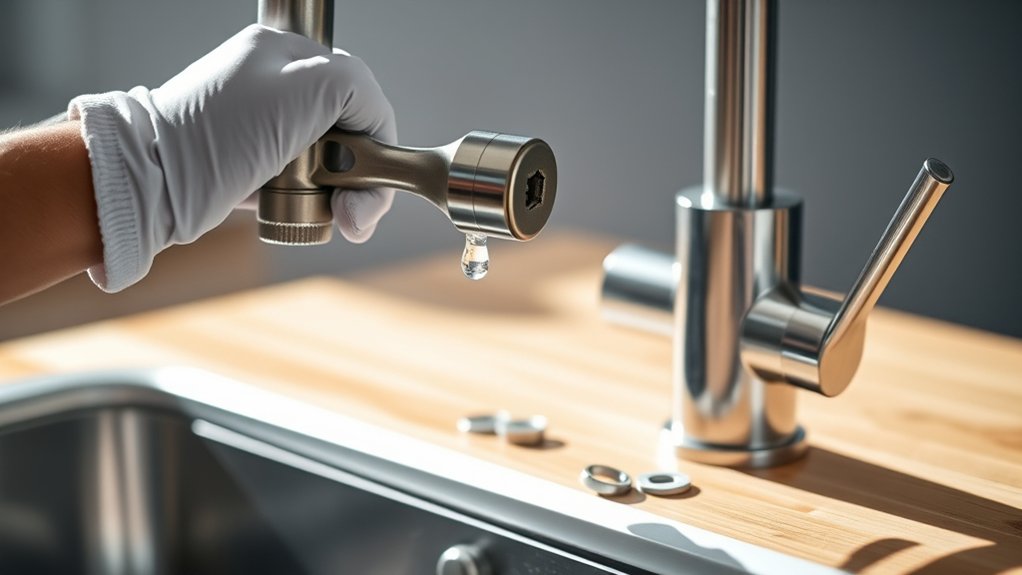
Start by turning off the water supply and disassembling the faucet handle to access the washers and O-rings. Carefully remove the old washers and O-rings, noting their size and shape so you can buy exact replacements. When installing new parts, make sure they fit snugly to restore a proper seal.
This simple fix stops leaks efficiently, reduces your water bill, and keeps your kitchen looking sharp. Addressing worn washers and O-rings is a straightforward way to fix drips and maintain your faucet’s performance.
Reassemble the Faucet to Prevent Leaks
After replacing the washers and O-rings, you’ll need to carefully reassemble the faucet to guarantee a tight seal and prevent future leaks. Proper reassembly not only supports water conservation but also maintains your faucet’s aesthetics.
Follow these steps for a smooth process:
- Align all parts correctly, ensuring washers and O-rings sit snugly in their grooves.
- Tighten screws and nuts evenly; avoid overtightening, which can damage components or cause leaks.
- Reattach the handle securely, checking that it moves freely without wobbling.
- Replace any decorative covers or caps to restore the faucet’s appearance.
Taking your time during reassembly helps avoid leaks and preserves your kitchen’s look. A well-maintained faucet reduces water waste and keeps your sink area neat and functional.
Stick to these steps, and you’ll prolong your faucet’s lifespan while enhancing water conservation efforts.
Test the Faucet and Troubleshoot Persistent Drips
Although you’ve reassembled the faucet carefully, you should test it thoroughly to confirm the drip is fully fixed. Turn the water supply back on and run the faucet through all settings: hot, cold, and mixed. Check for any leaks or drips as you go.
After reassembling, test the faucet on all settings to ensure the drip is completely fixed.
Watch closely for persistent drops because even a small leak can impact water conservation and increase your utility bill over time.
If you notice continued dripping, double-check the installation of washers, O-rings, and cartridges. Make sure all parts sit snugly without misalignment since this can affect both function and faucet aesthetics.
Sometimes mineral buildup or worn seals cause stubborn drips, so cleaning or replacing these parts may be necessary.
When to Call a Professional Plumber for Help
If you’ve tried all the troubleshooting steps and your kitchen faucet still drips, it’s time to call a professional plumber. Sometimes, the issue goes beyond a simple DIY fix and requires expert attention to protect your kitchen decor and guarantee proper faucet installation.
Here are four signs you should call a plumber:
- Persistent dripping despite replacing washers or seals.
- Water damage or leaks under the sink affecting cabinets or flooring.
- Difficulty in faucet installation or upgrading to a new model.
- Low water pressure or strange noises from the faucet.
A professional plumber can quickly diagnose hidden problems, prevent further damage, and maintain your kitchen’s aesthetic. They also guarantee that any faucet installation meets plumbing codes and functions smoothly. Don’t wait for a small drip to become a costly repair. Get expert help to keep your kitchen running perfectly.
Frequently Asked Questions
What Causes a Faucet to Drip Only at Certain Temperatures?
You’re seeing a faucet drip only at certain temperatures because of temperature sensitivity in the valve. When the water’s hot or cold, the valve parts can expand or contract, causing a valve malfunction that leads to drips.
This sensitivity means the seal doesn’t stay tight under specific temperatures, so you get leaks only then. Fixing or replacing the valve usually stops the temperature-related dripping from happening.
Can Hard Water Damage My Kitchen Faucet Over Time?
Yes, hard water can damage your kitchen faucet over time. The minerals in hard water cause mineral buildup, which clogs and wears down faucet parts. This buildup can lead to leaks and reduced water flow.
To protect your faucet, you should consider water softening solutions. Water softening helps prevent mineral deposits, extending your faucet’s lifespan and keeping it working smoothly. Don’t ignore hard water’s effects because it can cost you more in repairs later.
How Often Should I Replace Faucet Washers and O-Rings?
Tick tock, drip drop, your faucet’s rhythm tells you when to act. You should replace faucet washers and O-rings every one to two years, or sooner if you notice leaks.
High water pressure wears them out faster, so checking regularly helps with leak prevention. Don’t wait for a steady drip to turn into a flood. Staying ahead keeps your kitchen running smoothly and your water bill in check.
Are There Eco-Friendly Options to Reduce Faucet Drips?
Yes, you can definitely choose eco-friendly solutions to reduce faucet drips. Installing water-saving fixtures like low-flow aerators and pressure-compensating valves helps minimize leaks and conserve water.
You can also use biodegradable sealants or washers made from sustainable materials when repairing your faucet. These options not only cut down on water waste but also reduce your environmental impact, making your kitchen more eco-friendly while saving you money on your water bill.
What Materials Are Best for Durable Kitchen Faucet Parts?
When it comes to faucet material selection, imagine your kitchen faucet as the heart of your sink. It needs parts that won’t quit. You’ll want durable valve components made from brass or stainless steel because they resist corrosion and wear like champions.
Ceramic cartridges also offer long-lasting performance without leaks. Choosing these materials means you won’t constantly chase drips. This saves you time and frustration while keeping your faucet reliable for years.
Conclusion
Fixing that dripping kitchen faucet isn’t just a chore—it’s your ticket to regaining peace and saving a small fortune on water bills! With these 10 easy steps, you’re practically a plumbing superhero, ready to conquer any leak that dares to defy you.
So don’t let that drip drive you crazy; tackle it head-on, and enjoy the sweet silence of a perfectly sealed faucet. You’ve got this when it comes to fixing a dripping kitchen faucet!