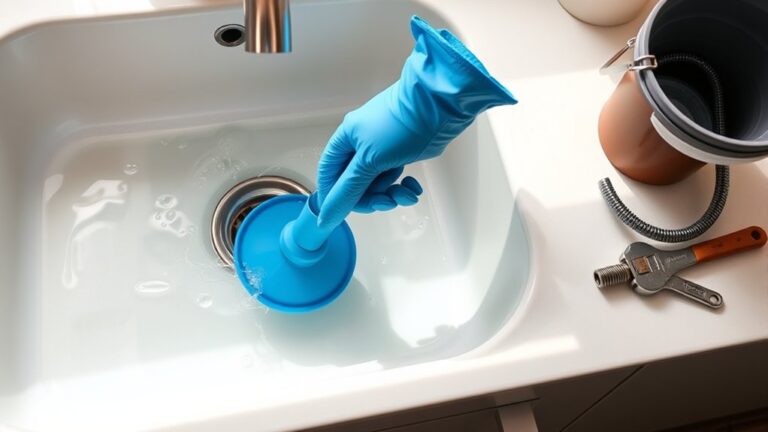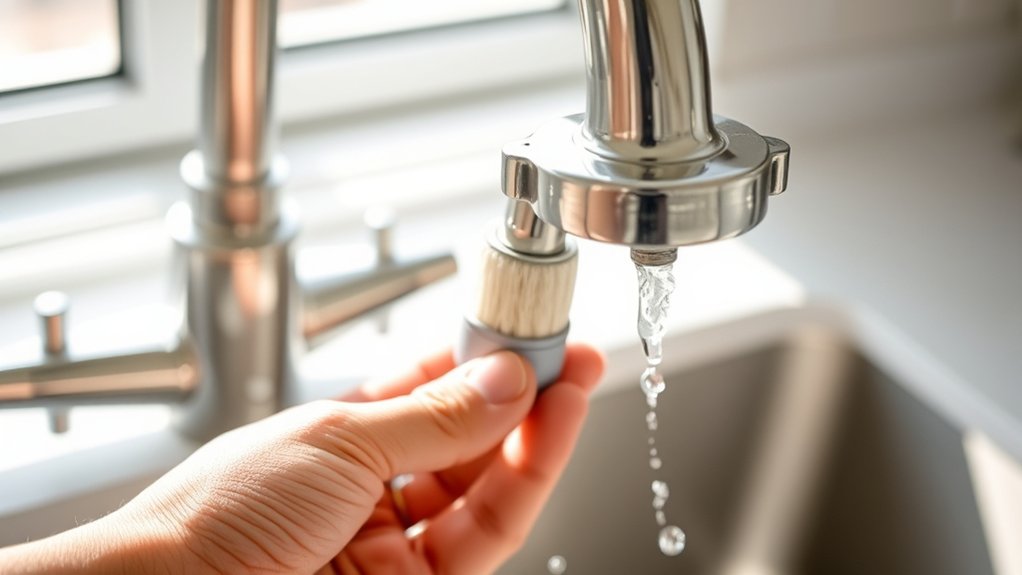
How to Clean Kitchen Faucet Head in 5 Easy Steps
If you’ve ever struggled with a slow or sputtering kitchen faucet, you’re not alone. Many people find that mineral buildup and grime can really affect water flow and make their kitchen chores more frustrating. Keeping your faucet head clean is key to smooth operation and a sparkling sink area.
To clean your kitchen faucet head in five easy steps, first gather tools like vinegar, a soft brush, and a cloth. Turn off the water and gently remove the faucet head using a wrench if needed.
Soak it in a vinegar-water mix for 30-60 minutes, then scrub away mineral buildup with the brush. Rinse, reassemble, and test for leaks and flow.
Keep up with regular cleaning to prevent buildup, and you’ll find simple tips to keep it sparkling longer ahead.
Key Takeaways
- Turn off the water supply and carefully remove the faucet head using a wrench or by hand.
- Soak the faucet head in a 1:1 vinegar and water solution for 30-60 minutes to dissolve mineral buildup.
- Gently scrub the faucet head, especially nozzles and crevices, with a soft brush or old toothbrush.
- Rinse the faucet head thoroughly with warm water to remove residue and restore water flow.
- Reassemble the faucet head securely, turn on water slowly, and check for leaks or flow issues.
Gather Your Cleaning Tools
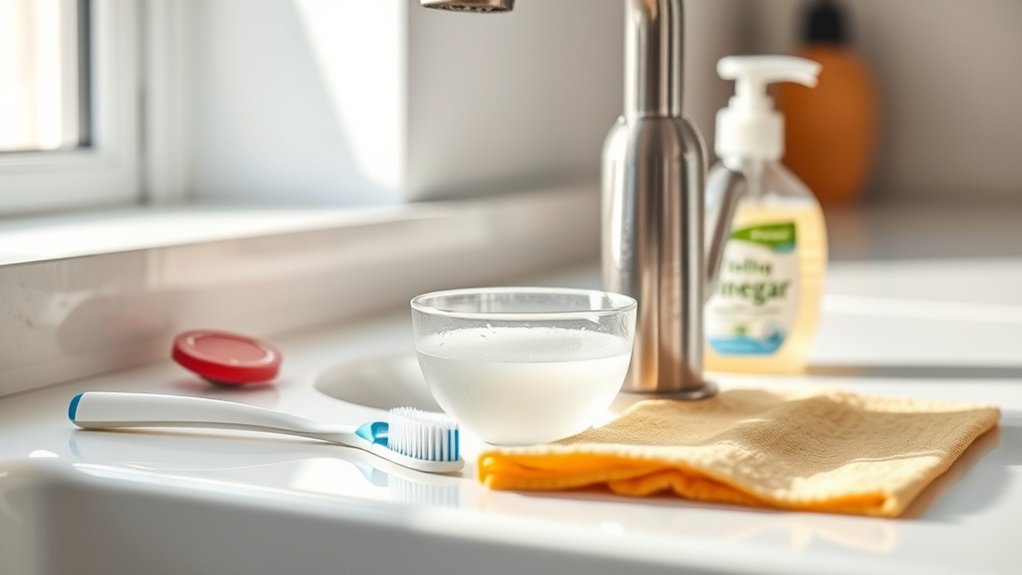
Where do you begin when cleaning your kitchen faucet head? First, gather all your cleaning tools to make the process smooth. You’ll need effective cleaning solutions like vinegar or a mild detergent to dissolve mineral deposits and grime.
Have a soft brush or toothbrush ready to scrub gently without damaging the surface. Keep a small bowl or plastic bag handy for soaking the faucet head if necessary. Don’t forget a clean cloth for drying and wiping away loosened debris.
It’s also wise to have replacement parts on hand, such as washers or aerators, in case you find worn or damaged components during cleaning. Having these parts ready prevents delays and confirms your faucet functions properly after cleaning.
How to Remove Your Kitchen Faucet Head Safely
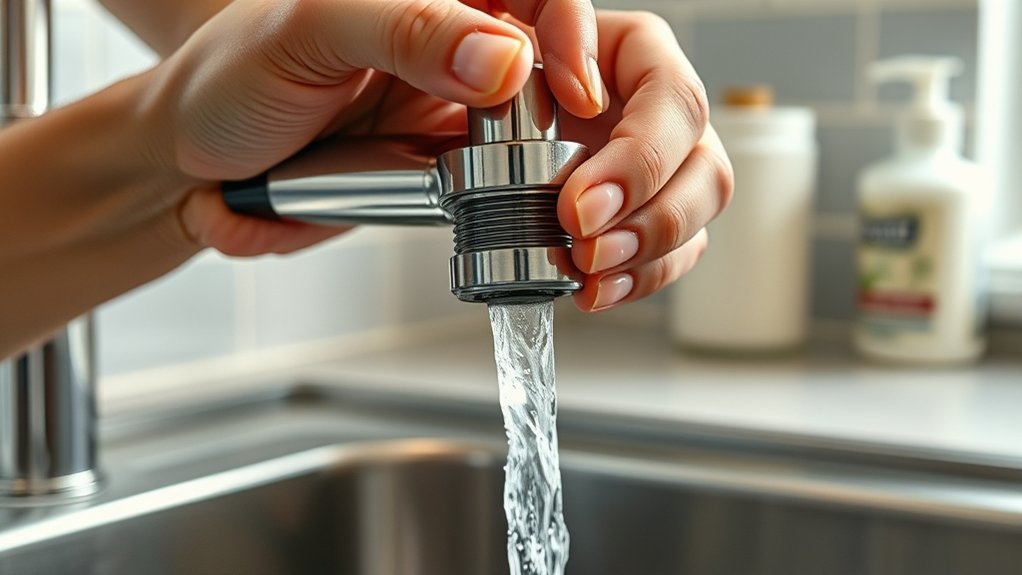
Before you start cleaning, you’ll need to remove the faucet head carefully to avoid damaging any parts. First, turn off the water supply to prevent sudden bursts of water pressure. This step is essential to avoid any leaks or injuries.
Next, check your faucet compatibility. Some models have detachable heads, while others require specific tools or adapters for removal. Use an adjustable wrench or pliers if needed, but wrap the faucet head with a cloth to prevent scratches.
Turn the faucet head counterclockwise gently. If it resists, avoid forcing it, as this could damage the threads or seals. Once loosened, pull the head straight off.
Keep an eye out for any rubber washers or O-rings that might come off with the head. They’re vital for preventing leaks. With the faucet head safely removed, you’re ready to move on to cleaning without risking damage or affecting water pressure later on.
How to Soak and Scrub Mineral Buildup From Your Kitchen Faucet Head
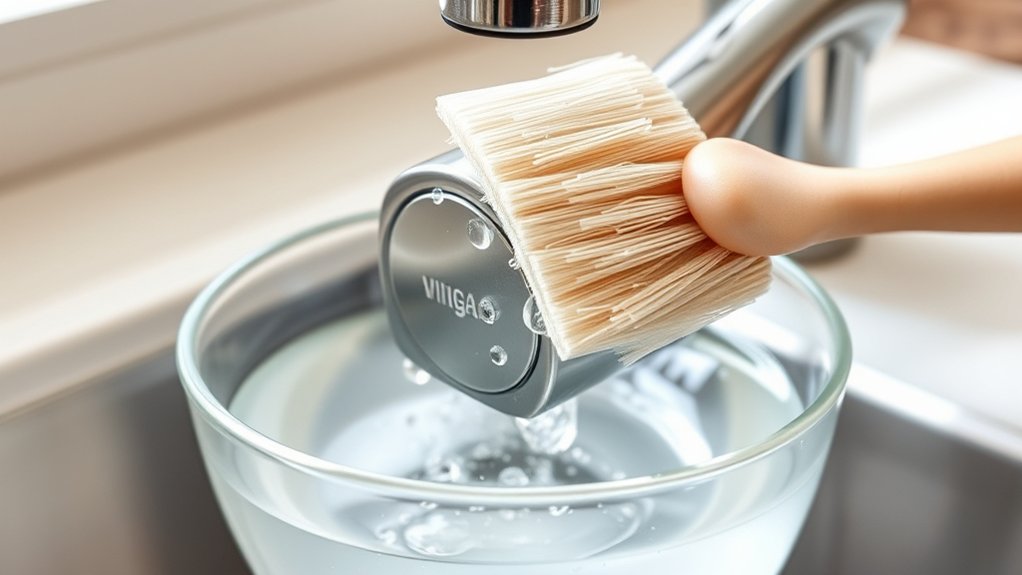
Since mineral buildup can clog your faucet head and reduce water flow, soaking and scrubbing it thoroughly is essential. Start by preparing a cleaning solution by mixing equal parts white vinegar and water in a bowl or container. Vinegar’s acidity effectively breaks down stubborn mineral deposits.
Submerge the faucet head in the solution and let it soak for 30 to 60 minutes to loosen the deposits.
After soaking, use a soft brush, like an old toothbrush, to scrub the faucet head gently. Focus on areas with visible mineral deposits, including the nozzles and crevices. Avoid using abrasive tools that could damage the finish.
If buildup persists, repeat soaking or apply a stronger cleaning solution designed for mineral deposits. Once cleaned, rinse the faucet head thoroughly with warm water to remove any remaining residue. This simple process restores your faucet’s water flow and keeps it functioning smoothly without damage.
Reassemble and Test Your Kitchen Faucet Head
Once you’ve thoroughly cleaned the faucet head and rinsed away all residue, it’s time to put everything back together. Begin by carefully reattaching the aerator and any internal parts you removed. Make sure each component fits snugly to avoid leaks. Tighten the connections just enough to secure them without overdoing it, which could cause damage.
After reassembly, turn on the water slowly and check the water pressure. It should flow steadily and evenly. If you notice any drips or inconsistent flow, you may need to adjust the fittings or replace worn washers to complete a proper leak repair. Testing the faucet head now guarantees you catch any issues before finishing.
Keep Your Faucet Head Clean Longer With These Tips
To keep your kitchen faucet head cleaner for longer, you’ll want to adopt a few simple habits that prevent buildup and reduce the need for frequent deep cleaning. Establishing a consistent cleaning schedule tailored to your faucet material ensures grime and mineral deposits don’t get out of hand.
- Stick to a Regular Cleaning Schedule: Wipe your faucet head weekly with a soft cloth and mild cleaner to avoid stubborn buildup. For tough water spots, schedule monthly deep cleans.
- Choose the Right Cleaning Products: Use cleaners compatible with your faucet material, whether stainless steel, brass, or chrome, to maintain its finish and prevent damage.
- Use a Water Softener if Needed: Hard water accelerates mineral deposits, so installing a water softener can notably reduce buildup on your faucet head.
Frequently Asked Questions
Can I Use Vinegar to Clean All Types of Faucet Materials?
You can use vinegar to clean many faucet materials, but it’s not safe for all. Vinegar’s acidity can damage finishes like brass, bronze, or gold. Always check your faucet material compatibility before using it.
If vinegar isn’t suitable, consider alternatives like lemon juice or mild dish soap. These options are gentler and still effective.
When in doubt, test on a small area or consult the manufacturer’s guidelines to avoid damage.
How Often Should I Clean My Kitchen Faucet Head?
You should clean your kitchen faucet head every one to two months to keep it in top shape. Establishing a regular cleaning schedule helps with faucet maintenance by preventing buildup and ensuring smooth water flow.
If you notice reduced pressure or mineral deposits sooner, don’t wait. Clean it right away. Staying consistent with your cleaning schedule makes faucet maintenance easier and extends your faucet’s lifespan.
What Causes Mineral Buildup on Faucet Heads?
Mineral deposits cause buildup on your faucet head, especially if you have hard water rich in calcium and magnesium. These minerals stick to the surface over time, creating deposits that clog water flow and lead to faucet corrosion.
When you don’t clean regularly, the minerals harden and damage the metal, shortening your faucet’s lifespan. So, you’ll want to tackle mineral buildup early to avoid corrosion and keep your faucet working smoothly.
Are There Any Health Risks From a Dirty Faucet Head?
You might be surprised, but yes, dirty faucet heads can pose health hazards. When you leave mineral buildup and grime unattended, it creates a perfect environment for bacteria growth.
These bacteria can contaminate your water, increasing the risk of infections or illnesses. So, don’t underestimate the importance of keeping your faucet head clean. You’re protecting yourself and your family from potential health risks every time you do.
Can Clogged Faucet Heads Affect Water Pressure?
Yes, clogged faucet heads can definitely affect water flow and cause pressure issues. When mineral deposits or debris build up inside the faucet head, they restrict the water’s path, reducing the pressure you feel at the tap.
If you notice weaker water flow or uneven spray patterns, it’s a clear sign your faucet head might be blocked. Cleaning it regularly helps maintain steady water pressure and guarantees efficient water flow.
Conclusion
Cleaning your kitchen faucet head is as invigorating as a cool breeze on a hot day. By following these simple steps, you’ll easily remove mineral buildup and keep your faucet running smoothly.
Remember, regular maintenance not only extends your faucet’s life but also guarantees cleaner, safer water. With a little care and these handy tips, your kitchen faucet will stay sparkling and efficient, making every wash feel like a fresh start.
Taking the time to clean your kitchen faucet head regularly ensures it works well and looks great. Keeping up with this simple routine means you’ll enjoy cleaner water and a faucet that lasts longer.