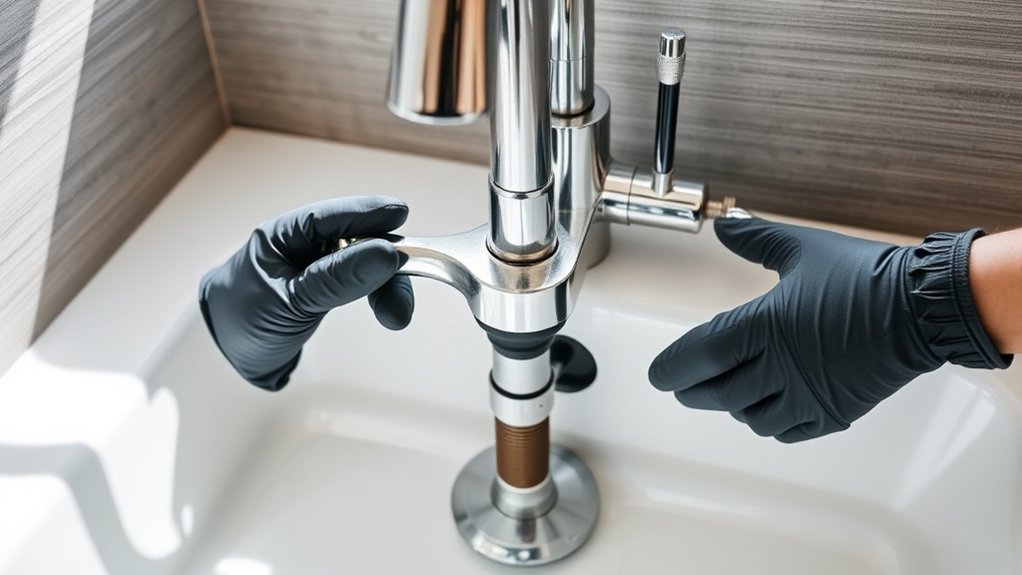
How to Remove Kitchen Faucet in 7 Easy Steps
If you’ve ever tried to remove a kitchen faucet, you know how tricky and frustrating it can be. You’re not alone—many people struggle with getting the job done without causing a mess or damaging their sink.
Whether you’re upgrading your faucet or fixing a leak, having a clear, simple guide can make all the difference.
To remove your kitchen faucet in 7 easy steps, start by clearing your sink area and gathering tools like an adjustable wrench and basin wrench.
Shut off the water supply under the sink and open the faucet to release pressure.
Next, disconnect the water supply lines with a wrench, then loosen and remove the mounting nuts holding the faucet.
Carefully lift the faucet away and clean the sink of old putty or residue.
Keep going to uncover helpful tips for fixing common issues during removal.
Key Takeaways
- Clear the sink area and gather essential tools like an adjustable wrench and basin wrench for efficient faucet removal.
- Shut off the water supply valves under the sink, then open the faucet to drain any leftover water completely.
- Use an adjustable wrench to disconnect the water supply lines. Have a bucket or towel ready to catch any residual water.
- Loosen and remove the mounting nuts from under the sink using a basin wrench. Support the faucet to keep it from shifting.
- Clean the sink area and remove old putty or sealant to get ready for faucet replacement or repairs.
Get Your Tools Ready and Clear the Sink Area
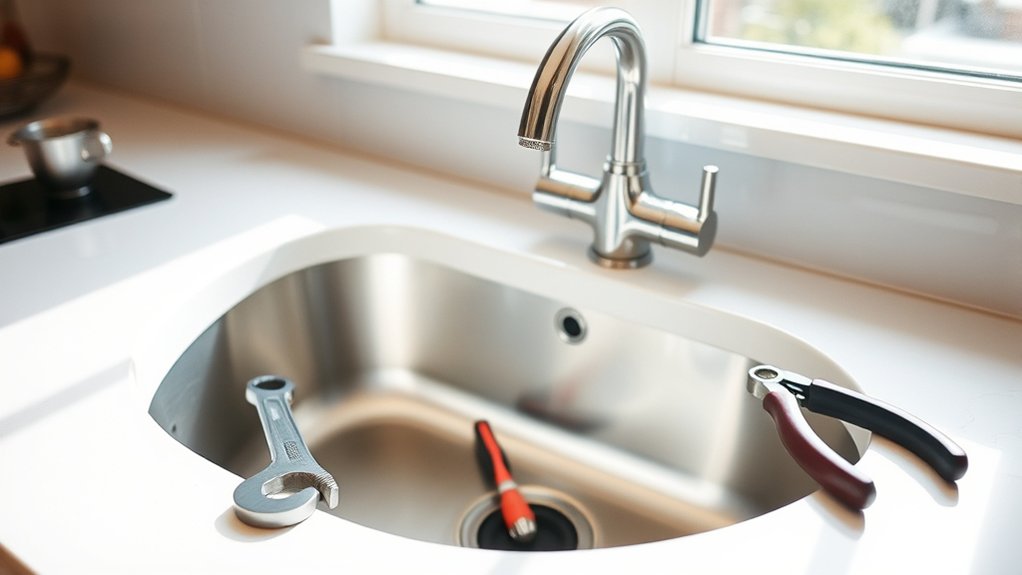
Before you begin removing the kitchen faucet, make sure you have all the necessary tools within reach and clear the sink area completely. Proper workspace preparation is essential to avoid interruptions and keep everything organized.
Start by removing any dishes, cleaning supplies, or clutter from around the sink. This gives you easy access and prevents accidental damage.
Next, focus on tool selection. You’ll typically need an adjustable wrench, basin wrench, screwdriver, and possibly pliers. Having these tools ready saves time and frustration later.
Lay them out neatly near your work area so you can grab what you need quickly. Double-check that your tools are in good condition to avoid slips or stripped bolts.
Shut Off the Water Supply to Your Kitchen Faucet

Since water flow can cause a mess and complicate the removal process, you’ll want to shut off the water supply to your kitchen faucet before proceeding. Start by locating the shut-off valves under the sink, usually one for hot water and one for cold. Turn both valves clockwise to close them completely.
If you can’t find individual shut-offs, turn off the main water supply for your home. After shutting off the water, open the faucet to relieve any remaining water pressure and drain excess water from the lines.
This step not only prevents leaks but also makes your faucet installation or removal smoother. Ensuring the water supply is fully off helps avoid unexpected water sprays that can disrupt your work area.
Taking the time to control water pressure before disconnecting parts is *essential* for a clean, safe faucet removal. Now you’re ready to move on to disconnecting the water supply lines safely.
Disconnect the Water Supply Lines Safely
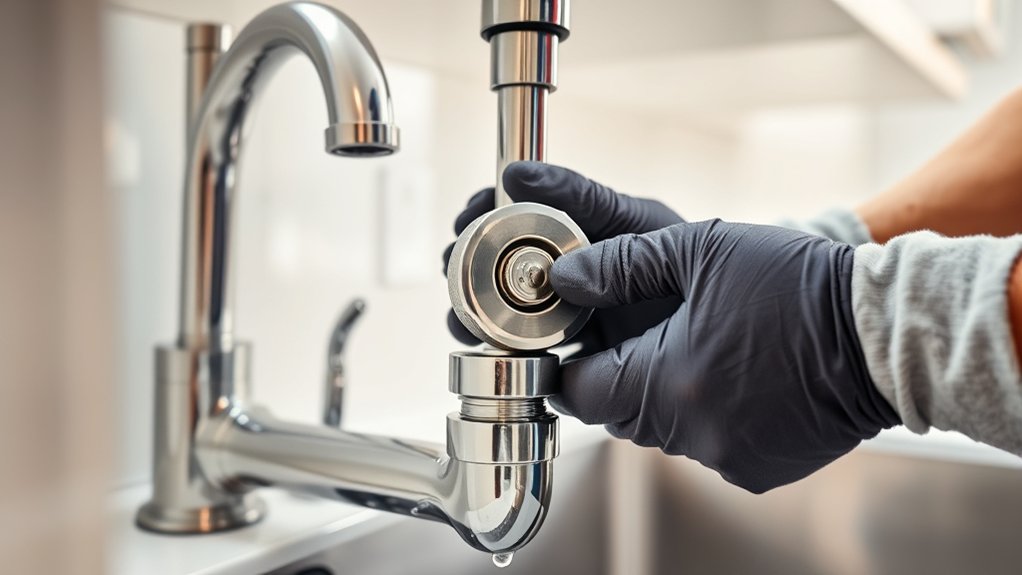
Once the water supply is fully shut off, you can safely disconnect the supply lines from your faucet. Begin by placing a bucket or towel underneath to catch any residual water. Use an adjustable wrench to loosen the nuts connecting the water lines to the faucet.
As you disconnect, perform a water line inspection for any signs of corrosion or wear. This could signal leaks or the need for replacement. This step is essential if you’re planning a faucet cartridge replacement later.
Here’s a quick guide to keep in mind:
| Action | Purpose |
|---|---|
| Shut off water supply | Prevent water flow during disconnection |
| Catch residual water | Avoid spills and damage |
| Use adjustable wrench | Safely loosen connection nuts |
| Inspect water lines | Identify issues before faucet cartridge replacement |
Disconnecting properly ensures a smooth faucet removal and helps maintain your kitchen’s plumbing integrity.
Remove the Mounting Nuts Under Your Kitchen Faucet
While supporting the faucet from above, you’ll need to reach underneath the sink to loosen and remove the mounting nuts that hold the faucet securely in place. These mounting nuts are usually located around the faucet’s base and can be tight, so use a basin wrench or adjustable wrench to get a good grip.
Turn the mounting nut counterclockwise to loosen it, but be careful not to strip the threads. If the nuts are corroded or difficult to turn, applying a penetrating oil can help ease the removal process.
Make sure you keep your hand steady from above to prevent the faucet from shifting or falling as you remove each mounting nut. Once all the mounting nuts are removed, the faucet will be free from its fixed position, completing this essential step in the removal process.
Take your time to avoid damaging any parts during this phase.
Detach Your Kitchen Faucet From the Sink
After loosening the mounting nuts, you can carefully lift the faucet away from the sink. Hold the base firmly and gently wiggle it to break the seal created by old plumber’s putty or silicone. If it feels stuck, use a flat tool like a putty knife to pry it loose, but be cautious not to damage the sink surface. Once detached, lift the entire faucet assembly upward and away.
During faucet replacement or plumbing upgrades, this step is essential to a clean removal without harming any components. If your faucet has a spray hose or additional attachments, disconnect those lines before fully removing the fixture. Keep an eye out for any washers or mounting hardware that might come off with the faucet. They’ll be useful if you plan to reuse parts.
Now that the faucet is detached, you’re ready to move on to the next step, guaranteeing your plumbing upgrades go smoothly.
Clean the Sink Area After Faucet Removal
Because residue from plumber’s putty or silicone can remain on the sink surface, you’ll want to clean the area thoroughly before installing a new faucet. Start by wiping down the sink with a damp cloth to remove loose debris.
Clean away any plumber’s putty or silicone residue by wiping the sink surface thoroughly before faucet installation.
For stubborn residue, apply a gentle cleaning solution, such as a mixture of warm water and mild dish soap, and let it sit for a few minutes. Use a soft sponge or cloth to avoid scratching the sink’s finish.
When tackling tougher stains, consider a non-abrasive cleaner specifically designed for your sink material. Carefully scrub the affected areas to ensure complete stain removal. Avoid harsh chemicals that could damage the surface.
Rinse the sink thoroughly with clean water and dry it with a microfiber cloth to prevent water spots.
Fix Common Problems During Kitchen Faucet Removal
Cleaning the sink sets a solid foundation, but you might still encounter some common issues when removing your kitchen faucet. If the mounting nuts are stuck, apply a penetrating oil and let it sit for a few minutes before trying again.
Use a basin wrench to reach tight spaces and loosen stubborn nuts. For corroded connections, gently tap with a rubber mallet to break the rust without damaging the plumbing. Remember to shut off the water supply to avoid leaks during removal.
If old putty or silicone seals are stuck, carefully scrape them off to prevent damage to your sink. Keep these replacement tips in mind: take photos or label parts before disconnecting to simplify faucet installation later.
Also, double-check all connections after removal to ensure nothing’s left behind. Following these steps will help you avoid frustration and make your kitchen faucet removal smoother and ready for your new installation.
Frequently Asked Questions
How Do I Choose a New Faucet After Removal?
When choosing a new faucet after removal, you’ll want to evaluate faucet styles that fit your kitchen’s design, like pull-down, single-handle, or bridge faucets. Check your sink’s hole configuration to match replacement options.
Don’t forget to think about durability and finish, ensuring it resists corrosion and matches your decor. Also, consider water efficiency features.
Comparing brands and reading reviews will help you pick a faucet that’s functional and stylish.
Can I Remove a Kitchen Faucet Without Shutting off Water?
You can’t remove a kitchen faucet without shutting off the water because water pressure will cause plumbing leaks the moment you disconnect anything.
If you ignore this step, you’ll end up with a wet mess and potential damage. Always turn off the water supply valves first to avoid leaks and keep things under control.
It’s a simple step that saves you from a big headache and costly repairs later.
What if My Faucet Has a Sprayer Attachment?
If your faucet has a sprayer attachment, you’ll need to disconnect it before removal. Check for faucet compatibility to guarantee the sprayer hose detaches easily. Usually, there’s a quick-connect fitting under the sink or a threaded connection.
Removing the sprayer prevents damage during faucet removal. When reinstalling, pay attention to sprayer installation instructions to make sure everything seals properly and works smoothly with your new or existing faucet.
How Long Does the Entire Removal Process Usually Take?
The entire removal process usually takes about 30 to 60 minutes for most people. Notably, studies show that DIY faucet projects save homeowners an average of 40% compared to hiring pros.
When removing your faucet, keep installation tips in mind for a smooth reassembly. Avoid common mistakes like not turning off the water or forgetting to disconnect supply lines first.
Taking your time helps ensure a successful removal and replacement!
Are Special Tools Needed for All Types of Faucets?
You don’t always need special tools for every faucet type, but some do require them. Basic faucets can usually be removed with common tools like an adjustable wrench or basin wrench.
However, certain faucet types, especially modern or pull-out models, might need specialized tools to access tight spaces or disconnect hoses. It’s smart to check the manufacturer’s instructions for your faucet type to know if special tools are necessary before starting.
Conclusion
Now that you’ve removed your kitchen faucet in just seven easy steps, you’re well on your way to upgrading your space. No need to summon a blacksmith for this task!
Remember, taking your time and staying organized makes the process smoother. With your sink area clean and ready, you can confidently tackle any faucet swap or repair.
Keep those tools handy, and you’ll handle future plumbing challenges like a pro. Removing your kitchen faucet is easier than you think!