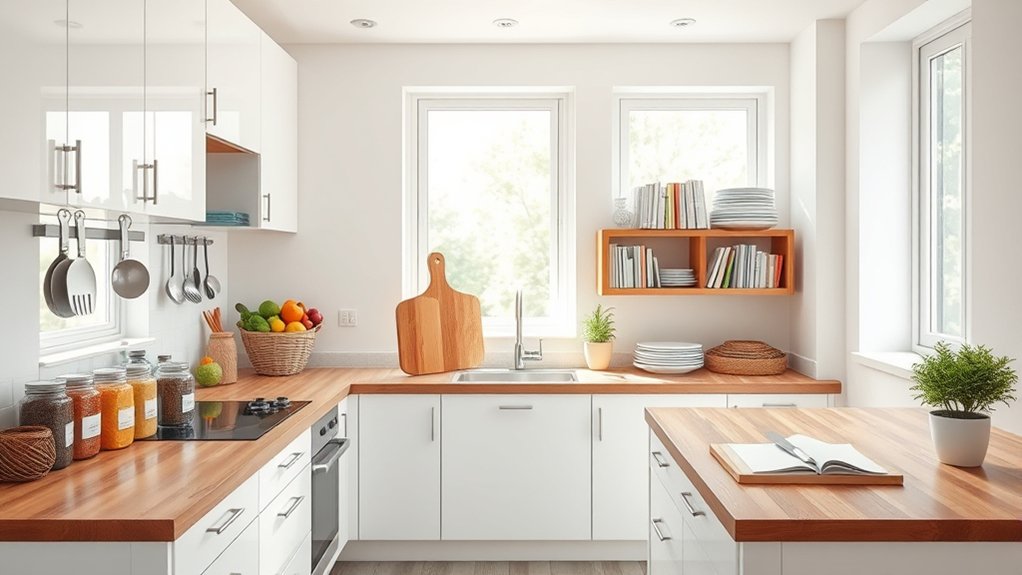
How to Organize Your Kitchen in 10 Easy Steps
If you’ve ever felt overwhelmed by a cluttered kitchen, you’re not alone. Many people struggle to keep their cooking space organized and functional, which can make meal prep more stressful than it needs to be. The good news is that with the right approach, you can transform your kitchen into an efficient, tidy haven that makes cooking a joy rather than a chore.
Start by clearing out clutter and sorting items by how often you use them, keeping daily essentials within easy reach and storing seasonal or rarely used tools away.
Plan your kitchen zones—prep, cooking, cleaning, and storage—to minimize movement. Maximize space with stackable containers, door racks, and vertical shelving. Keep countertops clear, label containers for easy access, and store pantry items in airtight containers to maintain freshness.
Follow these steps to create an efficient, tidy kitchen setup that boosts your cooking ease and flow.
Key Takeaways
- Declutter by sorting kitchen items based on frequency of use. Donate unneeded goods to free up space.
- Plan kitchen zones for prep, cooking, cleaning, and storage. This helps minimize movement and boost efficiency.
- Maximize storage using stackable containers, door-mounted racks, and vertical shelving inside cabinets.
- Keep countertops clear by limiting appliances. Store gadgets in cabinets or drawers to reduce clutter.
- Label containers and shelves clearly to maintain order and make it easier to find items.
Why an Organized Kitchen Makes Cooking Easier

Although it may seem like extra effort at first, organizing your kitchen will save you time and reduce stress when cooking. When everything has a designated place, you don’t waste minutes searching for tools or ingredients.
Smart storage solutions help you keep essentials within reach, so you can focus on perfecting your cooking techniques instead of scrambling around.
Clear Out Clutter to Start Fresh
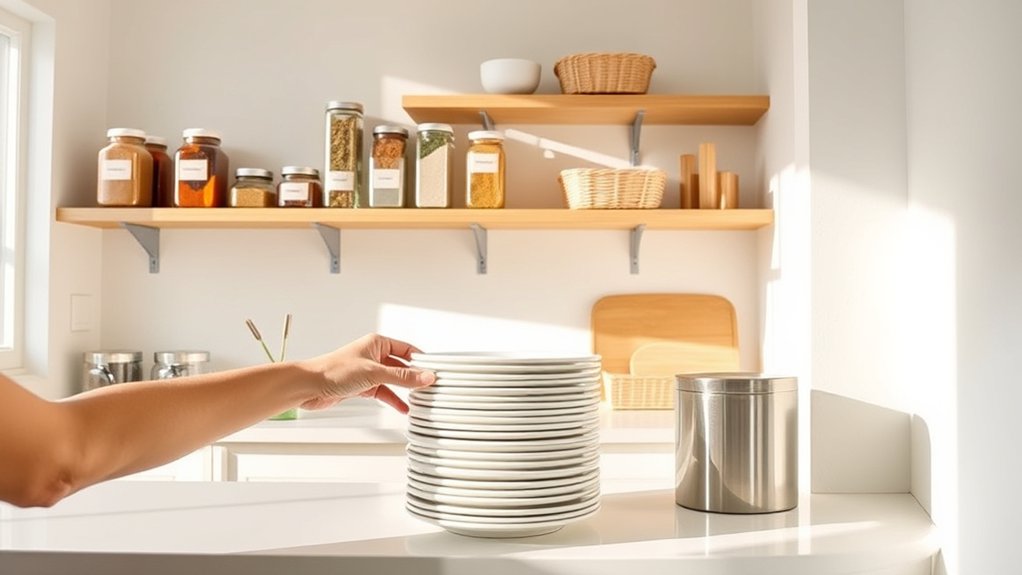
Start by sorting your kitchen items based on how often you use them. It makes sense to keep the essentials within easy reach, right? Then, set aside anything you no longer need or use. Donating those unneeded items not only clears up space but also gives you a fresh start.
Sort Items By Use
Before you plunge into organizing, you need to sort your kitchen items by how often and in what way you use them. Group tools and ingredients based on your cooking techniques. Baking essentials should be together, while grilling tools stay in another spot.
This approach helps streamline meal prep and keeps your kitchen design functional. Place frequently used items within easy reach to avoid unnecessary hassle. Less-used gadgets can be stored higher or deeper in cabinets.
Sorting by use not only clears clutter but also creates an efficient workflow aligned with your cooking style. It’s the foundation of smart kitchen design, turning chaos into order and saving you time every day. Take this step seriously, and you’ll feel the difference in your kitchen’s flow immediately.
Donate Unneeded Goods
Once you’ve sorted your kitchen items by how you use them, it’s time to clear out the clutter by donating what you no longer need. Take a close look at utensils, appliances, and cookware that no longer serve you.
If they’re in good condition, consider donating unneeded goods to local charities or community centers. This not only frees up valuable space but also helps others. Make it a habit to declutter regularly, monthly or quarterly, to prevent buildup and keep your kitchen functional.
Regularly donating items you don’t use guarantees you maintain an organized, stress-free space. Remember, starting fresh is easier when you let go of excess. So, gather those extras and take action to create a kitchen that’s tidy and efficient.
Sort Kitchen Items by How Often You Use Them
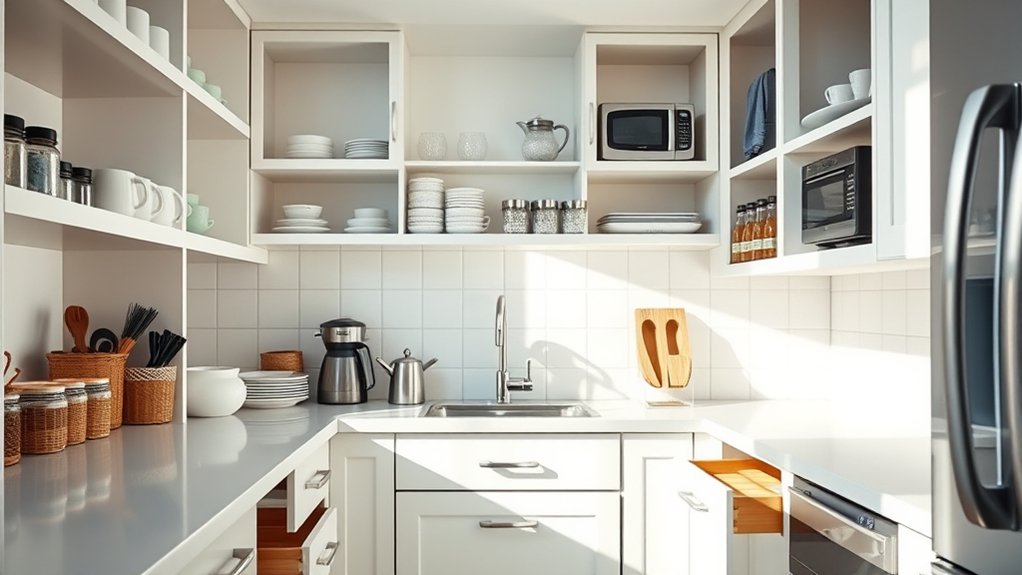
Start by keeping your daily essentials within easy reach so you can grab them quickly. You’ll use these items all the time, so it makes sense to have them close by.
Then, store seasonal items in less accessible spots since you only need them occasionally. They’re important, but you don’t need to reach for them every day.
And for those rarely used tools, find a designated space out of the way to keep your kitchen tidy. That way, your kitchen stays organized without cluttering your main work areas.
Daily Essentials Accessibility
Although organizing your kitchen might seem overwhelming, focusing on daily essentials accessibility can simplify the process. Start by sorting items based on how often you use them. Keep frequently used tools and ingredients within easy reach to streamline meal prep and improve utensil placement. This reduces clutter and saves time.
| Item Type | Location | Frequency of Use |
|---|---|---|
| Cooking Utensils | Counter drawer | Daily |
| Spices | Near stove | Multiple times/day |
| Cutting Boards | Under sink cabinet | Weekly |
| Baking Supplies | Pantry shelf | Monthly |
Seasonal Item Storage
Keeping your daily essentials within reach makes cooking smoother, but what about those items you only use occasionally? For seasonal item storage, sort your kitchen tools and decorations based on how often you use them throughout the year.
During seasonal shifts, swap out items to keep your space functional and clutter-free. Store holiday storage like cookie cutters, festive platters, and specialty bakeware in clearly labeled bins.
Keep these bins in less accessible spots such as high shelves or pantry corners, freeing prime space for everyday items. This way, you’ll easily find what you need when the season calls for it without sacrificing daily convenience.
Being intentional about seasonal item storage helps you maintain an organized kitchen all year round.
Rarely Used Items
How often do you reach for that oversized roasting pan or specialty kitchen gadget? Chances are, not very often. To keep your kitchen clutter-free, it’s smart to separate rarely used items from daily essentials.
These items often take up valuable space but are still important for specific occasions or seasonal cooking. Think about creating a dedicated spot for these rarely used items, possibly combined with your seasonal storage.
This keeps them accessible yet out of the way. Here are some examples to consider:
- Holiday-themed bakeware
- Large roasting pans
- Specialty coffee makers
- Ice cream makers
- Extra sets of dinnerware
Plan Kitchen Zones for Efficiency
When you plan kitchen zones, you create designated areas that streamline your cooking process and reduce unnecessary movement. Organizing based on kitchen layouts and appliance placement helps you work smarter, not harder.
Start by grouping together prep, cooking, cleaning, and storage zones. Position appliances logically; for example, keep the fridge near the prep area and the stove close to utensils. This setup cuts down on back-and-forth trips and keeps everything within easy reach.
Use the table below to visualize efficient kitchen zones:
| Zone | Purpose | Key Appliances/Items |
|---|---|---|
| Prep | Food preparation | Counter space, knives |
| Cooking | Cooking meals | Stove, oven, microwave |
| Cleaning | Washing and cleanup | Sink, dishwasher |
| Storage | Food and tools | Fridge, pantry, cabinets |
Maximize Cabinet Space With Smart Storage
You can really make the most of your cabinet space by using adjustable shelves that fit exactly what you need. Plus, stackable containers are great because they keep everything organized and easy to find. And don’t forget about door-mounted racks—they add extra storage without taking up any shelf space at all.
Utilize Adjustable Shelves
Although kitchen cabinets often come with fixed shelves, adjustable shelves give you the flexibility to customize your storage space based on your needs. With adjustable shelves, you can easily change the height between shelves to fit taller items or create more compact spaces for smaller goods.
This shelf customization helps you maximize every inch of your cabinet, reducing wasted space and keeping your kitchen tidy.
Here’s how adjustable shelves can improve your storage:
- Store large pots and pans without hassle
- Create zones for spices, dishes, or canned goods
- Adjust shelf height as your collection grows
- Easily access items by lowering or raising shelves
- Optimize space for irregularly shaped containers
Incorporate Stackable Containers
Adjustable shelves set the stage for flexible storage, but incorporating stackable containers takes your organization a step further by maximizing vertical space inside cabinets. You’ll create more room and maintain neatness, enhancing kitchen aesthetics effortlessly.
Choose clear or uniform stackable containers to keep a streamlined look while making it easy to identify contents.
Here’s a quick guide to smart stackable container use:
| Container Type | Best For | Kitchen Aesthetics Impact |
|---|---|---|
| Clear Plastic | Dry Goods | Clean, modern |
| Glass Jars | Spices, Snacks | Elegant, timeless |
| BPA-Free Bins | Bulk Items | Functional, minimal |
| Label-Friendly | Any Pantry Item | Organized, cohesive |
Stackable containers save space and boost your kitchen’s style simultaneously.
Use Door-Mounted Racks
When kitchen cabinets run out of space, door-mounted racks offer a clever solution that keeps essentials within easy reach. These racks use vertical storage to maximize cabinet doors, freeing up shelves for larger items. You can easily install them inside pantry or cabinet doors to organize spices, cleaning supplies, or lids.
Door-mounted racks make it simple to spot what you need without digging through cluttered shelves. Plus, they help keep your kitchen tidy and efficient.
Consider using door-mounted racks for:
- Spice jars and bottles
- Cutting boards and baking sheets
- Cleaning sprays and cloths
- Pot lids and small pans
- Snack bags or foil wraps
This smart vertical storage turns unused door space into valuable storage, streamlining your kitchen organization.
Use Kitchen Drawer Organizers for Easy Access
Since kitchen drawers often become catch-alls for utensils and gadgets, using drawer organizers helps you find what you need quickly. For effective kitchen utensil organization, drawer divider options come in various materials and designs, letting you tailor your drawers to your needs. You can separate spoons, knives, and other tools, reducing clutter and speeding up meal prep.
Here’s a quick comparison of common drawer divider options:
| Drawer Divider Option | Best For |
|---|---|
| Plastic trays | Easy cleaning, budget-friendly |
| Bamboo inserts | Eco-friendly, stylish |
| Adjustable dividers | Custom fit, versatile |
| Mesh organizers | Lightweight, breathable |
| Silicone mats | Non-slip, easy maintenance |
Choose the right organizer to maximize your drawer space and keep everything accessible. When you invest in proper kitchen utensil organization, you’ll save time and reduce frustration during cooking and cleanup.
Make the Most of Vertical Space
Although kitchen counter and cabinet space can feel limited, you can substantially increase your storage by using vertical space effectively. Vertical shelving and hanging storage options help you free up valuable surfaces while keeping essentials within reach.
Start by installing tall shelves to utilize wall height, allowing you to store items like spices, cookbooks, and small appliances. Hanging storage, such as hooks or racks, lets you organize pots, pans, utensils, and even mugs without cluttering drawers or counters.
Install tall shelves and hooks to store spices, cookware, and utensils while freeing up counter space.
Try these ideas to maximize vertical space:
- Add vertical shelving inside cabinets for layered storage
- Use hanging racks for pots and pans above your stove
- Install magnetic strips for knives or spice jars on walls
- Hang baskets for fruits, veggies, or snacks
- Utilize pegboards to customize hanging storage for tools
Keep Countertops Clear and Functional
Keeping your countertops clear lets you work more efficiently and creates a cleaner, more inviting kitchen. To achieve this, focus on thoughtful appliance placement by only keeping everyday essentials like your coffee maker or toaster on the counter.
Store less frequently used gadgets in cabinets or drawers to avoid clutter. When it comes to countertop decor, choose a few functional pieces that improve the space without overcrowding it, such as a small bowl for fresh fruit or a stylish utensil holder.
Avoid piling up mail, keys, or random items that can quickly make your counters look messy. Remember, your countertops should serve as practical workspaces first and foremost.
Label Kitchen Containers and Shelves for Order
When you label kitchen containers and shelves, you make it easier to find what you need quickly and keep everything in its place. Labeling doesn’t just add a neat look; it helps you maintain shelves for order, so you won’t waste time searching for ingredients or tools.
Labeling kitchen containers and shelves streamlines organization, saving time and keeping everything neatly in its place.
Start by choosing clear, easy-to-read labels that stand out. Use consistent fonts and colors to keep things uniform. Don’t forget to label both the containers and the shelves themselves for maximum efficiency. This system helps everyone in your household know where items belong, reducing clutter.
Here’s how to get started:
- Use waterproof labels for durability
- Group similar items together before labeling
- Label both the front and top of containers
- Update labels if contents change
- Use chalkboard labels for reusable options
Store Kitchen Pantry Items to Keep Food Fresh
Labeling your containers and shelves sets a strong foundation for preserving your pantry items effectively. To keep food fresh, store dry goods like flour, sugar, and baking supplies in airtight containers. This prevents moisture and pests from spoiling them.
For baking supplies such as baking powder or cocoa powder, clear containers let you monitor freshness easily. Spice organization plays a big role too. Use small, sealed jars or a spice rack to keep spices airtight, preserving their flavor and aroma longer.
Group similar items together, so you can grab what you need without exposing others to air repeatedly. Also, keep pantry items away from heat and direct sunlight, which can degrade quality faster. Store grains and cereals in cool, dark spots to extend their shelf life.
With these simple storage habits, you’ll maintain freshness, reduce waste, and keep your kitchen running smoothly.
Frequently Asked Questions
How Often Should I Deep Clean My Kitchen Appliances?
You should deep clean your kitchen appliances at least once every three months to keep them running smoothly and hygienic. Sticking to a cleaning schedule helps prevent buildup and extends appliance life.
For frequently used items like your oven or refrigerator, consider monthly maintenance checks. Regular appliance maintenance not only improves performance but also reduces the risk of breakdowns, saving you time and money in the long run.
What Are the Best Materials for Durable Kitchen Storage Containers?
You know what they say: “A stitch in time saves nine.” For material durability, glass and stainless steel are top picks. They resist stains and odors and last longer than plastic.
Silicone is flexible and great for airtight seals. When choosing storage container types, consider stackable glass jars or stainless steel bins for pantry staples.
These choices not only keep your kitchen neat but also guarantee your containers stand up to daily use without wearing out quickly.
How Can I Kid-Proof My Organized Kitchen Effectively?
To kid-proof your organized kitchen effectively, focus on child safety by installing cabinet locks and drawer latches to keep toddlers out of dangerous areas. Use magnetic locks for hidden compartments and store sharp or hazardous items up high.
Toddler proofing also means securing heavy appliances and keeping cleaning products in locked cabinets. Arranging your kitchen this way guarantees your little ones stay safe while you enjoy a tidy, functional space.
What Are Eco-Friendly Options for Kitchen Organization Products?
Think of eco-friendly kitchen products like a revitalizing gust in your space. You can choose organizers made from sustainable materials like bamboo or recycled wood, which look great and reduce waste.
Biodegradable options, such as compostable drawer liners or plant-based storage bags, break down naturally over time. By picking these, you’re not only organizing your kitchen but also protecting the planet, making your space greener and more responsible.
How Do I Organize a Small Kitchen With Limited Space?
To organize a small kitchen with limited space, focus on smart storage solutions and space maximization. Use vertical shelves and wall-mounted racks to free up counter space.
Opt for stackable containers and drawer organizers to keep items tidy. Utilize cabinet doors for hanging utensils or spices. You’ll find that maximizing every inch, including under-sink areas, helps you create a functional, clutter-free kitchen that feels bigger and more efficient.
Conclusion
By clearing clutter, sorting items, and planning zones, you’ll create a kitchen that works for you. By maximizing cabinets, using vertical space, and keeping counters clear, you’ll boost both function and style.
By labeling containers and storing pantry goods properly, you’ll maintain order and freshness every day. Organizing your kitchen isn’t just about neatness; it’s about making cooking easier, faster, and more enjoyable.
Start today, stay consistent, and savor the difference organizing your kitchen can make!