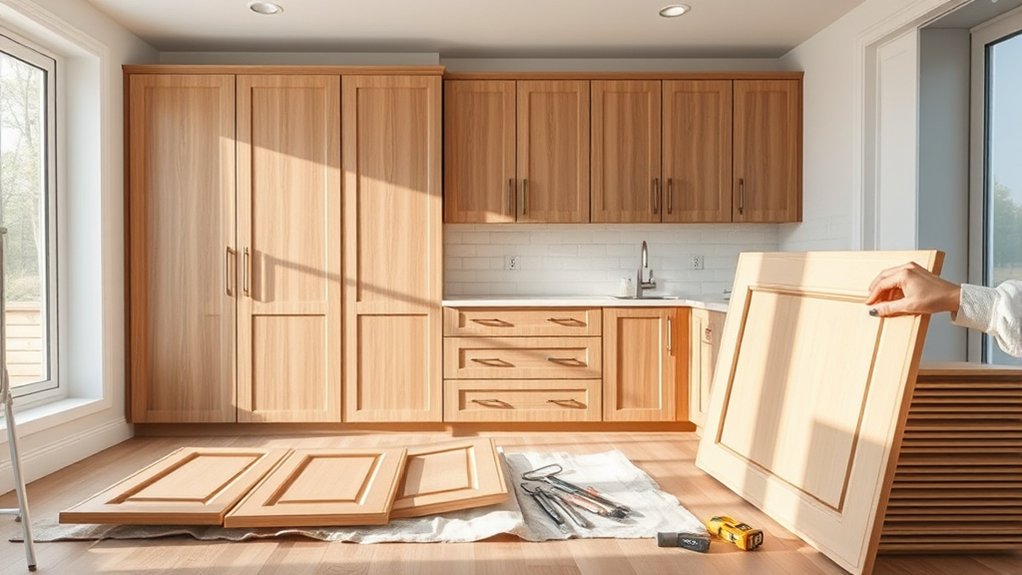
Reface Kitchen Cabinets in 7 Easy Steps
Updating your kitchen can feel overwhelming, especially when your cabinets look worn or outdated. You’re not alone—many people struggle with finding affordable, effective ways to refresh their space without a full remodel.
Luckily, refacing kitchen cabinets offers a practical solution that can transform your kitchen’s look without breaking the bank.
You can reface your kitchen cabinets in seven easy steps: start by gathering the right tools, materials, and safety gear to stay on budget and prepared.
Next, pick new cabinet doors, drawer fronts, and finishes that suit your style.
Carefully remove old doors and hardware, then clean and prep the cabinet boxes.
Install the new doors and fronts, add hardware, and adjust for a perfect fit.
Finish with touch-ups and a protective coating.
Keep going to uncover tips for a flawless finish.
Key Takeaways
- Plan your budget and gather essential tools like sandpaper, adhesives, and safety gear before starting the cabinet refacing project.
- Choose cabinet styles, materials, and finishes that complement your kitchen’s design. Make sure your drawer and door fronts look cohesive.
- Carefully remove old doors, drawer fronts, and hardware. Keep screws organized for reuse and avoid damaging the cabinet boxes.
- Clean cabinets thoroughly to remove grease and dust. Inspect for any damage and allow them to dry completely before installation.
- Align and attach new cabinet doors and drawer fronts. Install hardware with consistent measurements, adjust hinges, and apply protective coatings.
Gather Essential Tools and Materials for Cabinet Refacing
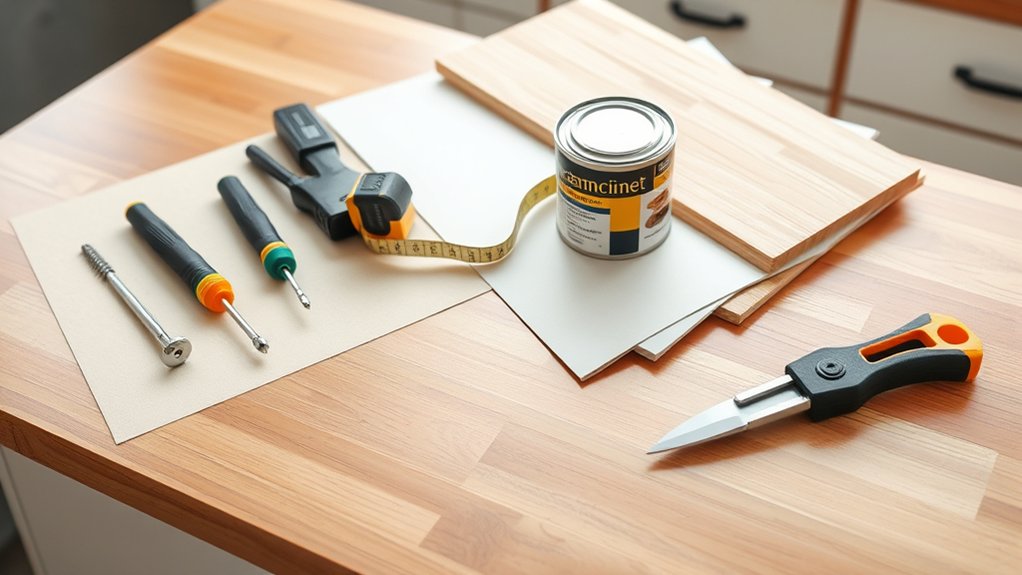
Before you begin refacing your kitchen cabinets, you’ll need to gather all the essential tools and materials to guarantee a smooth process. Start with budget planning to make sure you don’t overspend. List every item you’ll need, from sandpaper and adhesives to new veneers or laminates.
Material selection plays a vital role here. Choose quality products that match your kitchen’s style and durability needs without breaking the bank. You’ll also want a drill, screwdriver, clamps, and a good utility knife on hand. Don’t forget safety gear like gloves and goggles.
Preparing everything beforehand helps you avoid interruptions and keeps your project on track. By focusing on a clear budget and carefully selecting materials, you’ll set yourself up for a successful cabinet refacing experience that’s both efficient and cost-effective.
This preparation lays the foundation before you move on to choosing new cabinet doors and drawer fronts.
Choose Your New Kitchen Cabinet Doors and Drawer Fronts
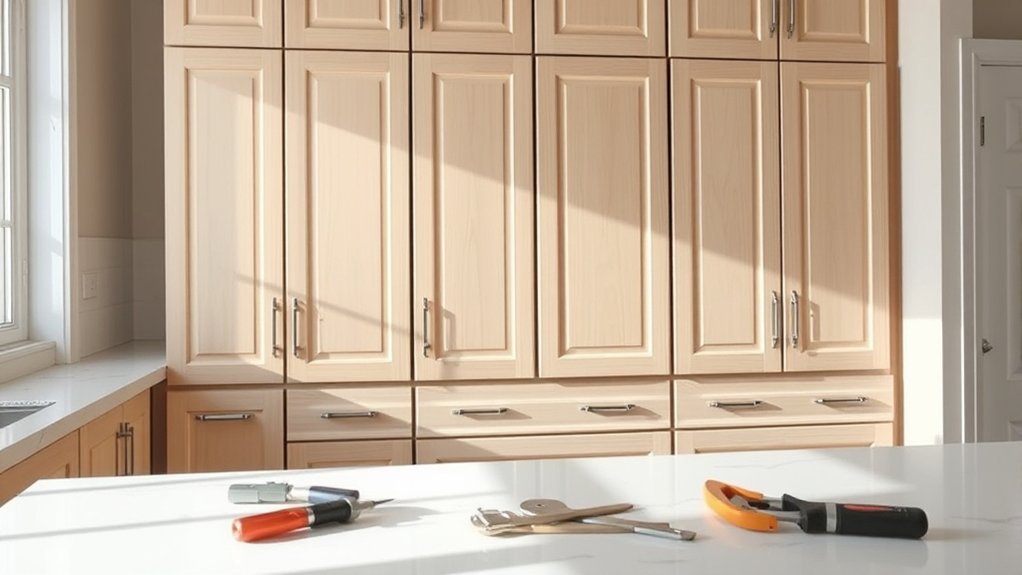
Once you’ve gathered your tools and materials, it’s time to focus on selecting new cabinet doors and drawer fronts that will define your kitchen’s updated look. Start by exploring various style options, from sleek, modern flat panels to classic raised panels or shaker styles. Your choice sets the tone, so consider what complements your kitchen’s overall design.
Next, evaluate material choices. Solid wood offers durability and timeless appeal, while MDF provides a smooth surface ideal for painted finishes and is budget-friendly. Thermofoil and laminate options resist moisture and stains, perfect for busy kitchens.
Don’t forget to factor in finishes and colors that improve your space. Remember, matching drawer fronts to cabinet doors ensures a cohesive appearance. Take your time reviewing samples and imagining how each option fits your kitchen’s personality.
Remove Old Cabinet Doors, Drawer Fronts, and Hardware
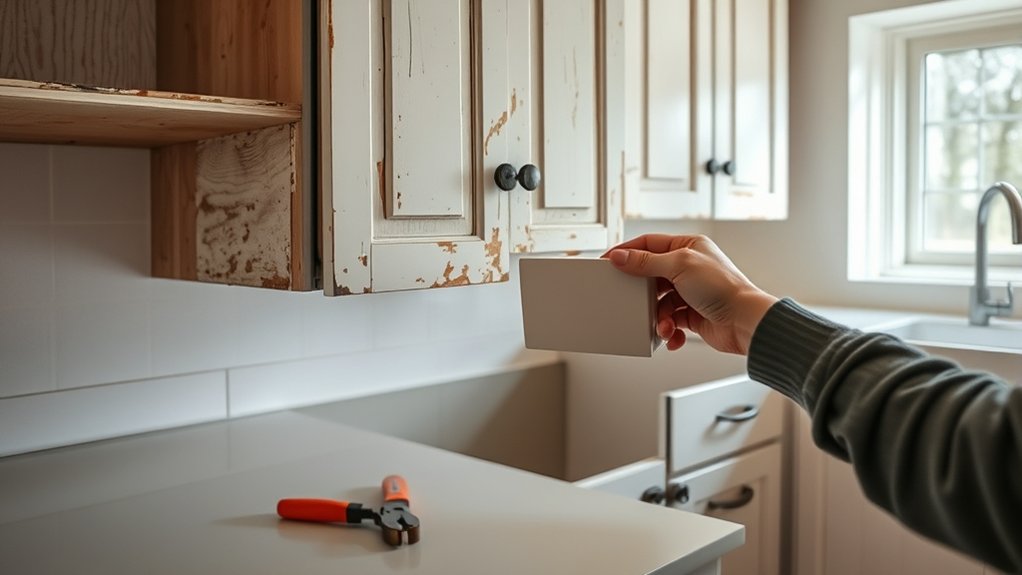
As you prepare to reface your kitchen cabinets, start by carefully removing the old doors, drawer fronts, and hardware. Use a screwdriver to unscrew hinges and pulls, keeping all screws in a labeled container if you plan to reuse any parts. Take your time to avoid damaging cabinet boxes, which you’ll prepare later.
Removing these components is an essential step in cabinet remodeling because it allows you to work with clean surfaces and guarantees your new doors and drawer fronts fit perfectly.
During this process, pay attention to the condition of the existing hardware. If it looks worn or outdated, it’s a good opportunity for hardware replacement, which can instantly update your kitchen’s look.
Removing hardware carefully also prevents stripping screws or damaging the wood. With your cabinets stripped down, you’re ready to move on to cleaning and prepping the cabinet boxes for the new installation.
This step sets a solid foundation for a successful refacing project.
Clean and Prepare Cabinet Boxes for Installation
With the cabinet doors, drawer fronts, and hardware removed, you can focus on cleaning and prepping the cabinet boxes themselves. Start by thoroughly wiping down all surfaces to remove grease, dust, and debris. Use a mild cleaner that won’t damage the material, especially if your cabinet boxes are made of particleboard or MDF.
Inspect the boxes for any damage or weak spots; repairing these now will save headaches later. Keep cabinet material selection and budget planning in mind during this phase. If your boxes are outdated or damaged beyond repair, consider how replacing them fits into your overall budget.
Proper preparation ensures a smooth installation of your new cabinet fronts and hardware, so don’t rush this step. Taking the time to clean and prep thoroughly will extend the life of your cabinets and improve the final look of your kitchen.
Install New Cabinet Doors and Drawer Fronts
Before installing your new cabinet doors and drawer fronts, make sure the cabinet boxes are completely dry and clean to guarantee proper adhesion and fit. This step is essential for a seamless look.
When you’re ready, align each door and drawer front carefully, considering your creative design vision and the material selection you’ve made. These choices impact both style and durability.
Take your time to:
- Feel the satisfaction of transforming your kitchen with fresh surfaces.
- Enjoy the harmony between your creative design and practical material choices.
- Experience the excitement as your cabinets start to look brand new.
Install Hardware and Adjust for Proper Fit
Now that your cabinet doors and drawer fronts are securely in place, it’s time to install the hardware that brings both function and style to your kitchen. Begin by marking the hardware placement carefully to guarantee handles and knobs align perfectly with your design. Use a template or measure consistently to avoid uneven installation.
Next, attach the hardware with screws, tightening them firmly but not over-tightening to prevent damage. After installing the handles or knobs, focus on hinge adjustment for proper fit. Open and close each door to check alignment, then use the hinge screws to fine-tune.
Adjust the depth, height, and side-to-side position until doors close smoothly without gaps or rubbing. Proper hinge adjustment ensures your cabinets look polished and operate effortlessly. Taking your time here will make a big difference in both the appearance and function of your newly refaced kitchen cabinets.
Touch up and Seal Cabinets With Protective Coating
After you’ve installed and adjusted your hardware, it’s crucial to touch up any imperfections and apply a protective coating to your cabinets. This step guarantees your work lasts and looks flawless. Use a fine brush to carefully fix any paint chips or uneven spots.
Next, apply a high-quality protective coating to seal the surface, safeguarding your cabinets from moisture, stains, and daily wear. Surface sealing not only improves durability but also gives your cabinets a polished finish that shines.
When choosing protective coatings, consider options that resist scratches and yellowing over time. Remember, this final touch preserves your kitchen’s fresh, updated look, saves you from frequent repairs and maintenance, and boosts your confidence in your DIY skills.
Sealing your cabinets is the key to a long-lasting makeover, so take your time and protect your hard work with the right products.
Frequently Asked Questions
How Long Does the Entire Cabinet Refacing Process Typically Take?
The entire cabinet refacing process typically takes about 3 to 5 days. You’ll start by choosing your cabinet color and hardware selection, which can impact the timeline if you need extra time deciding.
Once materials arrive, professionals remove doors and drawer fronts, apply veneers or laminates, and install new hardware. Staying organized and making quick decisions helps you get your kitchen refreshed without unnecessary delays.
Can I Reface Cabinets Myself Without Prior Woodworking Experience?
You’ve heard “measure twice, cut once,” and it’s spot on here. Yes, you can reface cabinets yourself without prior woodworking experience, especially if you focus on cabinet painting and hardware replacement.
These tasks are beginner-friendly and can transform your kitchen without heavy carpentry. Just take your time, follow tutorials, and prepare your workspace well.
With patience and care, you’ll get great results and save money by doing it yourself.
What Is the Average Cost of Refacing Kitchen Cabinets?
You can expect to spend between $1,000 and $9,000 on cabinet refacing, depending on your kitchen size and the cabinet styles you choose. Material options like laminate, wood veneer, or thermofoil affect the price, with wood veneer usually costing more.
If you pick classic or contemporary styles, prices might vary too. Considering your budget and desired look helps you decide which materials and styles fit best without overspending.
Are There Eco-Friendly Materials Available for Cabinet Refacing?
You’ll find more eco-friendly materials for cabinet refacing than there are stars in the sky! You can choose sustainable finishes made from natural oils or water-based products that reduce toxins.
Many companies now offer recycled materials like reclaimed wood or recycled laminates, helping you cut down on waste and environmental impact. By opting for these options, you’re not just upgrading your kitchen, you’re making a planet-friendly choice that feels great every day.
How Do I Maintain and Clean My Newly Refaced Cabinets?
You should clean your newly refaced cabinets regularly with a soft cloth and mild soap to keep the cabinet paint looking fresh. Avoid harsh chemicals or abrasive scrubbers that can damage the finish.
Wipe spills promptly to prevent stains. For added longevity, check hardware upgrades like handles and hinges periodically to guarantee they’re tight and functioning well.
This simple routine helps maintain both the look and functionality of your cabinets.
Conclusion
Now that you’ve breathed new life into your kitchen cabinets, your space shines like a freshly polished gem. With your hands as the artist’s brush, you’ve transformed the ordinary into the extraordinary.
Remember, each step you took was a stroke of creativity and care, crafting a kitchen that’s not just functional but a reflection of you. Celebrate your handiwork, and let your refreshed kitchen cabinets inspire countless new memories.