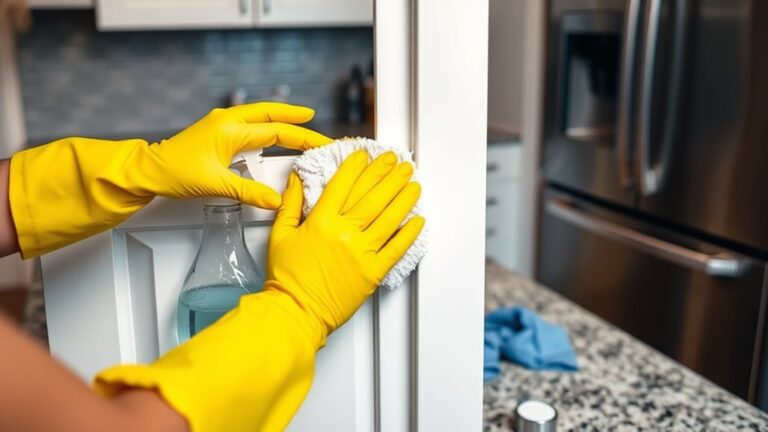
Can You Paint Kitchen Cabinets Step-by-Step?
If you’ve ever wanted to give your kitchen a fresh new look but felt overwhelmed by the idea of painting cabinets, you’re not alone. Many people struggle with where to start or worry about ending up with a messy, uneven finish.
The good news is, painting kitchen cabinets step-by-step can be a manageable and rewarding project when you have the right guidance and tools.
Yes, you can paint kitchen cabinets step-by-step by starting with the right tools like sandpaper, primer, and quality paint.
First, remove hardware and clean thoroughly, then sand for a smooth surface.
Apply primer evenly and paint in thin, even coats, letting each dry fully.
Finish by reinstalling doors and hardware carefully.
With proper preparation and technique, you’ll get a durable, professional finish.
Keep going to uncover tips for flawless application and maintenance.
Key Takeaways
- Remove cabinet doors and hardware, then clean surfaces thoroughly to remove grease and dirt before painting.
- Sand cabinets using medium, then fine-grit sandpaper, sanding with the wood grain for a smooth finish.
- Apply a suitable primer evenly, allowing it to dry fully and sanding lightly before painting.
- Paint with thin, even coats using a high-quality brush or roller. Let each coat dry completely between layers.
- Reinstall doors and hardware carefully, making sure everything aligns well and operates smoothly without gaps or rubbing.
Tools and Materials Needed to Paint Kitchen Cabinets

Before you begin painting your kitchen cabinets, gather all the essential tools and materials to guarantee a smooth process. You’ll need sandpaper or a sanding block to prep surfaces, a high-quality primer, and paint that suits your chosen color options.
Selecting the right paint is vital since it affects durability and appearance. Don’t forget brushes, rollers, or a paint sprayer to apply your paint evenly. Painter’s tape and drop cloths will protect your walls and floors from spills.
When selecting materials, keep in mind the paint finishes you plan to use, like matte, satin, or semi-gloss, since each offers different levels of sheen and ease of cleaning. Also, have a screwdriver handy to remove cabinet doors and hardware before starting.
Proper preparation and the right tools guarantee your project goes smoothly and results in a professional-looking finish that complements your kitchen’s style and your preferred color options.
How to Choose the Right Paint and Finish for Kitchen Cabinets

Choosing the right paint and finish can really make all the difference when it comes to your kitchen cabinets’ look and durability. You’ll want to get a good grasp of the main paint types out there, and also understand how different finishes can affect both wear and shine. So, let’s break down your options together, and help you pick what works best for your space.
Paint Types Overview
When you decide to paint your kitchen cabinets, selecting the right paint type and finish is essential for durability and appearance. You’ll find various paint color options, but the paint type you choose affects how well it holds up against daily wear. Using proper paintbrush techniques also guarantees a smooth, professional look.
Here’s a quick overview:
| Paint Type | Best For |
|---|---|
| Latex | Easy cleanup, good durability |
| Oil-Based | Smooth finish, tough surface |
| Acrylic Enamel | Combines durability and sheen |
Latex paints dry faster and clean easily, making them ideal for beginners. Oil-based paints provide a harder finish but take longer to dry. Acrylic enamel balances durability and gloss.
Pick the right type to match your kitchen’s needs, then master your paintbrush techniques to get flawless cabinets.
Finishing Options Explained
Selecting the right paint type sets the foundation, but the finish you choose can dramatically impact your kitchen cabinets’ look and durability. When deciding, consider how the finish complements your kitchen’s style and offers the best durability. Here’s how to choose:
- Matte: Hides imperfections well, ideal for a subtle, modern look.
- Satin: Offers a soft sheen, balancing elegance and easy cleaning.
- Semi-gloss: Great for color coordination, adds a bright, durable surface.
- Glossy: Perfect if you want a bold, reflective finish that stands up to wear.
- Oil-based vs. water-based: Oil-based paints provide a harder finish but take longer to dry; water-based dry quickly and have less odor.
Picking the right finish guarantees your cabinets stay beautiful and functional for years.
How to Prepare Kitchen Cabinets: Cleaning and Removing Old Finish
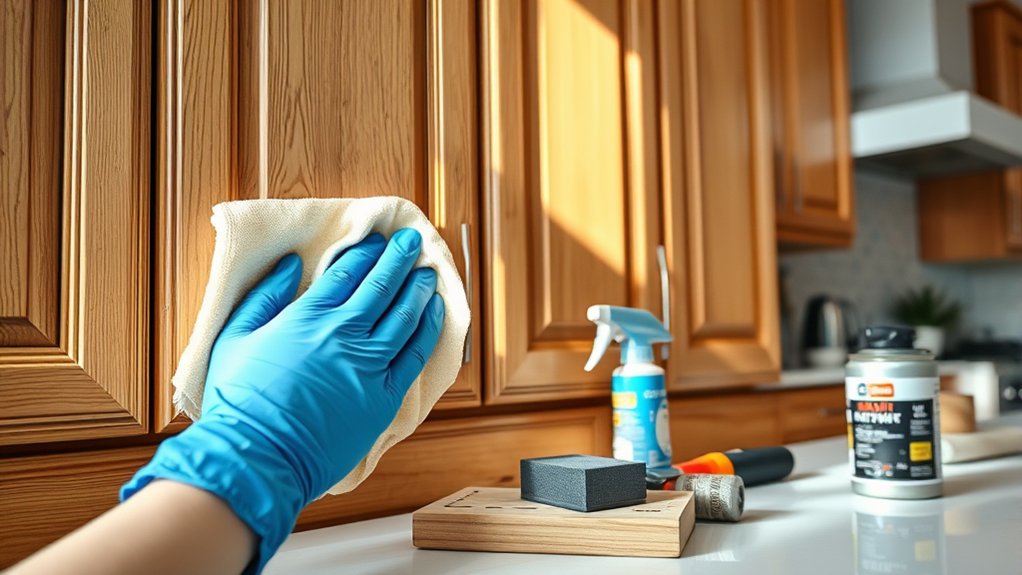
Before you start painting, you’ll want to give your cabinets a good, thorough cleaning to get rid of any grease and dirt. This step is really important because it helps the new paint stick better. After that, you’ll need to strip off any old paint or finish. Taking this extra time ensures your new coat goes on smoothly and lasts longer. Once that’s done, go ahead and sand the surfaces until they’re nice and smooth. This creates the perfect base for painting and helps your cabinets look professional when you’re finished.
Cleaning Kitchen Cabinet Surfaces
Although cleaning kitchen cabinet surfaces might seem straightforward, it’s an essential step that guarantees paint adheres properly and lasts longer. Before you start painting, make sure you remove all dirt, grease, and residues, especially around cabinet accessories like handles and hinges. This assures your chosen paint color looks smooth and vibrant.
Follow these quick tips to clean effectively:
- Remove cabinet accessories and soak them separately.
- Wipe surfaces with a degreasing cleaner or a mixture of warm water and mild detergent.
- Use a soft brush or sponge to scrub stubborn spots gently.
- Rinse thoroughly with clean water to remove any soap residue.
- Let cabinets dry completely before you begin painting.
Taking time here will make your paint job look professional and last for years!
Removing Old Paint Finish
Once you’ve cleaned your cabinets thoroughly, the next essential step is removing the old paint finish to guarantee a smooth, lasting new coat. Start by applying a chemical paint stripper or using a heat gun to soften the old paint.
Carefully scrape off the softened paint with a putty knife, working gently to avoid damaging the wood. Removing the old finish helps reveal the cabinet’s true surface, ensuring better paint adhesion and improving paint durability.
This step also allows you to better assess the original color, which can be vital for color matching if you plan to blend new paint with existing areas. Taking the time to remove the old finish properly prevents peeling and uneven coverage, setting you up for a professional-quality kitchen cabinet makeover.
Sanding For Smooth Base
After removing the old paint finish, you’ll want to sand your kitchen cabinets to create a smooth, even surface that helps new paint stick better. Proper sanding improves paint durability and guarantees your color matching stays true without blotches or uneven patches. Here’s how to get it right:
Use fine-grit sandpaper (220 grit) for the final pass to smooth the surface. Sand in the direction of the wood grain to avoid scratches.
Wipe away dust with a tack cloth for a clean base. Pay close attention to edges and corners where paint tends to peel.
Avoid over-sanding to prevent damaging the wood or compromising the cabinet’s integrity. This careful sanding step sets the stage for flawless paint application and long-lasting results.
How to Sand Kitchen Cabinets for a Smooth Paint Surface
Before you apply any paint, you need to sand your kitchen cabinets to create a smooth surface that helps the paint adhere better. Start by removing the cabinet doors and hardware. Use medium-grit sandpaper (around 120-150 grit) to sand the entire surface lightly.
Focus on areas with old paint or finish to make sure you remove any gloss that could interfere with the new paint. Sanding evens out imperfections and preps the cabinets for your chosen cabinet color. After the initial sanding, switch to fine-grit sandpaper (220 grit) for a smoother finish.
Remember to sand in the direction of the wood grain to avoid scratches. Once you’re done, wipe down the cabinets with a damp cloth to remove dust. This step is essential because any leftover dust can affect the paint sheen and final appearance.
Proper sanding guarantees a flawless, professional-looking cabinet makeover.
How to Prime Kitchen Cabinets for Best Results
Sanding your kitchen cabinets creates the perfect base for paint, but priming is what really guarantees your finish lasts and looks smooth. Before you start, make sure you remove or cover your cabinet hardware to avoid sticky paint spots.
Choose a primer that suits your cabinet material, whether wood, laminate, or metal, to ensure proper adhesion. Priming also helps with color coordination, especially if you’re switching from a dark to a light shade or vice versa.
Follow these steps to prime like a pro:
- Clean cabinets thoroughly to remove dust and grease
- Apply primer evenly with a high-quality brush or roller
- Let the primer dry completely according to instructions
- Lightly sand the primer coat for a smooth surface
- Wipe off sanding dust before painting
Step-by-Step Guide to Painting Kitchen Cabinets
Now that your cabinets are primed, it’s time to get them ready for painting by cleaning and sanding the surfaces. This step is important because it helps the paint stick better. When you start painting, try to apply the paint evenly. Use smooth, consistent strokes—that way, you can avoid drips and streaks. Just follow these steps carefully, and you’ll be able to achieve a professional-looking finish without much hassle.
Preparing Cabinet Surfaces
Although prepping your cabinets might seem tedious, it’s the essential step that guarantees your paint adheres smoothly and lasts longer. Start by removing all cabinet hardware, like handles, knobs, and hinges, to give you clear access to every surface.
Next, clean the cabinets thoroughly to remove grease and dirt. Lightly sand the surfaces to help the paint stick better. Don’t forget to wipe away dust with a damp cloth after sanding.
Finally, set up a dedicated paint storage area to keep your supplies organized and prevent contamination.
- Remove all cabinet hardware carefully
- Clean surfaces with degreaser
- Lightly sand with fine-grit sandpaper
- Wipe down to remove dust
- Organize paint storage to protect your materials
Following these steps guarantees your cabinets are perfectly prepped for painting.
Applying Paint Evenly
Once your cabinets are prepped and dry, you can focus on applying paint evenly to achieve a professional finish. Start by stirring your paint thoroughly to guarantee consistent color mixing. This prevents streaks or uneven patches.
Use a high-quality brush or foam roller, applying thin coats to avoid drips and brush marks. Paint in smooth, even strokes, following the grain of the wood when possible.
Between coats, let the paint dry fully according to the manufacturer’s instructions. Don’t forget to seal leftover paint properly. Store it in an airtight container in a cool, dry place to maintain its quality for touch-ups.
Taking these steps guarantees even coverage and a durable, attractive finish on your kitchen cabinets.
Applying Multiple Coats Without Drips or Brush Marks
To achieve a smooth, professional finish when applying multiple coats, you’ll need to control the amount of paint on your brush and work quickly but carefully to avoid drips and brush marks. Proper color matching and paint blending between coats are essential to keep your cabinets looking seamless.
Here’s how to apply multiple coats flawlessly:
- Dip your brush lightly, tapping off excess paint to prevent drips.
- Apply thin, even layers using long, smooth strokes following the wood grain.
- Allow each coat to dry completely before sanding lightly with fine-grit sandpaper.
- Blend edges of each coat carefully to avoid visible lines or patches.
- Maintain consistent paint color and sheen by mixing leftover paint from previous coats.
How to Reinstall Cabinet Doors and Hardware Correctly
After your paint has fully dried and cured, you’ll want to carefully reinstall the cabinet doors and hardware to guarantee everything functions smoothly and looks polished. Start by aligning each door with the hinges and securing screws tightly. Use precise reinstallation techniques to avoid stripping screws or misalignment.
Next, attach the cabinet hardware, such as handles, knobs, or pulls, making sure they’re straight and firmly fixed. Check that doors open and close without rubbing or gaps.
Here’s a quick guide to ease your reinstallation process:
| Step | Emotion | Tip |
|---|---|---|
| Align hinges | Confidence | Use a level for accuracy |
| Tighten screws | Satisfaction | Avoid overtightening |
| Attach hardware | Pride | Match original placements |
Common Mistakes to Avoid When Painting Kitchen Cabinets
Reinstalling your cabinet doors and hardware correctly sets the stage for a flawless finish, but painting kitchen cabinets comes with its own set of challenges you’ll want to watch out for. Avoid these common mistakes to guarantee your project looks professional and lasts:
- Skipping proper surface prep, which leads to peeling paint and uneven texture.
- Ignoring current color trends, making your cabinets look dated instead of fresh.
- Choosing paint that clashes with your cabinet styles, harming the overall kitchen harmony.
- Applying too thick a coat, causing drips and long drying times.
- Rushing the sanding between coats, resulting in a rough finish.
How to Maintain Painted Kitchen Cabinets for Long-Lasting Results
Although painting your kitchen cabinets can transform your space, maintaining that fresh look requires regular care and attention. To keep your cabinets looking pristine, clean them gently with a soft cloth and mild detergent, avoiding abrasive cleaners that can damage the finish. Pay attention to cabinet styles and any intricate details, as dirt tends to accumulate in grooves.
Regularly check for chips or scratches and touch them up promptly to prevent further damage. Don’t forget to contemplate color coordination when updating your kitchen accessories or walls; keeping hues complementary boosts your cabinets’ appeal. Avoid excessive moisture near painted surfaces by wiping spills immediately and using exhaust fans during cooking.
Finally, handle doors and drawers with care to prevent wear on hinges and edges. By following these simple steps, you’ll preserve your cabinets’ beauty and extend their lifespan, ensuring your kitchen stays vibrant and inviting for years to come.
Frequently Asked Questions
Can I Paint Kitchen Cabinets Without Removing the Doors?
Yes, you can paint kitchen cabinets without removing the doors, but it takes extra care. Start by thoroughly cleaning your cabinets to remove grease and dirt.
Choose your paint color carefully to match your kitchen’s style. Use painter’s tape to protect hinges and hardware. Painting the doors while they’re attached can be tricky, so work slowly and apply thin, even coats for the best finish.
How Long Does the Entire Cabinet Painting Process Take?
Painting kitchen cabinets usually takes 3 to 5 days. You’ll go from bare wood to a vibrant, durable finish.
While you wait for each coat to dry, you can examine color options. Imagine how bold hues or soft pastels will transform your space.
Though the process feels slow, the paint durability you achieve makes every hour worth it. You’ll love the fresh look that stands up to daily kitchen wear and tear.
Is It Better to Use a Brush, Roller, or Spray for Painting Cabinets?
You’ll find spray application gives you the smoothest, fastest finish on cabinets, especially for flat surfaces and intricate details. However, brush techniques are essential for cutting in edges and corners where the sprayer can’t reach cleanly.
Using both methods together works best: spray for broad areas and a high-quality brush for precision. This combo lets you achieve a professional, even look without brush marks or uneven spots.
Can I Paint Over Laminate Kitchen Cabinets?
Yes, you can paint over laminate kitchen cabinets, but laminate prep is essential to guarantee paint adhesion. Start by cleaning the surface thoroughly, then lightly sand to roughen it up.
Use a high-quality primer designed for laminate to improve paint compatibility. After priming, choose a durable paint like acrylic or enamel.
Taking these steps will help your paint stick well and last longer on those smooth laminate surfaces.
What Is the Best Time of Year to Paint Kitchen Cabinets?
The absolute best time of year to paint kitchen cabinets is when the weather behaves like a dream: mild, dry, and breezy. This usually means spring or early fall. You want your paint to dry perfectly, so selecting the right paint types for your cabinets matters as much as your color selection.
Avoid humid summers or freezing winters because they’ll turn your project into a nightmare. Timing it right guarantees a flawless, long-lasting finish you’ll love.
Conclusion
Painting your kitchen cabinets can boost your home’s value by up to 5%, making it a smart DIY project. By following these steps—prepping, sanding, priming, and applying paint carefully—you’ll get professional-looking results without the costly price tag.
Just remember to avoid common mistakes and maintain your cabinets well. With patience and attention to detail, you’ll enjoy a fresh, stylish kitchen that lasts for years.
Ready to get started painting your kitchen cabinets step-by-step?