How to Plumb a Kitchen Sink in 7 Easy Steps
If you’ve ever tried to plumb a kitchen sink, you know it can feel overwhelming and frustrating. You’re not alone—many people struggle with getting everything installed correctly without leaks or clogs. Whether you’re tackling this for the first time or just want a smoother installation, having a clear, simple guide can make all the difference.
First, gather all necessary tools and materials, then turn off the water supply and clear your sink area.
Next, install the faucet securely and connect the water supply lines tightly to avoid leaks.
After that, install the drain assembly and attach the P-trap, guaranteeing proper alignment.
Test for any leaks and check drainage performance thoroughly.
If any issues arise, troubleshoot common problems like leaks or clogs to ensure smooth operation.
Keep going to uncover helpful tips for a flawless setup.
Key Takeaways
- Turn off the water supply and clear your workspace before starting. This helps prevent spills and keeps things safe.
- Install the faucet by securing the mounting brackets. Then connect the flexible supply lines tightly to the shut-off valves.
- Assemble and install the drain components, including the strainer, gasket, tailpiece, and P-trap. Make sure all connections are secure and leak-free.
- Apply plumber’s tape on threaded joints. Hand-tighten all fittings to ensure a good seal without overtightening.
- Test the system by turning the water on slowly. Check for leaks and confirm smooth drainage without gurgling or backups.
Gather Tools and Materials
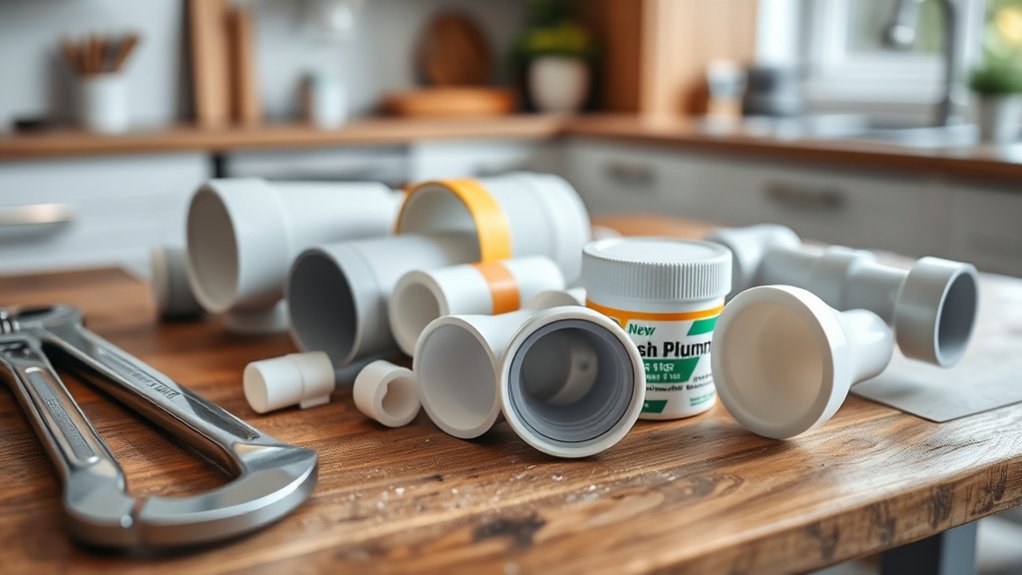
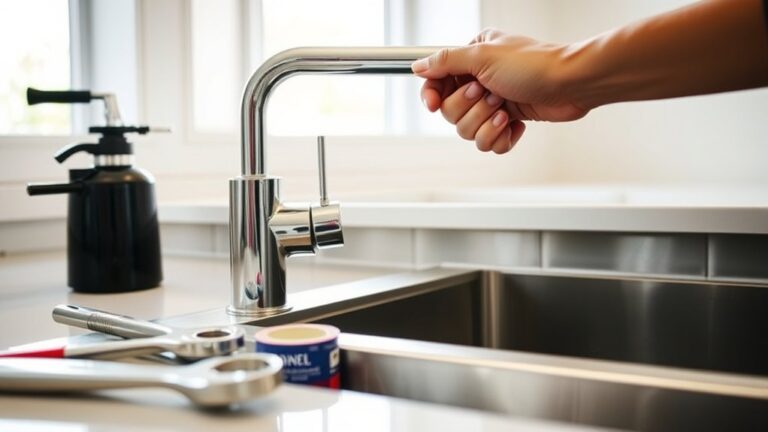
Before you begin plumbing your kitchen sink, make sure you gather all the necessary tools and materials. Having everything on hand will save you time and frustration. You’ll need a pipe wrench, adjustable pliers, a basin wrench, plumber’s tape, and a hacksaw if you need to cut pipes.
Gather all essential tools like wrenches and plumber’s tape before starting to avoid delays and frustration.
Don’t forget pipe insulation to protect your pipes from temperature changes and reduce noise. Also, grab a bucket and rags for any water spills.
Knowing your water pressure is crucial before starting. If your home has high water pressure, it can strain the plumbing system, so you may want to have a pressure regulator handy.
Additionally, pick up flexible supply lines, PVC pipes, and fittings compatible with your sink. Having these items ready ensures a smooth process and helps you avoid unexpected trips to the hardware store once you start working.
Being organized from the beginning sets you up for success.
Turn Off Water Supply and Prepare the Sink Area
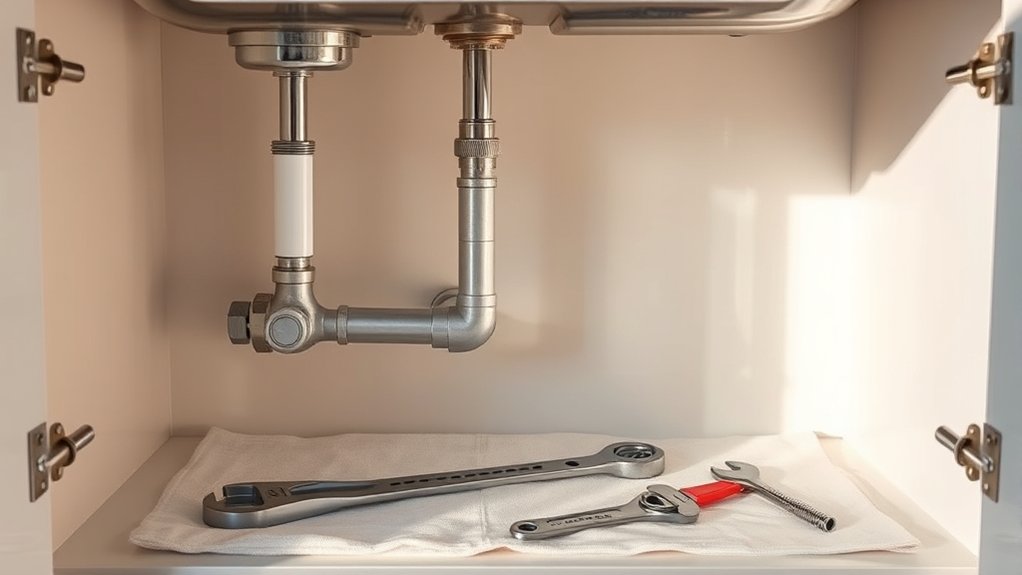
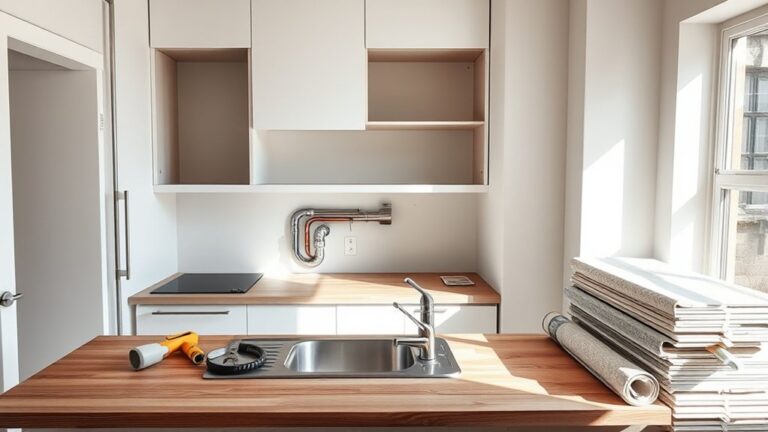
Once you’ve gathered your tools, turn off the water supply to prevent any leaks or spills while working. Locate the shut-off valves under the sink and turn them clockwise to stop the water flow. If there aren’t individual valves, turn off the main water supply to your home.
After shutting off the water, open the faucet to release any remaining water and relieve water pressure in the pipes. This step minimizes the risk of sudden sprays when disconnecting plumbing.
Next, clear out the cabinet under your sink to give yourself plenty of workspace. Inspect the pipes for existing pipe insulation, and if any is damaged or missing, plan to replace it later.
Proper pipe insulation helps maintain water temperature and prevents condensation, which is crucial for preventing future leaks or mold. Finally, wipe down the sink area and surrounding surfaces to ensure everything is clean and ready for the next steps in your kitchen sink installation.
Install the Faucet
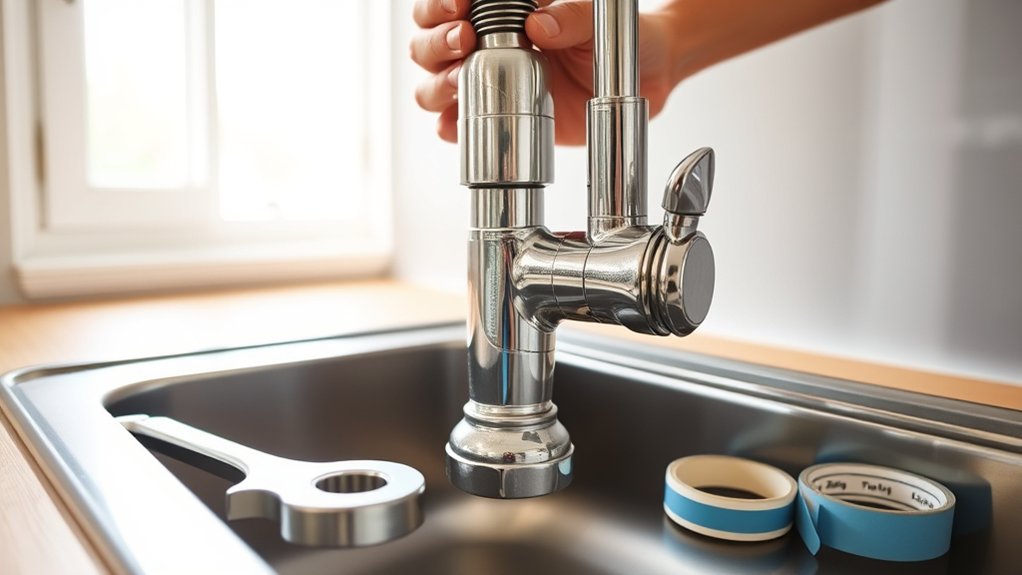
Now that the sink area is ready, you’ll want to pick the right faucet type that suits your needs. Once you’ve got that sorted, go ahead and prepare the mounting surface to make sure the faucet fits securely. After that, carefully connect the water supply lines—this step is super important to avoid any leaks.
Choose Faucet Type
Selecting the right faucet type is essential for both functionality and style in your kitchen. You’ll want to evaluate various faucet styles, such as single-handle, double-handle, pull-down, or touchless models, depending on your needs and kitchen design.
Each style offers different advantages. Single-handle faucets provide easy temperature control, while pull-down faucets improve flexibility with extended reach. Pay attention to water flow rates too, as efficient models save water without sacrificing performance.
Think about how often you cook and clean in your sink, and choose a faucet that suits your routine. By focusing on faucet styles and water flow, you guarantee your kitchen faucet is both practical and visually appealing, setting the foundation for a smooth plumbing installation.
Prepare Mounting Surface
After choosing the right faucet, you’ll need to get the mounting surface ready for installation. Start by examining your countertop materials. Some require special care or reinforcement before mounting. Next, clean the area thoroughly to guarantee a secure fit. Check that the mounting holes align with your new faucet. If your faucet uses mounting brackets, make sure they’re included and compatible with your countertop thickness.
Keep these tips in mind:
- Verify hole size matches faucet specifications.
- Remove any debris or old sealant.
- Reinforce fragile countertop materials if needed.
- Test fit mounting brackets before final assembly.
Preparing the surface carefully helps avoid leaks and ensures your faucet stays stable for years.
Connect Water Supply
How do you guarantee your new faucet works flawlessly once installed? First, verify you connect the water supply properly. Check your home’s water pressure to avoid leaks or poor flow.
Use appropriate valve types, typically ball valves or gate valves, to control water flow efficiently. Attach flexible supply lines from the valves to the faucet inlets, tightening connections securely but not overtightening.
Here’s a quick reference for valve types and their uses:
| Valve Type | Best Use |
|---|---|
| Ball Valve | Quick shutoff |
| Gate Valve | Precise flow control |
| Compression | Standard supply line |
Connect Water Supply Lines to the Kitchen Sink Faucet
Where do you start when connecting the water supply lines to your kitchen sink faucet? First, confirm your water pressure matches the faucet’s specifications to avoid leaks or damage. Check for faucet compatibility by verifying the supply line size and connection type.
Next, gather the necessary tools and materials. Then, follow these key steps:
Gather your tools and materials before proceeding with these essential installation steps for a secure faucet connection
Shut off the main water supply to prevent spills. Attach flexible water supply lines to the faucet’s threaded inlets. Connect the other ends of the supply lines to the shutoff valves.
Tighten all connections with an adjustable wrench, but be careful not to overtighten and cause damage.
Remember to turn the water back on slowly and check for leaks. Proper connection ensures reliable water flow and protects your faucet from unnecessary wear. By paying attention to water pressure and faucet compatibility, you’ll have a smooth, leak-free installation.
Install the Drain Assembly and Attach the P-Trap
Now it’s time to install the drain assembly. Start by identifying each component, then secure the drain fitting tightly. Be sure to place the gasket and plumber’s putty properly—this helps prevent any leaks.
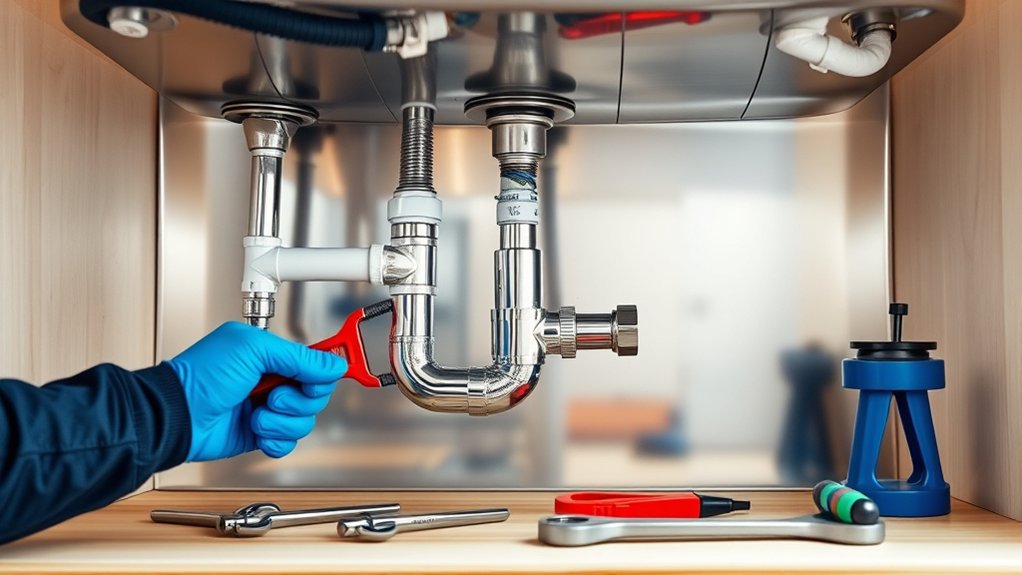
Once the drain is set, you’ll connect the P-trap to the drain tailpiece. After that, attach the other end of the P-trap to the wall drainpipe, and you’ll have the setup complete.
Drain Assembly Components
A properly installed drain assembly guarantees your kitchen sink drains efficiently and prevents leaks. When assembling, focus on key components that assure smooth water flow and odor prevention.
First, the drain pipe connects your sink to the home’s plumbing system, directing wastewater away. The venting system is essential too, as it allows air to enter and prevents suction that could disrupt drainage.
Remember to include these components:
- Strainer: prevents debris from entering the drain pipe
- Rubber gasket: seals connections to avoid leaks
- Tailpiece: links the drain to the P-trap
- P-trap: holds water to block sewer gases
Securing The Drain Fitting
How do you guarantee a secure and leak-free connection when installing your kitchen sink’s drain assembly? Start by applying a generous bead of drain sealant around the drain opening on your sink. Carefully place the drain fitting, ensuring perfect fitting alignment to avoid leaks.
Tighten the locknut from underneath, but don’t overtighten because it can damage the sink or fitting. Wipe away any excess sealant to keep things neat.
| Step | Key Tip |
|---|---|
| Apply drain sealant | Use enough to create a good seal |
| Position fitting | Align carefully for tight fit |
| Tighten locknut | Hand-tighten, then snug with wrench |
| Clean excess sealant | Prevents buildup and clogs |
Following these steps ensures your drain fitting stays secure and leak-free before attaching the P-trap.
Connecting The P-Trap
Once your drain fitting is securely in place and sealed properly, you can move on to connecting the P-trap. Start by aligning the P-trap with the drain tailpiece and the waste pipe. Slide the slip nuts and washers onto the pipes and hand-tighten them to avoid overtightening, which can cause leaks.
To guarantee effective P trap maintenance and leak prevention, keep these tips in mind:
- Check all connections for tightness without forcing them.
- Use plumber’s tape on threaded joints if needed.
- Inspect the P-trap regularly for signs of corrosion or buildup.
- Clean the trap periodically to prevent clogs and odors.
Test for Leaks and Drainage
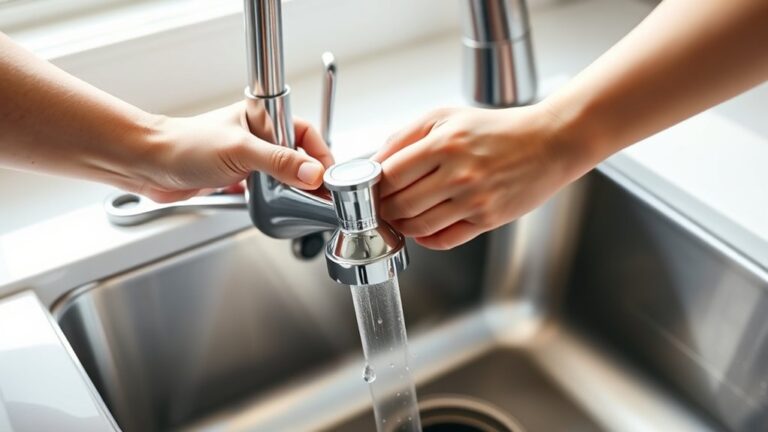
Where should you start when checking your new kitchen sink plumbing? Begin by turning on the water supply slowly and carefully observing all connections for leak detection. Watch for any drips or moisture around the P-trap, faucet base, and supply lines.
Next, test the drainage by filling the sink with water and then releasing it. The water should drain quickly and smoothly without backing up or making gurgling noises. If you notice slow drainage or pooling, it’s a sign that drainage troubleshooting is needed.
Fill the sink and watch the water drain smoothly without backups or gurgling for proper flow.
Double-check that all pipes are aligned correctly and tightened securely. Also, inspect the venting system if applicable, as poor venting can cause drainage issues.
Catching leaks early prevents water damage, while proper drainage ensures your sink operates efficiently. With careful testing, you’ll confirm that your kitchen sink plumbing is installed correctly and ready for everyday use.
Troubleshoot Common Kitchen Sink Issues
If you spot leaks or drainage problems during your tests, don’t worry. These are common issues you can troubleshoot yourself. Start by checking all connections for tightness and inspect pipes for signs of pipe corrosion, which can cause leaks and weaken your plumbing.
Next, focus on drainage issues. Slow drains often indicate clogs that need clearing.
To effectively troubleshoot, keep these tips in mind:
- Tighten loose fittings to stop leaks.
- Replace corroded pipes promptly to prevent damage.
- Use a plunger or drain snake to clear clogs.
- Practice clog prevention by avoiding grease and food scraps down the drain.
Frequently Asked Questions
What Type of Pipe Material Is Best for Kitchen Sink Plumbing?
You’ll want to choose PVC or PEX pipes for kitchen sink plumbing because they handle water pressure well and resist corrosion. PEX is flexible, making installation easier, while PVC is rigid and durable.
Don’t forget to use pipe insulation to prevent heat loss and reduce condensation. This protects your pipes and improves efficiency.
Both materials work great, but consider your setup and local codes to decide which fits best for your kitchen sink.
How Do I Prevent Kitchen Sink Odors From Coming Up?
To prevent kitchen sink odors from coming up, you need a reliable odor trap, like a P-trap, to block sewer gases. Make sure it’s properly installed and filled with water to seal off smells.
If venting is an issue, consider an air admittance valve; it lets air in to maintain proper pressure without allowing odors out. Regularly clean the trap and avoid letting food debris build up for the best odor control.
Can I Install a Garbage Disposal With My Kitchen Sink Plumbing?
Yes, you can install a garbage disposal with your kitchen sink plumbing, but you’ll need to check sink drain compatibility first. Make sure your sink has a compatible drain opening and enough space under the cabinet.
Garbage disposal installation requires connecting to the sink drain, power supply, and dishwasher if applicable. Follow manufacturer instructions carefully, and consider hiring a pro if you’re unsure. Proper installation keeps your kitchen efficient and odor-free.
What Is the Average Cost of Professional Kitchen Sink Installation?
The average cost of professional kitchen sink installation usually ranges between $200 and $500, depending on factors like labor rates and plumbing complexity.
When you weigh cost considerations, DIY plumbing can save you money but requires skill and the right tools. If you’re comfortable with basic plumbing, doing it yourself might be worth it. Otherwise, hiring a professional guarantees the job’s done right and avoids costly mistakes down the line.
How Often Should I Replace Kitchen Sink Plumbing Components?
Picture water gently dripping from your faucet, slowly wearing down pipes beneath the sink. You should replace kitchen sink plumbing components every 10 to 15 years to guarantee smooth function and avoid leaks.
Regular plumbing maintenance helps extend pipe longevity, keeping everything flowing without surprises. If you notice corrosion, persistent leaks, or low water pressure, it’s time to swap parts sooner.
Staying proactive saves you from costly repairs later on.
Conclusion
Now that you’ve learned how to plumb your kitchen sink in just seven easy steps, you’re ready to tackle the job confidently. Remember, turning off the water supply and testing for leaks are essential for a smooth installation.
Why rely on a plumber when you can save time and money by doing it yourself? With these simple instructions, you’ll have a fully functional kitchen sink in no time. You’ll be all set for your cooking and cleaning needs after you plumb your kitchen sink.