
How to Remove Kitchen Cabinets in 3 Easy Steps
Trying to remove kitchen cabinets can feel overwhelming, and you’re definitely not alone. Many people struggle with where to start or worry about damaging their walls and doors. If you’ve been putting off this task, don’t worry—there’s a straightforward way to get it done without stress.
To remove kitchen cabinets in three easy steps, start by gathering essential tools like a screwdriver, drill, and safety gear, then prepare your workspace by clearing and protecting the area.
Next, carefully take off cabinet doors and hardware, supporting doors during removal to avoid damage and organizing hardware for later use.
Finally, detach the cabinets by locating studs, removing screws slowly to protect your walls, and inspecting for any needed repairs. Keep following to uncover tips for a flawless process.
Key Takeaways
- Gather essential tools like a screwdriver, drill, pry bar, and safety gear before starting the removal process.
- Remove cabinet doors and hardware carefully to avoid damage. Organize them for reuse or replacement.
- Use a stud finder to locate and mark wall studs before unscrewing cabinets. This helps minimize wall damage.
- Slowly remove screws securing the cabinets, supporting them to prevent drywall damage.
- Inspect and repair walls after cabinet removal by filling holes, sanding, and priming for a smooth finish.
Gather Essential Tools and Set Up Your Workspace
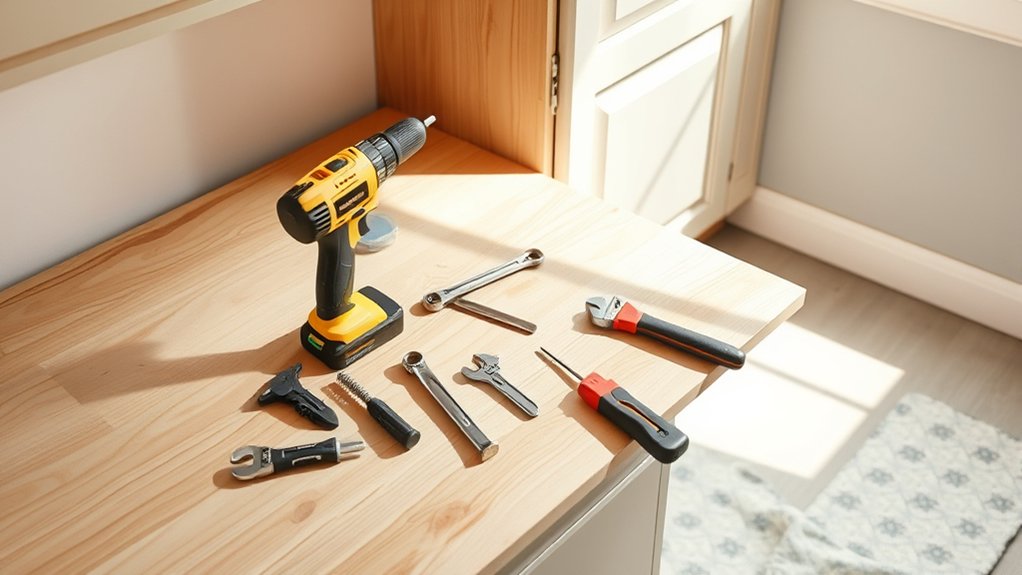
Where should you begin when removing kitchen cabinets? Start by gathering all essential tools like a screwdriver, drill, pry bar, and safety gear such as gloves and goggles. Prioritizing tool safety is vital; always inspect your tools for damage and use them properly to avoid accidents.
Next, focus on workspace organization. Clear the area around your cabinets to give yourself enough room to work efficiently and safely. Lay down protective coverings on floors to catch debris and prevent damage.
Arrange your tools within easy reach to save time and reduce unnecessary movement. Good workspace organization not only speeds up the removal process but also helps prevent trips and falls.
Remove Kitchen Cabinet Doors and Hardware Carefully
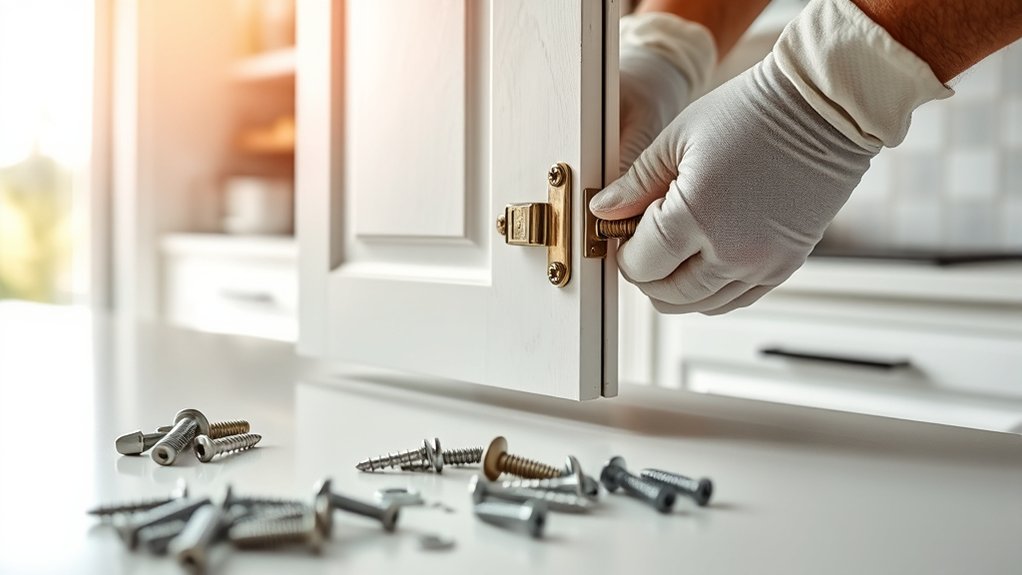
Before tackling the cabinet boxes themselves, start by removing the doors and hardware carefully to prevent damage and make the process easier. Use a screwdriver to loosen the hinges, supporting each door as you go to avoid dropping or scratching them. Place the doors on a soft surface to protect them, especially if you plan on cabinet painting later.
Next, remove all knobs, handles, and other hardware. Keep these parts organized if you intend to reuse them or label them clearly for hardware replacement. Handling hardware gently minimizes the risk of stripping screws or bending pieces, which can save you time and money.
Taking your time during this step ensures that your doors and hardware stay intact, making reinstallation or upgrading simpler. Whether you’re revitalizing your kitchen’s look with cabinet painting or swapping out old fixtures, careful removal now sets you up for a smooth process ahead.
Take Down Kitchen Cabinets Without Damaging Walls
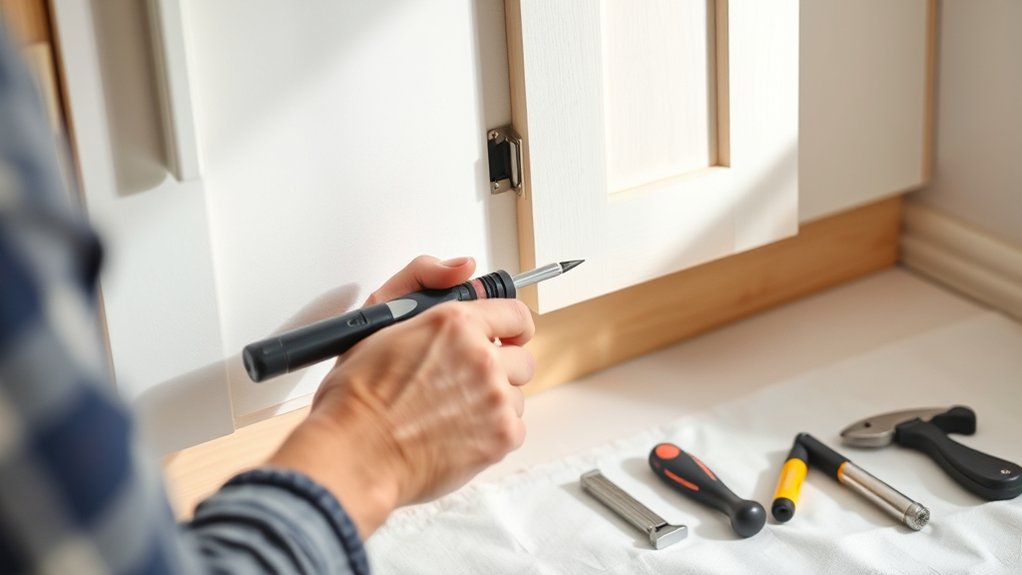
Although removing kitchen cabinets can seem straightforward, taking them down without damaging the walls requires careful planning and the right tools. Start by using a stud finder to locate and mark the studs behind the cabinets. This helps you avoid unnecessary wall damage when loosening screws.
Removing kitchen cabinets needs careful planning and the right tools to avoid wall damage.
Use a drill or screwdriver to carefully remove all screws securing the cabinet to the wall. Work slowly and steadily to prevent pulling drywall off with the cabinet.
Once the cabinets are off, inspect the walls for any minor holes or dents. Since you’re likely planning cabinet painting or a kitchen refresh, smooth wall patching is essential for a clean finish. Fill holes with spackling compound, sand smooth, and prime before painting.
Taking these steps guarantees your walls stay intact and ready for the next phase of your kitchen makeover. With patience and the right technique, you can remove cabinets cleanly and keep your walls looking great.
Frequently Asked Questions
How Do I Dispose of Old Kitchen Cabinets Responsibly?
You can dispose of old kitchen cabinets responsibly by focusing on cabinet demolition with care to salvage reusable parts. Separate materials like wood, metal, and hardware for recycling options at local facilities.
Donate intact cabinets to charities or Habitat for Humanity ReStores to extend their life. Avoid landfill waste by checking if your community offers special bulky waste pick-ups or recycling programs.
This approach reduces environmental impact and promotes sustainability.
Can I Reuse Old Cabinets for Other Projects?
Yes, you can definitely reuse old cabinets for other projects. With a bit of cabinet refurbishment, you can transform them into stylish storage units, bookshelves, or even bathroom vanities.
Creative repurposing lets you save money and reduce waste while giving your space a unique touch. Just sand, paint, or stain them to match your décor, and you’ll have functional pieces that look brand new without the cost of buying new furniture.
What Safety Gear Should I Wear During Cabinet Removal?
You should wear essential safety equipment like gloves to protect your hands from splinters and sharp edges. Protective gear such as safety goggles will shield your eyes from dust and debris.
Don’t forget a dust mask to avoid inhaling particles, especially if you’re dealing with old cabinets. Wearing sturdy, closed-toe shoes helps protect your feet from falling objects. This protective gear keeps you safe and comfortable throughout the removal process.
How Long Does the Cabinet Removal Process Typically Take?
Cabinet demolition usually takes between 2 to 6 hours, depending on the size of your kitchen and how many cabinets you’re removing. Your removal timeline can vary if you encounter stubborn screws, plumbing, or electrical work behind the cabinets.
If you prepare well and have the right tools, you’ll speed up the process. Always plan extra time for cleanup and disposal, so you’re not rushed or caught off guard.
Should I Hire a Professional or DIY the Removal?
Think of cabinet removal like sailing a tricky sea. You can navigate it yourself or hire an expert captain. If you’re comfortable handling removal tools and understand cabinet materials well, you’ll enjoy the DIY adventure.
But if the cabinets are complex or heavy, hiring a pro saves you time and stress. You’ll avoid damage and guarantee a smooth journey, especially when dealing with stubborn screws or delicate finishes. Choose what fits your skill and patience!
Conclusion
Removing kitchen cabinets is like peeling an orange. Start gently and stay patient. Just as rushing can squish the fruit, hurrying here risks damage.
Remember, nearly 70% of DIY kitchen remodelers say careful prep saved them time and money. By gathering tools, taking off doors and hardware with care, and removing cabinets slowly, you’ll keep your walls intact and your frustration low.
Stick to these steps, and your kitchen cabinet removal will be smooth and satisfying!