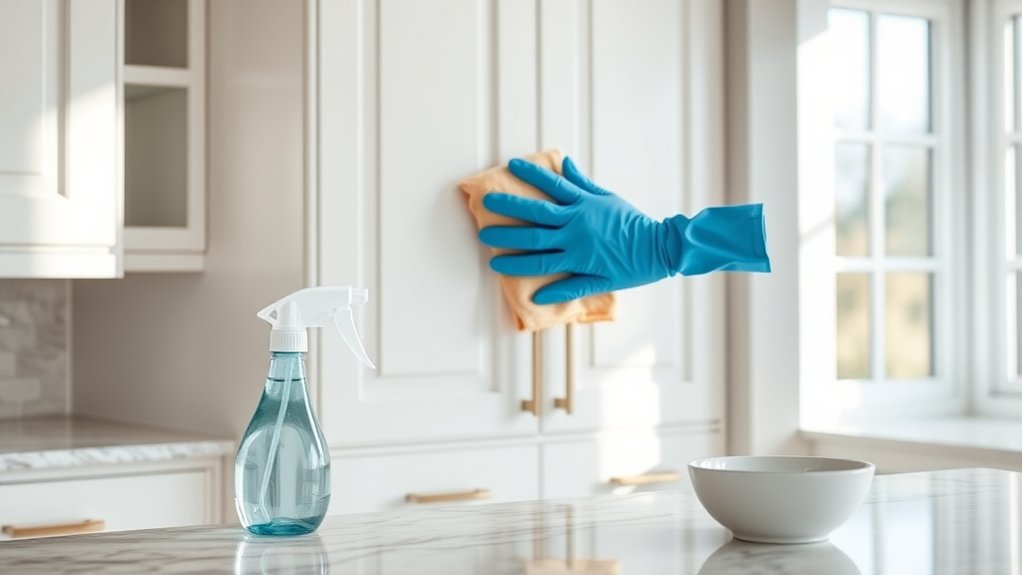
How to Clean Kitchen Cabinets in 10 Easy Steps
Keeping your kitchen cabinets spotless can feel like a never-ending battle. You’re not alone if you find yourself struggling with grime buildup, sticky surfaces, or dull finishes. Many people want their kitchen to look fresh and inviting but aren’t sure where to start or how to maintain that clean look over time.
Start by gathering your cleaning supplies like mild cleaner, soft cloths, and gloves. Dust the cabinets thoroughly, starting from the top, then wipe away grime using warm soapy water suited to your cabinet’s material.
Clean hardware carefully, focusing on crevices, and dry everything completely to avoid damage. For wood cabinets, finish with a gentle polish to restore shine.
Maintain cleanliness regularly with quick wipes. Follow these simple steps to keep your kitchen cabinets looking fresh and inviting every day.
Key Takeaways
- Remove loose dirt and dust using a soft cloth or microfiber towel. Work from top to bottom to prevent smearing.
- Use a mild cleaner suitable for your cabinet material. Test it on a hidden area before applying it fully.
- Wipe cabinets with warm soapy water, following the grain. Rinse the cloth frequently to avoid spreading grime.
- Clean hardware and handles with a soft cloth and mild soap. Focus on crevices to remove grease and fingerprints.
- Dry cabinets thoroughly with a microfiber cloth and leave doors open to prevent moisture buildup and damage.
Gather Supplies for Cleaning Cabinets

Before you begin cleaning your kitchen cabinets, gather all the necessary supplies to make the process efficient. Start by collecting a mild cleaner, soft cloths, a sponge, and a bucket of warm water. Don’t forget gloves to protect your hands.
Having these ready helps you focus on the task without interruptions. If you plan to improve your cabinet organization during cleaning, grab storage bins or baskets to sort items. Shelf labeling materials like adhesive labels and a marker will help you keep things orderly after cleaning.
Organizing your cabinets while cleaning prevents clutter from returning quickly. Labeling shelves clearly shows where everything belongs, making it easier to maintain cleanliness.
Remove Loose Dirt From Cabinet Surfaces
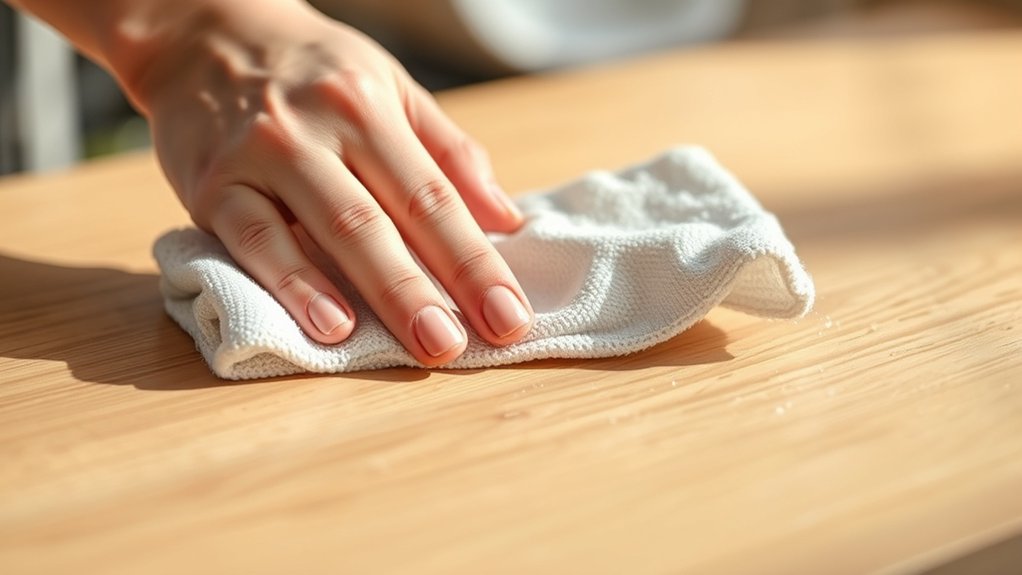
Once you have your supplies ready, start by removing loose dirt from your cabinet surfaces to prevent smearing it during deeper cleaning. Use a soft cloth or a dry microfiber towel to gently wipe down the exterior.
Begin by gently wiping cabinet surfaces with a soft cloth to remove loose dirt before deeper cleaning.
This step is essential regardless of your cabinet material, whether wood, laminate, or metal, as it helps maintain the finish and prevents scratches. Pay attention to corners and edges where dirt tends to accumulate.
Depending on your kitchen’s usage, adjust your cleaning frequency. High-traffic kitchens might need this step weekly, while less-used spaces can manage biweekly or monthly. Avoid using harsh brushes or abrasive tools that could damage delicate surfaces.
Taking this initial action guarantees grime doesn’t embed further, making subsequent cleaning easier and more effective. By routinely removing loose dirt, you protect your cabinets and keep them looking fresh longer. This simple step sets the foundation for a thorough cabinet cleaning routine.
Dust Cabinets Thoroughly
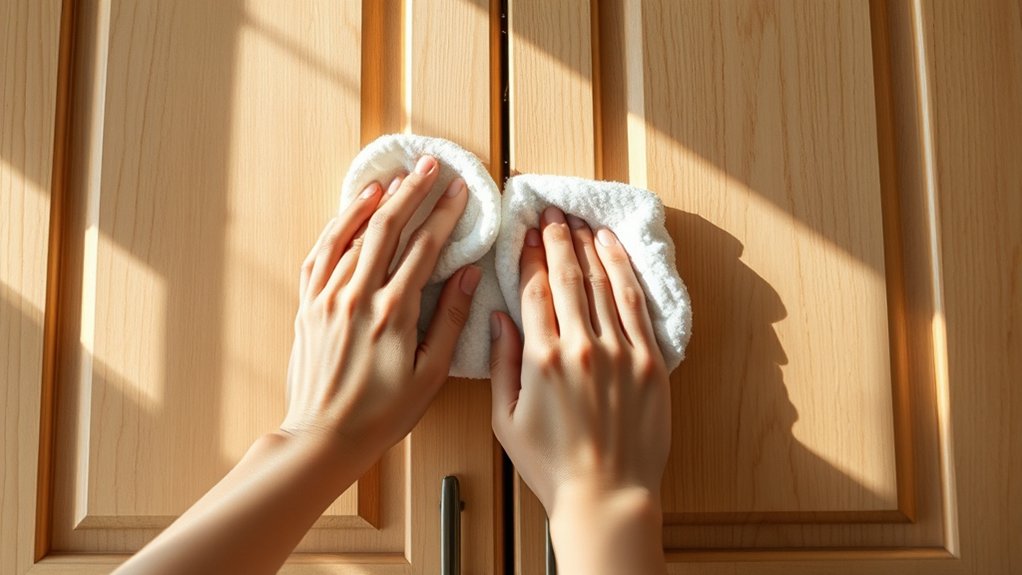
You’ll want to grab the right tools, like a microfiber cloth or a soft-bristle brush, to dust your cabinets effectively. Start at the top and work your way down. Just use gentle, even strokes to catch all the dust. Taking your time with each section means you won’t miss any hidden spots.
Best Tools For Dusting
How do you guarantee every corner of your kitchen cabinets stays free from dust? Choosing the right dusting tools is essential. A microfiber cloth works wonders by trapping dust without scratching surfaces.
You’ll also want a soft-bristled brush to reach intricate details and corners. Extendable dusters help you access the tops of cabinets easily. Avoid feather dusters; they tend to scatter dust rather than capture it.
Using these tools properly sets the stage for effective cleaning. While dusting techniques focus on how you move and handle these tools, selecting the best dusting tools ensures you’re prepared for the job. Equip yourself with these essentials, and you’ll maintain spotless, dust-free cabinets with minimal effort.
Effective Dusting Techniques
Although dusting may seem straightforward, mastering effective techniques guarantees every surface and crevice of your kitchen cabinets gets a thorough clean. Using the right duster techniques with proper dusting tools will help you reach tricky spots and prevent dust from scattering.
Start by choosing tools designed for precision, like microfiber cloths or extendable dusters.
Here are some tips to dust thoroughly:
- Work top to bottom to avoid re-dusting lower surfaces.
- Use gentle, sweeping motions to trap dust instead of spreading it.
- Pay close attention to corners, cabinet handles, and edges where dust gathers.
Pick the Right Cleaner for Your Cabinets
Since kitchen cabinets come in various materials and finishes, choosing the right cleaner is essential to avoid damage. You need to take into account your cabinet material first, whether it’s wood, laminate, or metal, as each reacts differently to cleaning agents.
For example, wood cabinets require gentle, non-abrasive cleaners to preserve their finish, while laminate can handle stronger solutions. Also, think about your cleaning frequency. If you clean often, a mild cleaner will prevent buildup without harming surfaces over time.
Avoid harsh chemicals or abrasive pads that can strip finishes or cause discoloration. Instead, pick a cleaner designed specifically for your cabinet type or a gentle all-purpose cleaner safe on multiple surfaces.
Testing the cleaner on a small, hidden area first helps ensure it won’t cause damage. By choosing the right cleaner tailored to your cabinet material and how often you clean, you’ll keep your kitchen looking fresh and extend your cabinets’ lifespan.
Wipe Cabinets With Warm Soapy Water
When you’re ready to clean your cabinets, start by preparing a mixture of warm water and mild dish soap. This gentle solution helps remove everyday dirt without damaging the finish. It’s perfect for maintaining your cabinet renovation efforts.
Dip a soft cloth or sponge into the soapy water, wring out excess liquid, and gently wipe each cabinet surface. Focus on areas frequently touched to keep your kitchen looking fresh.
Remember to:
- Wipe in the direction of the wood grain or cabinet texture for a thorough clean
- Rinse the cloth regularly to avoid spreading grime
- Dry cabinets immediately with a clean, dry cloth to prevent water damage
This simple step not only preserves your cabinet’s appearance but also supports cabinet organization by keeping surfaces clean and inviting. Regular wiping with warm soapy water is an easy way to maintain your kitchen’s beauty and functionality without harsh chemicals.
Remove Grease and Stubborn Stains From Cabinets
You’ll need the right techniques to tackle grease and stubborn stains on your kitchen cabinets. Using effective degreasers can break down buildup without damaging the finish. So, let’s take a look at some simple ways to remove those tough spots and bring back your cabinets’ shine.
Effective Degreasing Techniques
Although kitchen cabinets can accumulate tough grease over time, you can tackle these stubborn stains with the right techniques and products. Grease buildup from cooking and lingering kitchen fumes can dull your cabinets, but effective degreasing restores their shine quickly.
Start by wiping down cabinets with a mix of warm water and mild dish soap to break down surface grease. For tougher spots, try these methods:
- Use a vinegar-water solution to cut through oily residues without damaging finishes.
- Apply a baking soda paste to gently scrub away grease buildup without harsh chemicals.
- Use a microfiber cloth to avoid scratching while lifting grease from cabinet surfaces.
These simple steps help you maintain clean, fresh cabinets free from greasy film, making your kitchen look neat and inviting.
Removing Tough Stains
How do you tackle tough stains that resist regular cleaning on your kitchen cabinets? Start with proper surface preparation. Remove dust and loose dirt by wiping the cabinets with a damp cloth. This step guarantees your stain removal solution works effectively.
For stubborn grease and grime, mix a few drops of dish soap with warm water or use a specialized cabinet cleaner. Apply the solution to a soft sponge and gently scrub the stained area in circular motions. Avoid harsh abrasives that can damage finishes.
For persistent stains, try a paste made of baking soda and water. Let it sit for a few minutes before wiping it off. Always rinse with clean water and dry thoroughly to prevent moisture damage. Following these steps will restore your cabinets’ appearance without harming their surface.
Clean Kitchen Cabinet Hardware and Handles
Since cabinet hardware and handles are touched frequently, they tend to collect dirt, grease, and fingerprints quickly. To keep your kitchen looking fresh, regular handle cleaning is essential. Start by removing any loose dust or debris using a soft cloth.
Then, follow these simple steps for effective cabinet hardware cleaning:
Mix warm water with a mild dish soap to create a gentle cleaning solution.
Dip a soft cloth or toothbrush in the solution and gently scrub the handles and hardware, focusing on crevices where grime builds up.
Rinse with a clean, damp cloth to remove soap residue and dry thoroughly to prevent water spots.
Avoid harsh chemicals that can damage finishes. If your hardware is particularly tarnished, a mixture of baking soda and water makes a safe, effective scrub.
Taking a few minutes for handle cleaning regularly will keep your cabinets looking spotless and extend the life of the hardware.
Dry Cabinets Completely to Prevent Damage
After cleaning your cabinet hardware, you’ll want to make sure the cabinets themselves are completely dry. Moisture can damage various cabinet materials like wood, laminate, or MDF, leading to warping, swelling, or peeling. Using the right drying techniques is key to preserving your cabinets’ integrity.
Start by wiping down surfaces with a clean, dry microfiber cloth. For wood cabinets, avoid excess water; instead, gently pat dry. You can also leave cabinet doors open to air dry faster and prevent trapped moisture.
Here’s a quick guide to drying techniques by cabinet material:
| Cabinet Material | Recommended Drying Technique |
|---|---|
| Wood | Pat dry with cloth, air dry open |
| Laminate | Wipe dry immediately |
| MDF | Use low-moisture cloth, air dry |
Polish Wood Cabinets to Restore Their Shine
To bring back your wood cabinets’ natural shine, you’ll want to pick the right polish that suits your finish. Just make sure you apply it evenly using a soft cloth. It’s best to work with the grain to avoid any streaks.
If you follow these simple steps, your cabinets will look refreshed and vibrant in no time. It’s easier than you might think!
Choosing the Right Polish
How do you choose the right polish to bring back the shine of your wood cabinets? It mainly depends on your cabinet material and paint finish. Using the wrong polish can dull the surface or even cause damage.
To pick the best one, consider these points:
Identify your cabinet material, whether solid wood, veneer, or laminate, as each needs a different polish formula. Check the paint finish; glossy finishes require gentle polishes, while matte finishes need specialized products to avoid streaks.
Also, opt for polishes free from harsh chemicals like ammonia or silicone, which can harm the wood or paint over time.
Application Techniques for Shine
Where should you start when applying polish to your wood cabinets? Begin by choosing a clean, soft cloth or a microfiber applicator to guarantee even coverage without scratching.
Use gentle, circular motions for the best application techniques, working on one small section at a time. Apply a thin, consistent layer of polish to avoid buildup that can dull the cabinet shine.
After spreading the polish, switch to a dry, soft cloth to buff the surface, enhancing the wood’s natural glow. Don’t forget to polish cabinet edges and corners carefully to maintain a uniform shine.
Keep Cabinets Clean With Quick Wipes
Although deep cleaning your kitchen cabinets takes time, you can keep them looking fresh by using quick wipes regularly. These wipes are a simple solution to maintain your cabinet design tips and preserve your cabinet organization efforts without a full scrub-down.
Here’s how to make the most of quick wipes:
Wipe down high-touch areas like handles and edges daily to prevent grime buildup. Use wipes to clean spills immediately, avoiding stains and sticky residue. Incorporate quick wipes into your weekly routine to maintain a polished look between deep cleans.
Frequently Asked Questions
How Often Should I Deep Clean My Kitchen Cabinets?
You should deep clean your kitchen cabinets every three to six months to keep them looking fresh and to maintain cabinet hardware. This cleaning frequency helps prevent grease buildup and grime, especially around handles and hinges.
If you cook frequently or notice stains, consider increasing the frequency. Regularly wiping down cabinet hardware in between deep cleans also prolongs their life and keeps your kitchen hygienic and attractive.
Can I Use Vinegar to Clean Kitchen Cabinets?
Yes, you can use vinegar to clean kitchen cabinets, but you should be cautious about vinegar safety. Since vinegar is acidic, it can damage some finishes, especially on wood cabinets. Always dilute it with water and test a small, hidden area first.
Use gentle cleaning techniques like a soft cloth or sponge to avoid scratching. This way, you’ll safely remove grease and grime without harming your cabinets’ surface.
What Should I Do if My Cabinets Have Mold?
If mold creeps into your cabinets like an unwelcome shadow, you’ve got to act swiftly. Start mold removal by mixing vinegar with water and scrubbing affected areas gently.
Wear gloves and guarantee good ventilation, as if you’re banishing a silent invader. To keep mold from returning, control humidity, fix leaks, and wipe cabinets dry regularly.
Think of prevention tips as your shield, protecting your kitchen’s harmony and health.
Are There Natural Alternatives to Chemical Cleaners for Cabinets?
Yes, you can use natural remedies as chemical substitutes to clean your cabinets effectively. Mix equal parts vinegar and water to create a gentle, natural cleaner that cuts through grime.
Baking soda also works wonders when sprinkled on stubborn spots and scrubbed with a damp cloth. Lemon juice adds a fresh scent and helps break down grease.
These natural remedies keep your cabinets clean without harsh chemicals, making your kitchen safer and eco-friendly.
How Do I Protect Cabinets From Future Grease Buildup?
Want to keep your cabinets looking fresh and free from grease buildup? You should regularly wipe down cabinet finishes with a mild cleaner to prevent grime from settling.
Applying a protective sealant or wax can also improve grease prevention by creating a barrier. Don’t forget good ventilation while cooking, it reduces moisture and grease in the air.
With these habits, your cabinets will stay cleaner longer and maintain their beauty effortlessly.
Conclusion
Now that you’ve tackled your kitchen cabinets with these simple steps, they’ll look so spotless it’s like they’ve been kissed by a magic wand! Keeping them clean doesn’t have to be a chore. You’ve got the perfect routine to make your kitchen shine every day.
Just remember, a little regular upkeep goes a long way in preserving that fresh, polished look. Your kitchen cabinets will thank you with endless beauty and charm!