Install Kitchen Backsplash in 3 Simple Steps
If you’ve ever tried to install a kitchen backsplash, you know it can feel overwhelming. You’re not alone—many people struggle with getting everything just right, from choosing the materials to achieving that perfect, professional look. The good news is, with the right guidance, installing your kitchen backsplash doesn’t have to be complicated or stressful.
To install your kitchen backsplash in three simple steps, start by gathering your tools and materials, including tiles, adhesive, grout, and safety gear.
Next, prepare your wall by cleaning and marking layout guidelines before experimenting with tile placement.
Finally, apply adhesive evenly, press tiles using spacers for consistent gaps, let it dry, then finish by grouting and wiping excess for a polished look. Keep going, and you’ll uncover tips for a flawless, professional backsplash installation.
Key Takeaways
- Clean and prep the wall, making sure it’s smooth and grease-free so the tiles stick well.
- Plan your tile layout and mark guidelines to keep spacing even and the design balanced.
- Apply adhesive evenly with a notched trowel, then press tiles firmly. Use spacers to keep gaps consistent.
- Let the adhesive dry completely before applying grout to fill the gaps. Wipe off any excess grout right away.
- Work in small sections, and don’t forget to use the right tools and safety gear for a clean, professional finish.
Gather Tools and Materials for Your Kitchen Backsplash
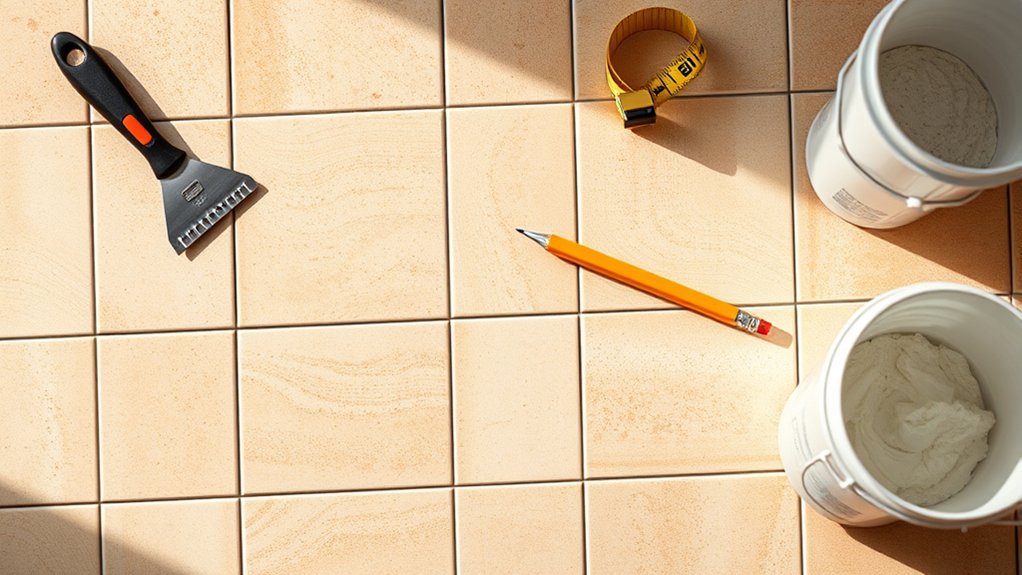
Before you begin installing your kitchen backsplash, you’ll need to gather all the necessary tools and materials. Start by choosing your tiles, considering both color options and tile patterns that match your kitchen’s style. Whether you prefer classic subway tiles or bold geometric patterns, pick what fits your taste and space.
Next, collect essential tools like a tile cutter, notched trowel, level, spacers, grout float, and a bucket for mixing grout. Don’t forget safety gear such as gloves and goggles. You’ll also need adhesive or thin-set mortar, grout, and a sponge for clean-up.
Having everything on hand before you start saves time and prevents interruptions. With your materials and tools ready, you’ll feel confident moving on to the next step. Remember, the right preparation makes the installation process smoother and ensures your backsplash turns out just the way you envisioned.
Prepare Your Wall and Plan Tile Layout
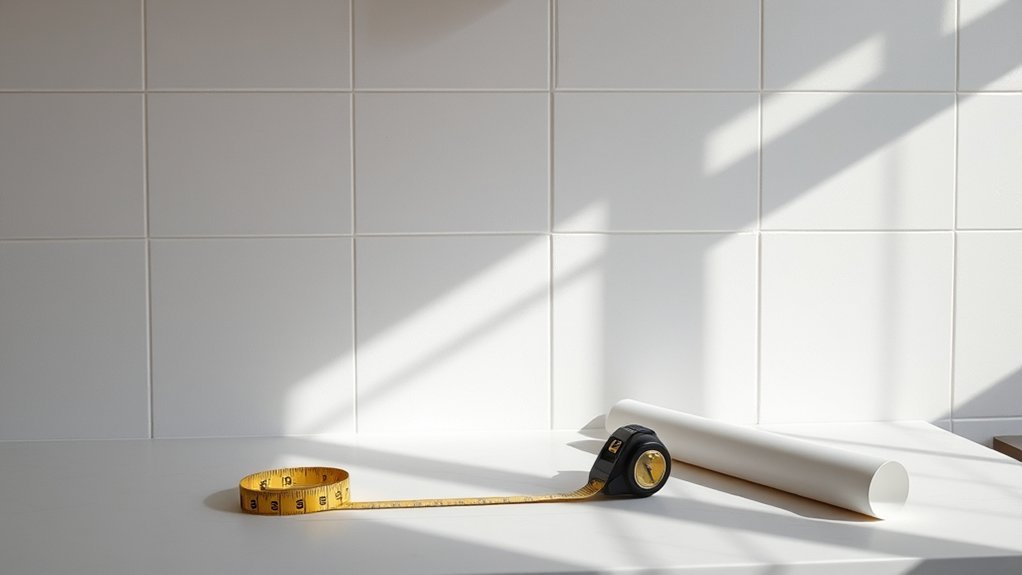
Once you have all your tools and materials ready, focus on preparing the wall where your backsplash will go. Start by cleaning the surface thoroughly, removing grease, dust, and old adhesive. If the wall has holes or uneven spots, fill and sand them smooth to create a flat base.
Next, measure the area carefully and mark guidelines with a pencil and level to ensure your tiles align perfectly.
Now, plan your tile layout. Consider various backsplash design ideas and how decorative tile patterns can enhance your kitchen’s look. Lay out tiles on a flat surface, experimenting with patterns and spacing before committing.
This step helps you avoid awkward cuts and ensures a balanced design. Remember to factor in grout lines for a professional finish. Taking the time to prepare your wall and plan your tile layout properly sets the foundation for a stunning, long-lasting backsplash installation.
Apply Adhesive, Place Tiles, and Finish With Grout
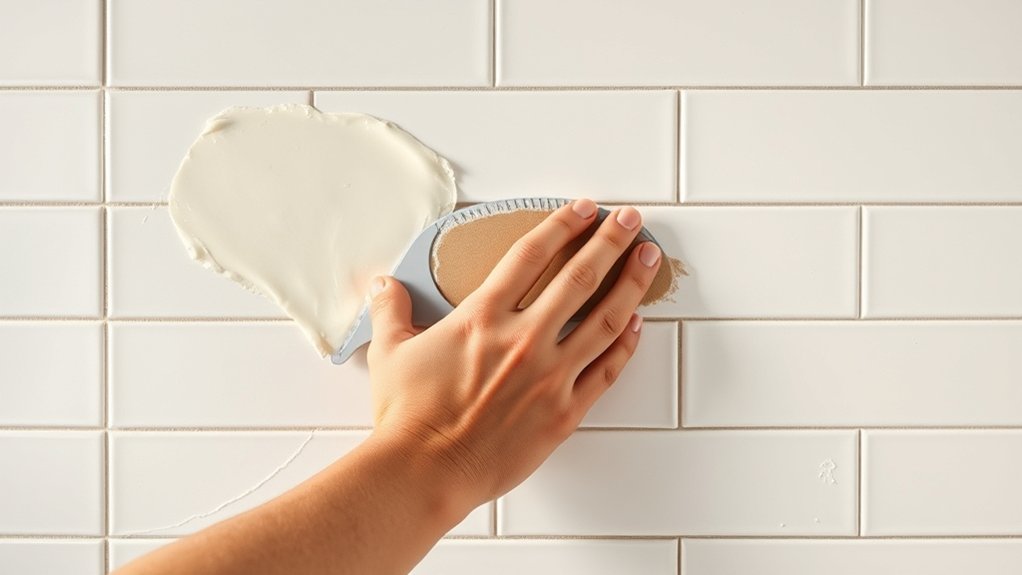
Although applying adhesive might seem straightforward, taking your time guarantees the tiles will stick securely and look great. Choose the right adhesive type based on your wall surface. Thin-set mortar works well for most backsplashes, while mastic is better for dry, indoor walls.
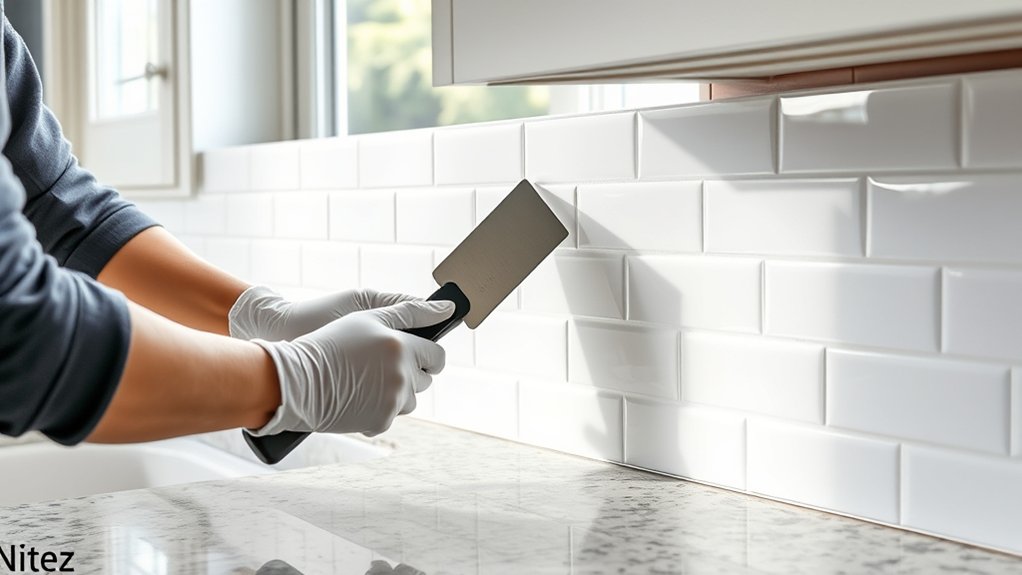
Spread the adhesive evenly using a notched trowel, following the tile pattern you’ve planned to ensure alignment. Press each tile firmly into place, using spacers to maintain consistent gaps for grout.
Once all tiles are set and the adhesive has dried (usually 24 hours), apply grout with a rubber float, pushing it into the gaps. Wipe off excess grout with a damp sponge and let it cure.
| Step | Tool Used | Tip |
|---|---|---|
| Choose adhesive type | Notched trowel | Match adhesive to surface |
| Spread adhesive | Notched trowel | Work in small sections |
| Place tiles | Tile spacers | Follow tile pattern |
| Apply grout | Rubber float | Press grout firmly |
| Clean excess grout | Damp sponge | Wipe before grout dries |
Frequently Asked Questions
How Do I Choose the Best Backsplash Material for My Kitchen?
You should choose the best backsplash material by focusing on material durability and design flexibility. Think about how much wear and tear your kitchen gets. Tiles like ceramic or glass offer great durability.
If you want lots of design options, consider materials like mosaic or metal, which let you customize colors and patterns. Also, think about maintenance and style to pick something that fits your kitchen’s vibe and lasts long.
Can I Install a Backsplash Over Existing Paint or Wallpaper?
You wouldn’t paint a masterpiece over a muddy canvas, right? Likewise, you shouldn’t install a backsplash over wallpaper. It often peels, ruining your work. Wallpaper removal is essential to avoid future issues.
If you have paint, make certain to do thorough paint preparation: clean, sand, and prime the surface for strong tile adhesion. Taking these steps means your backsplash will stay put and look stunning for years to come.
What Maintenance Is Required to Keep My Backsplash Looking New?
You’ll want to stick to regular cleaning routines to keep your backsplash looking new. Wipe it down daily with a mild detergent and a soft cloth to prevent buildup.
For stain prevention, clean spills immediately, especially greasy or acidic ones, so they don’t set. Avoid abrasive cleaners that can damage the surface.
How Long Does a Typical Backsplash Installation Take?
A typical backsplash installation usually takes a day or two, depending on the tile pattern complexity and your prep work. If you choose a simple tile pattern and grout color, it’ll go faster.
Intricate designs or custom grout colors might need extra drying time, especially if you want everything perfect. Planning ahead helps you avoid delays, so pick your grout color and tile pattern carefully to speed up the process.
Are There Any Safety Precautions to Consider During Installation?
Yes, you should always wear safety gear like gloves and goggles to protect your hands and eyes from sharp tiles and grout. Make sure to turn off the power if you’re working near electrical outlets to avoid any electrical safety hazards.
Use a voltage tester to confirm the power is off before you start. Taking these precautions helps you stay safe and avoid accidents during your backsplash installation.
Conclusion
Installing your kitchen backsplash in just three simple steps can transform your space quickly and affordably. Did you know that updating your backsplash can increase your home’s value by up to 5%?
By gathering the right tools, preparing your wall, and carefully applying tiles and grout, you’ll achieve a professional-looking finish without the hassle. Now, you’re ready to enjoy a stylish, easy-to-clean kitchen that reflects your personal style and showcases your new kitchen backsplash.