How to Seal Kitchen Sink to Countertop in 10 Easy Steps
If you’ve ever dealt with water leaking around your kitchen sink or noticed unsightly gaps where it meets the countertop, you’re not alone. Many people struggle with creating a perfect seal that keeps water out and looks neat. Finding the right products to get the job done can feel overwhelming, but the right tools and materials make all the difference in achieving a durable, clean finish.
To seal your kitchen sink to the countertop, start by cleaning and drying all surfaces thoroughly, removing any old sealant with a utility knife.
Gather your tools like a caulking gun and mold-resistant silicone caulk.
Apply an even bead of sealant around the sink edge, smoothing it with a wet finger or tool for a neat finish.
Let it cure fully, keeping the area dry to avoid leaks.
Keep going to uncover tips for a flawless, long-lasting seal.
Key Takeaways
- Thoroughly clean and dry the sink edge and countertop surface before applying any sealant to ensure proper adhesion.
- Remove old sealant completely using a utility knife or sealant remover for a smooth, residue-free surface.
- Use a high-quality, mold-resistant silicone caulk and apply it evenly with a caulking gun around the sink perimeter.
- Smooth the sealant bead with a wet finger or tool immediately after application to create a neat, watertight seal.
- Allow the sealant to cure for 24-48 hours, keeping the area dry and well-ventilated before using the sink.
Why Sealing Your Kitchen Sink to the Countertop Matters
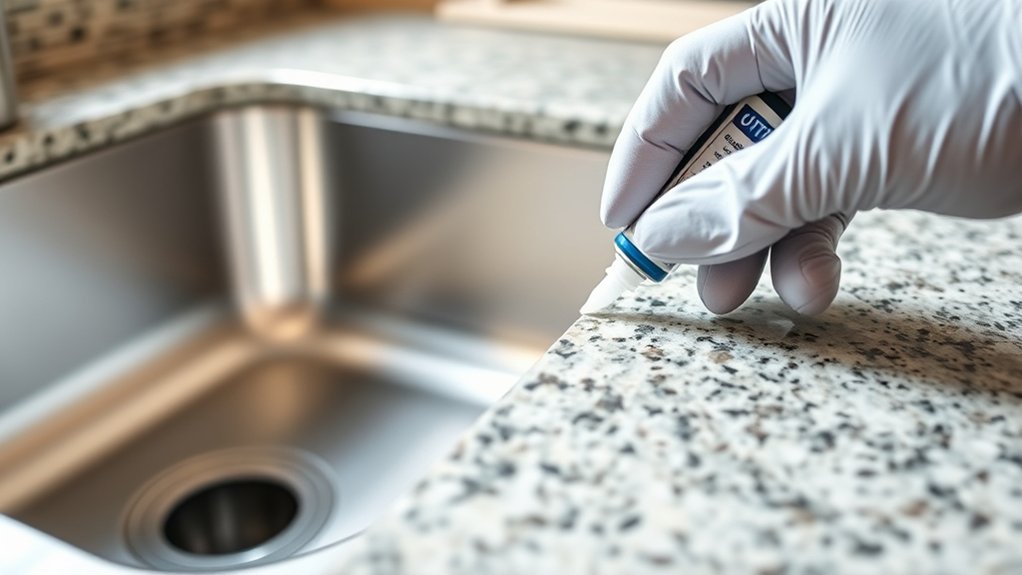
Because water constantly splashes around your kitchen sink, sealing it to the countertop is essential to prevent leaks and water damage. If you skip this step, moisture can seep underneath, causing mold, mildew, and even structural damage over time.
You might think sealant alternatives like waterproof tapes or adhesives could work, but they often don’t hold up well under constant exposure to water and wear. Using the right sealant guarantees a durable, watertight barrier that protects both your sink and countertop.
When you handle DIY repairs, properly sealing your sink is one of the most important steps. It’s a simple task that saves you from costly repairs down the road.
Gather the Tools and Materials You’ll Need
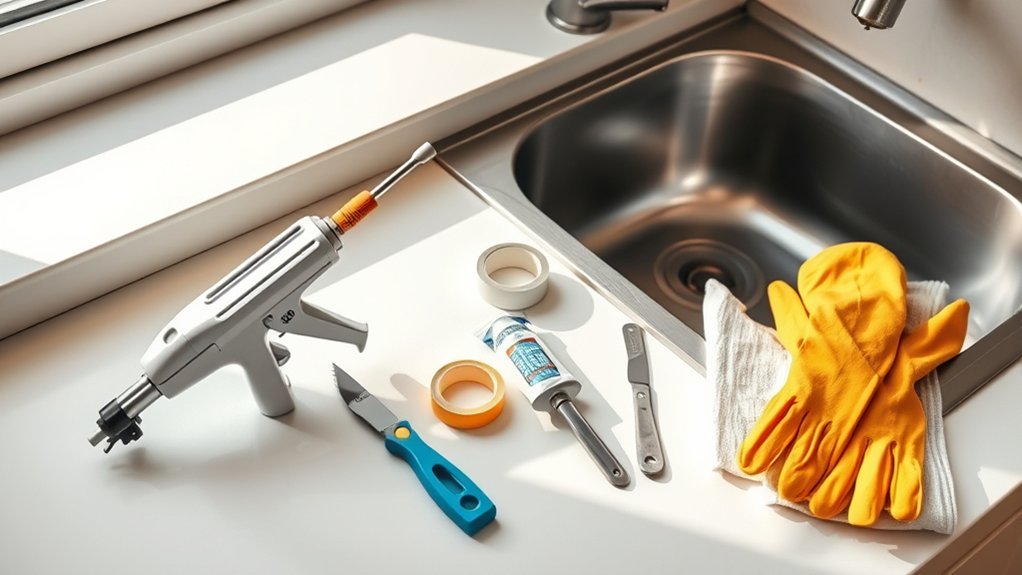
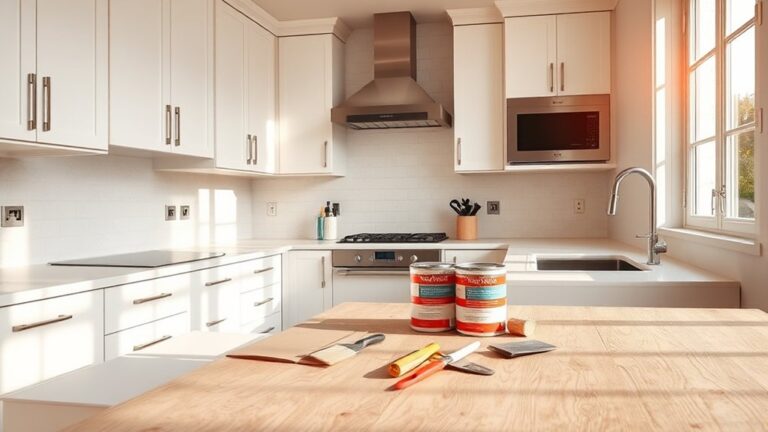
Properly sealing your kitchen sink starts with having the right tools and materials on hand. This step guarantees a clean, durable seal that complements your kitchen décor and prevents water damage. To make your job easier and more efficient, gather these essentials before you begin:
Start with the right tools to ensure a clean, durable seal that protects your kitchen sink and décor.
- Silicone Caulk Choose a high-quality, mold-resistant silicone designed for kitchens. It creates a waterproof barrier and blends well with your countertop and sink.
- Caulking Gun This tool helps you apply the caulk smoothly and evenly, avoiding messy excess that can ruin your kitchen décor.
- Utility Knife and Painter’s Tape Use the knife to trim old caulk or cut the new caulk tube tip precisely. Painter’s tape helps create clean lines for a professional finish.
Following these plumbing tips and having these materials ready prevents delays and ensures your seal looks great while protecting your sink and countertop effectively.
Clean and Dry the Sink and Countertop Surfaces for Sealing
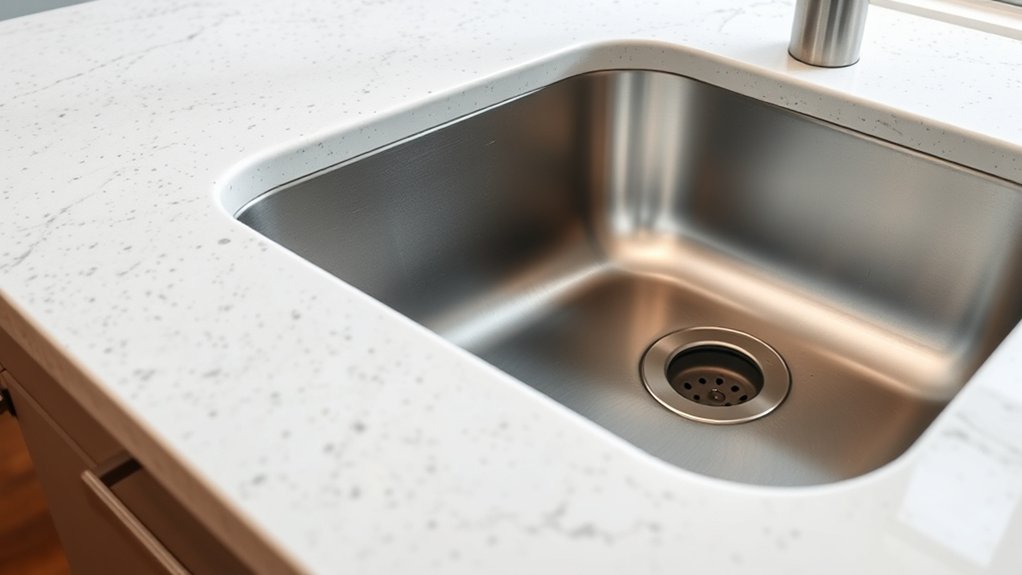
Before applying any sealant, you’ll need to thoroughly clean and dry both the sink and countertop surfaces. Start by wiping away any debris, grease, or food residue using a mild detergent and warm water. Pay special attention to the edges where the sink meets the countertop, as dirt here can compromise the seal.
After cleaning, rinse the area with clean water to remove any soap residue, then dry everything completely with a lint-free cloth. Ensuring these surfaces are dry prevents moisture from interfering with the sealant’s adhesion.
You’ll also want to check the plumbing connections under the sink for any leaks before sealing. A tight, dry area around these connections supports a secure seal and keeps your kitchen looking neat.
Taking time to clean and dry properly now will make sealing easier and help your kitchen sink installation look flawless and last longer.
Remove Old Sealant and Clean the Area Thoroughly
When you’re ready to reseal your kitchen sink, start by removing any old sealant around the edges. This step ensures your new sealant bonds properly and lasts longer. Different sealant types, like silicone or latex, can be stubborn, so take your time.
Follow these steps to remove old sealant and clean thoroughly:
Follow these steps to carefully remove old sealant and ensure a clean, smooth surface for resealing.
- Use a utility knife or a sealant remover tool to carefully cut and scrape off the old sealant without damaging the countertop or sink.
- Once removed, clean the area with a cloth dampened with rubbing alcohol or a mild cleaner to eliminate any residue or grime.
- Allow the surface to dry completely, making sure it’s free of dust or moisture since water-resistant materials need a clean, dry base for the best adhesion.
Use Waterproof Primer to Help Sealant Stick Better (If Needed)
If your countertop surface is porous or a bit tricky, using a waterproof primer can really help the sealant stick better and last longer. Just make sure to apply the primer evenly and let it dry completely before you add the sealant. This simple step can prevent leaks and ensure a much stronger bond between your sink and countertop.
Benefits of Waterproof Primer
Why does using a waterproof primer make a difference when sealing your kitchen sink to the countertop? It boosts the sealant’s ability to stick, ensuring a tight, lasting bond. This step is essential if you want to protect your kitchen decor and avoid costly plumbing issues.
Here are three key benefits of waterproof primer:
- Enhances Adhesion: It helps the sealant firmly attach to both the sink and countertop surfaces.
- Prevents Water Damage: By creating a moisture barrier, it stops water from seeping behind your sink.
- Increases Durability: Your seal stays intact longer, reducing the need for frequent repairs.
Using waterproof primer is a smart way to maintain your kitchen’s appearance and keep plumbing problems at bay.
Applying Primer Correctly
Although applying primer might seem like an extra step, it plays a crucial role in helping the sealant bond firmly to your sink and countertop. Start by cleaning the surfaces thoroughly and allowing them to dry completely.
Next, apply a thin, even coat of waterproof primer to areas where the sealant will contact both the sink and countertop. This improves adhesion, especially if you’re dealing with challenging materials.
Always check the sealant compatibility to guarantee the primer you choose works well with your sealant type. If you can’t find a waterproof primer or prefer a different approach, consider primer alternatives like specialty adhesion promoters designed for your materials.
Applying the primer correctly will prevent peeling or cracking, ensuring a long-lasting, watertight seal that protects your kitchen from leaks.
Position and Secure the Sink to the Countertop Properly
Now that the primer is ready, you’ll want to position the sink carefully to make sure it’s aligned with the cutout. Take your time with this part—it’s important to get it just right. Once it’s in place, go ahead and secure the sink firmly so it doesn’t move around during use. This step is really essential for a tight seal and a long-lasting installation.
Align Sink Correctly
Before you apply any sealant, make sure you align the sink accurately with the countertop cutout to prevent gaps or uneven edges. Proper alignment ensures your kitchen design looks polished and that your plumbing fixtures fit correctly.
Follow these steps to align your sink:
- Place the sink gently into the cutout, checking that all edges meet the countertop evenly.
- Adjust the sink’s position so it’s centered and flush with the countertop surface.
- Verify that plumbing fixtures connect without strain or misalignment, avoiding leaks or future repairs.
Taking the time to align the sink correctly sets the foundation for a clean seal and a durable installation that complements your kitchen design.
Secure Sink Firmly
Once your sink is properly aligned, the next step is to secure it firmly to the countertop. Start by applying a bead of sealant around the sink’s edge to prevent leaks.
Then, attach the mounting clips underneath the sink, tightening them evenly to pull the sink snug against the countertop. Be careful not to overtighten or you might damage the surface.
After securing the sink, proceed with faucet installation, ensuring all connections fit tightly to avoid water drips. If you’re installing a garbage disposal, mount it to the sink’s drain flange before connecting it to the plumbing.
Double-check all fittings and support brackets to confirm everything is stable and sealed. This firm setup keeps your sink steady and leak-free for daily use.
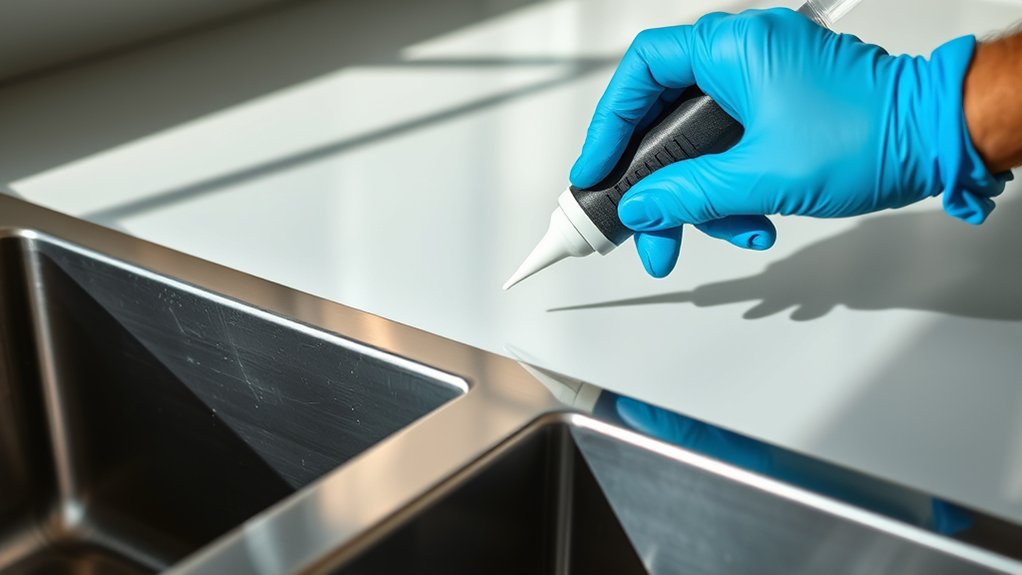
Apply Silicone Sealant Evenly Around the Sink Edge
Although sealing the sink edge might seem straightforward, applying silicone sealant evenly requires steady hands and attention to detail. To guarantee a professional look and effective waterproofing, follow these key steps:
- Choose the right sealant color. Match the sealant color to your countertop or sink to keep the finish subtle and cohesive. This not only looks better but also hides any imperfections.
- Prepare your application tools. Use a caulking gun for controlled dispensing and keep a utility knife or scissors handy to cut the nozzle tip at a 45-degree angle for precise bead size.
- Apply the sealant steadily. Starting at one corner, squeeze the gun with consistent pressure, moving smoothly around the sink edge. Avoid stopping or speeding up to prevent gaps or uneven lines.
Smooth the Sealant for a Clean, Watertight Finish
While applying the sealant evenly is crucial, smoothing it immediately afterward guarantees a clean, watertight finish that lasts. Start by dipping your finger or a smoothing tool into water or soapy water to prevent sticking. Then, gently run it along the bead of sealant, pressing lightly to spread and flatten the material. This action removes excess sealant, fills gaps, and creates a neat edge.
Choosing the right sealant color helps it blend seamlessly with your countertop or sink, enhancing the final look. Whether clear, white, or matching a specific shade, pick a color that complements your kitchen design.
Allow Sealant to Cure Before Using the Sink
After smoothing the sealant to a neat finish, you’ll need to give it time to cure properly before using your sink. This waiting period is vital to maintain kitchen aesthetics and confirm the plumbing connections stay secure and leak-free. Here’s how to manage this:
Allow the sealant to cure fully to ensure a neat finish and secure, leak-free plumbing connections.
- Follow the Manufacturer’s Guidelines: Sealants typically require 24 to 48 hours to cure fully. Check the product instructions for exact timing to avoid premature water exposure.
- Avoid Using the Sink: Keep the area dry and refrain from running water or placing items around the sink during curing. This prevents disturbing the seal and compromising the waterproof barrier.
- Ensure Proper Ventilation: Good airflow speeds up curing and reduces lingering odors, helping maintain your kitchen’s fresh appearance.
Inspect Your Sink Seal and Maintain It Over Time
You’ll want to regularly check your sink seal for cracks, gaps, or mold that signal damage. Catching these signs early helps prevent leaks and water damage. So, make it a habit to clean and reseal as needed to keep everything watertight.
Signs of Seal Damage
If water starts pooling around your kitchen sink or you notice a musty smell, these are clear signs that the seal between your sink and countertop has been compromised. Ignoring these issues can lead to costly plumbing repairs and damage that affects your kitchen decor.
Watch for these three key signs of seal damage:
- Visible gaps or cracks around the sink’s edge where the sealant has worn away.
- Discoloration or mold growth near the sink, indicating moisture has seeped through.
- Loose or shifting sink when you apply gentle pressure, showing the seal no longer holds firmly.
Spotting these early helps protect your counters and keeps your kitchen looking fresh while avoiding plumbing headaches.
Routine Seal Maintenance
Noticing signs of seal damage means it’s time to take action before problems worsen. Regularly inspect the seal around your sink, focusing on areas near decorative fixtures and plumbing connections. Look for cracks, gaps, or mildew, and clean the area to prevent buildup.
Maintaining the seal guarantees water doesn’t seep under the countertop, protecting your kitchen’s structure.
| Inspection Area | What to Look For | Action Needed |
|---|---|---|
| Around decorative fixtures | Cracks or peeling sealant | Reapply sealant as needed |
| Plumbing connections | Moisture or mold | Tighten fittings, reseal |
| Sink edges | Gaps or loose seal | Clean, dry, and reseal |
| Countertop surface | Stains or soft spots | Address leaks immediately |
Routine maintenance keeps your kitchen sink sealed and your countertop safe.
Frequently Asked Questions
Can I Use Other Types of Sealant Besides Silicone?
Yes, you can use alternative adhesives besides silicone, like polyurethane or acrylic sealants. Just remember, silicone offers superior sealant durability, especially in wet areas like around sinks.
Alternative adhesives might not last as long or resist mold and mildew as well. If you choose another type, make sure it’s waterproof and designed for kitchen use to avoid leaks and damage. Always check the product specs before applying it.
How Long Does the Sealant Typically Last Before Needing Replacement?
Sealant durability typically ranges from 5 to 10 years, depending on the sealant types you use. Silicone sealants last longer, often up to a decade, thanks to their flexibility and water resistance.
Other types like acrylic or latex might only last around 3 to 5 years before cracking or peeling. You’ll want to check your sealant regularly for wear and replace it as soon as you notice any gaps or damage to maintain a watertight seal.
What Are Common Signs of a Failing Sink Seal?
You’ll notice common signs of a failing sink seal through leak detection, such as water pooling around the sink base or damp cabinets underneath. Cracks, gaps, or peeling sealant also indicate the seal’s breaking down.
If the sealant material isn’t compatible with your countertop or sink, it can degrade faster, causing these issues. Keep an eye out to avoid water damage and replace the seal promptly when you spot these signs.
Is It Necessary to Seal the Sink if It’s Already Tight Fitting?
Even if your sink fits like a glove, you should still seal it. Material compatibility matters because some countertops and sink materials react differently with various sealants.
Using proper sealing techniques guarantees water won’t sneak through tiny gaps, preventing damage. Skipping the seal might seem fine now, but over time, leaks can creep in.
Can Sealing Prevent Mold Growth Under the Sink?
Yes, sealing can help with mold prevention by creating a waterproof barrier that stops moisture from getting trapped under your sink. When you seal properly, you reduce the chances of water seeping into gaps where mold thrives.
However, sealing effectiveness depends on using the right sealant and applying it correctly. So, don’t skip sealing; it’s a simple step that considerably cuts down mold risks and keeps your kitchen healthier.
Conclusion
Just like a knight’s armor protects in battle, sealing your kitchen sink shields your countertop from water damage and mold. By following these simple steps, you’re not just applying sealant—you’re safeguarding your home’s heart.
Take pride in your handiwork, knowing a little care now prevents big problems later. Keep your kitchen strong and beautiful, ready for every meal and memory that’s yet to come.
You’ve got this! Sealing your kitchen sink to the countertop is a smart move for lasting protection and peace of mind.