10 Simple Steps to Clean Your Kitchen Fast
Keeping your kitchen spotless can feel like a never-ending battle. If you’ve ever found yourself overwhelmed by clutter, sticky counters, or lingering odors, you’re not alone. Many people struggle with maintaining a clean kitchen, especially when time is tight. That’s why we’ve put together these 10 simple steps to clean your kitchen fast, helping you regain control without the stress.
First, clear your counters by sorting clutter into keep, recycle, or toss piles. Next, take out full trash bags and replace liners. Wash dishes, loading the dishwasher efficiently, then wipe down all surfaces with a soft cloth.
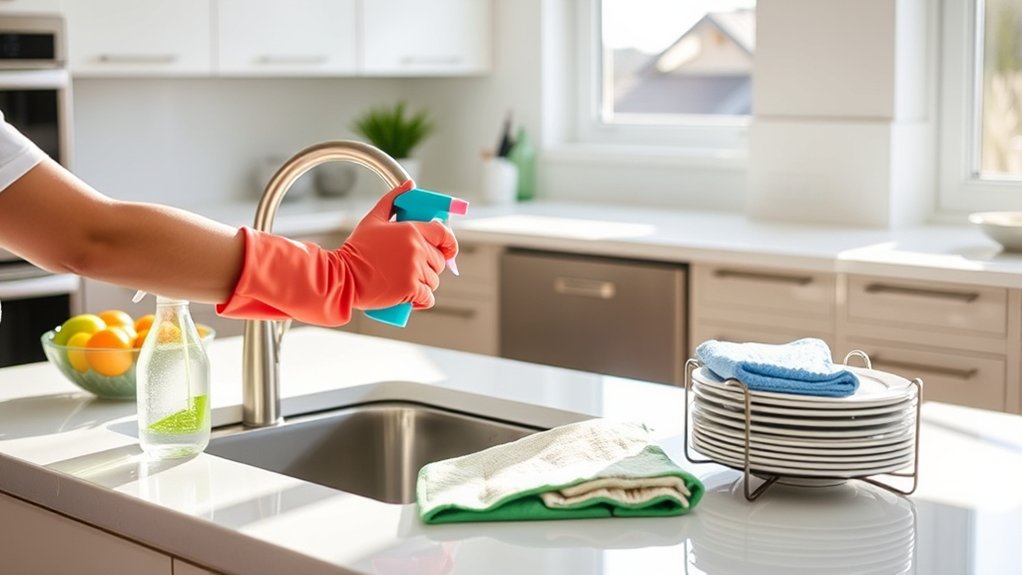
Don’t forget to clean your sink, faucets, and handles where grime builds.
Tidy your pantry and fridge, sweep the floor, and spot-clean any stains. Finally, freshen the air with a diffuser or spray for a welcoming kitchen. Keep exploring to master these simple habits.
Key Takeaways
- Clear countertops by removing all items and grouping essentials to create organized zones for faster cleaning.
- Empty trash bags promptly and wipe down counters with a soft cloth to prevent odors and stains.
- Wash or load dishes efficiently, prioritizing large pots first and drying to avoid water spots.
- Sweep or vacuum floors thoroughly, focusing on corners and under appliances to remove crumbs and debris.
- Sanitize high-touch areas like handles and switches, then freshen the kitchen atmosphere with air fresheners or diffusers.
Clear Counters and Gather Kitchen Clutter
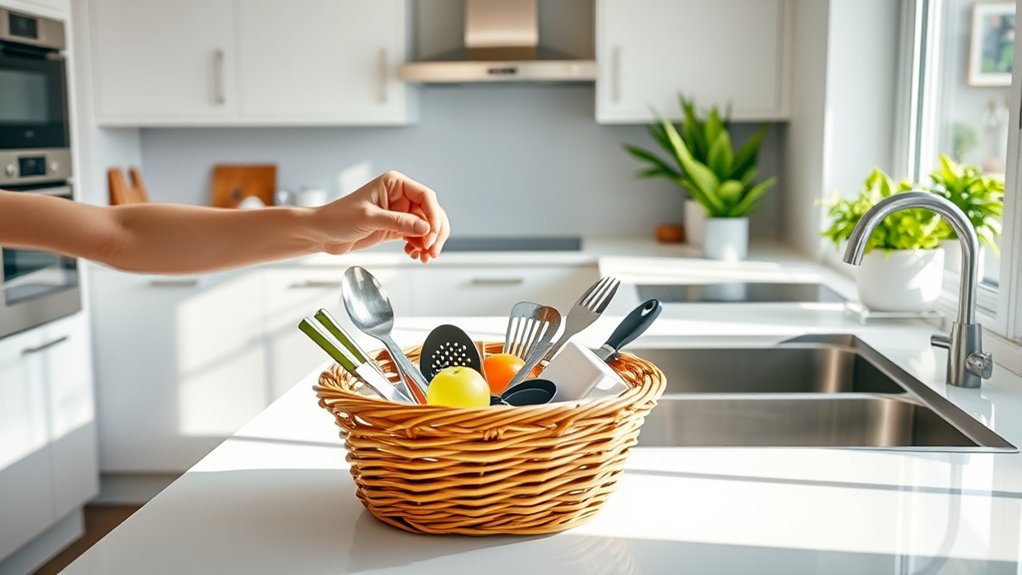
Before you plunge into scrubbing and wiping, clear your counters and gather any kitchen clutter. This step sets the foundation for efficient countertop organization. Start by removing everything from your countertops: dishes, utensils, mail, or random items that don’t belong in the kitchen.
Clear your counters first by removing all items, laying the groundwork for effective kitchen organization.
As you do this, sort through the clutter and decide what needs to be put away, recycled, or tossed. Clutter removal not only makes your kitchen look tidier but also frees up valuable workspace.
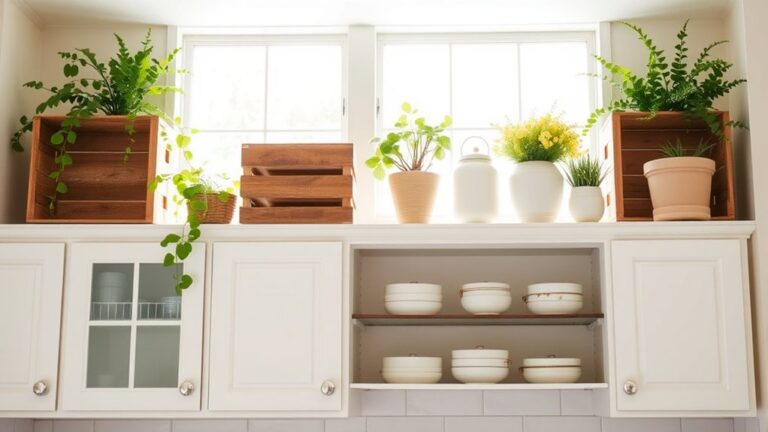
Next, group similar items together to create designated zones like cooking essentials, frequently used appliances, and decorative pieces. This approach helps maintain order and makes your kitchen easier to navigate.
Keep only daily-use items on the counter to minimize clutter buildup. By tackling countertop organization early, you’ll speed up the entire cleaning process and enjoy a more functional kitchen space.
Take Out Trash and Replace Liners

Taking out the trash and replacing liners is a quick way to instantly refresh your kitchen. It clears odors and prevents buildup that can attract pests. Here’s how to do it efficiently:
- Tie up the full trash bag securely and remove it from the bin. This keeps spills to a minimum and makes carrying easier.
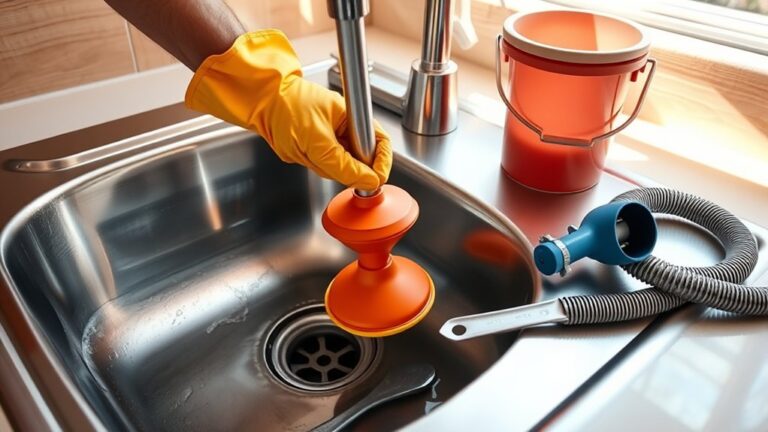
- Check your garbage disposal for any stuck food particles and rinse it briefly with cold water to keep it fresh and avoid clogs.
- Insert a new trash bag liner, making sure it fits snugly around the edges to prevent slipping and leaks.
Wash Dishes and Load the Dishwasher
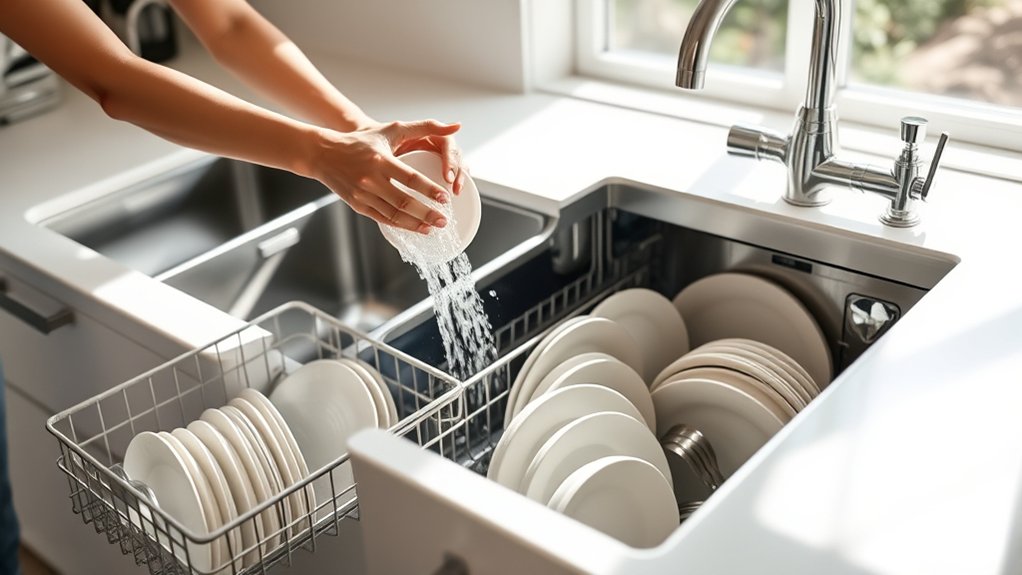
Once the trash is out and the liners are fresh, turn your attention to the dishes. Start by rinsing any food scraps off plates and utensils to prevent clogging the dishwasher.
If you have a lot of pots or pans, wash those by hand first to make dish drying easier later. When loading the dishwasher, place larger items like pots and pans on the bottom rack and arrange plates and bowls so water can reach all surfaces.
Avoid overcrowding; give each item space to ensure a thorough clean. Make sure glasses and cups go on the top rack to prevent damage. Don’t forget to load silverware with handles down for better cleaning.
After running the dishwasher, either let your dishes air dry or use a clean towel for dish drying to avoid water spots. Following these steps will speed up your kitchen cleanup and leave your dishes sparkling in no time.
Wipe Down Countertops and Surfaces
First, clear off any clutter from your countertops—it makes cleaning a whole lot easier. Next, pick the right cleaning product for your surface so you don’t accidentally cause any damage. Then, just wipe in a circular motion to really lift dirt and grime effectively.
Choose Appropriate Cleaning Products
How do you pick the right cleaning products to wipe down your countertops and surfaces effectively? Choosing the best options helps you clean quickly while protecting your kitchen. Here’s what to take into account:
- Eco-friendly options: Look for products labeled biodegradable or non-toxic. They’re safer for your family and the environment.
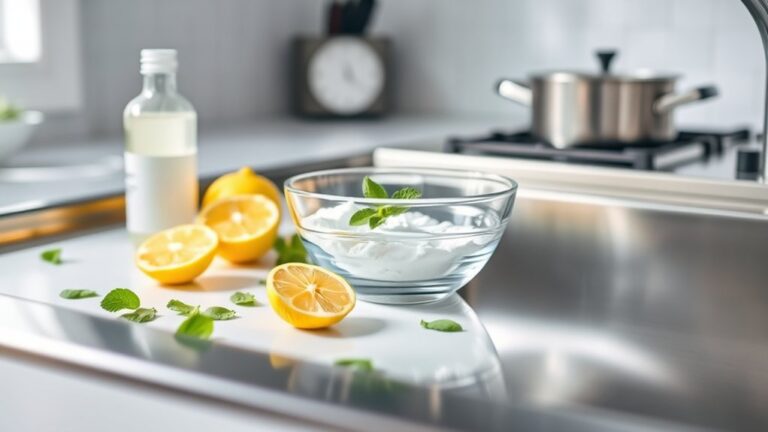
- Natural cleaning solutions: Ingredients like vinegar, baking soda, and lemon work wonders for cutting grease and disinfecting without harsh chemicals.
- Surface compatibility: Check that your cleaner suits your countertop material, whether it’s granite, laminate, or wood, to avoid damage.
Remove Clutter Before Wiping
Before you wipe down your countertops and surfaces, clear away any clutter that’s lingering. Removing items like dishes, utensils, and small appliances gives you full access to clean every inch thoroughly.
Use organizing essentials such as trays or bins to temporarily hold these items, keeping your workspace neat. Applying simple decluttering techniques helps you quickly decide what stays and what goes, cutting down on mess.
Focus on grouping similar items together and putting away anything out of place. This step not only speeds up cleaning but also prevents spreading dirt around.
Use Circular Motion Technique
One effective way to wipe down your countertops and surfaces is by using a circular motion technique. This method boosts cleaning efficiency by covering more area and loosening dirt effectively. When you use circular motions, you reduce streaks and guarantee a thorough clean.
Follow these steps for best results:
- Apply your cleaning solution evenly on the surface.
- Use a soft cloth or sponge, moving it in small circular motions.
- Rinse or wipe with a damp cloth to remove residue.
Clean Your Kitchen Sink and Faucet Thoroughly
Why settle for a dull, grimy sink when a sparkling clean one can instantly brighten your kitchen? Start by clearing out the sink and rinsing away any loose debris. For effective deep cleaning, sprinkle baking soda all over the surface. It’s gentle yet powerful for stain removal.
Scrub with a soft sponge in circular motions, paying close attention to corners and around the drain where grime hides. Don’t forget your faucet; use an old toothbrush dipped in vinegar to tackle lime scale and water spots. Wipe down the faucet and handles with a microfiber cloth to restore shine.
Rinse everything thoroughly with warm water to remove residue. For stubborn stains, apply a paste of baking soda and water, let it sit for 10 minutes, then scrub again. Finally, dry the sink and faucet to prevent water spots and keep your kitchen looking fresh and inviting.
A clean sink and faucet make a huge difference in your kitchen’s overall feel.
Clean Stove and Oven Exterior Surfaces
First, grab your cleaning supplies—things like a degreaser, a sponge, and a microfiber cloth. Then, start by tackling any grease and residue on your stove and oven surfaces. Once that’s done, go ahead and wipe everything down, making sure to dry it well so you’re left with a spotless finish.
Gather Cleaning Supplies
Before you tackle cleaning the stove and oven exterior, make sure you have all the necessary supplies on hand. To save time and effort, gather cleaning supplies and organize kitchen tools efficiently. This way, you won’t have to stop mid-cleaning to search for what you need.
Here’s a quick list to get started:
- Microfiber cloths or sponges for wiping surfaces without scratching.
- All-purpose cleaner safe for stove and oven exteriors, to break down dirt.
- A small brush or old toothbrush, perfect for hard-to-reach spots and crevices.
Having these items ready guarantees a smooth cleaning process. Organizing kitchen tools before you begin helps you move quickly and keeps the task manageable. Now you’re set to clean those surfaces effectively.
Remove Grease And Residue
Two key tools will make removing grease and residue from your stove and oven exterior much easier: an all-purpose cleaner and a microfiber cloth. Start by spraying the cleaner generously on all greasy areas and spots with residue buildup. Let it sit for a few minutes to break down the grease accumulation.
Next, wipe the surfaces with the microfiber cloth in circular motions to lift off the grime without scratching. For stubborn residue buildup, apply a bit more cleaner, then scrub gently until the surface is spotless.
Pay special attention to knobs, handles, and edges where grease tends to collect. Regularly removing grease accumulation not only keeps your kitchen looking fresh but also prevents tough residue from hardening. This quick step saves you time and effort in the long run.
Wipe And Dry Surfaces
Although you’ve loosened the grease and grime, wiping and drying the stove and oven exterior thoroughly is essential to achieve a spotless finish. Proper kitchen organization starts with maintaining clean surfaces, so don’t rush this step. Depending on the surface materials, whether stainless steel, glass, or enamel, choose a soft cloth or microfiber towel to avoid scratches.
Follow these steps to wipe and dry effectively:
- Use a damp cloth to remove loosened dirt and spills gently.
- Dry the surface immediately with a clean, dry microfiber cloth to prevent streaks and water spots.
- Pay special attention to knobs and handles, as these areas collect grime quickly.
This careful wipe and dry routine improves your kitchen organization and keeps your stove and oven looking like new.
Tidy Pantry and Fridge Essentials
When you organize your pantry and fridge essentials, you make it easier to find what you need and keep everything fresh longer. Start with pantry organization by grouping similar items together, like canned goods, snacks, and spices. Place frequently used items at eye level. Use clear containers or labels so you can quickly identify contents and avoid clutter. Check expiration dates and toss anything expired or stale to free up space.
For effective fridge maintenance, wipe down shelves and drawers regularly to prevent spills and odors. Arrange items so that raw meats are on the bottom shelf to avoid cross-contamination. Store leftovers in airtight containers and rotate older items to the front so they get used first. Keep fruits and vegetables in designated crispers to maintain freshness. By tidying your pantry and fridge essentials regularly, you’ll save time during meal prep and reduce food waste, making your kitchen a more efficient and pleasant space.
Sweep and Spot-Clean the Kitchen Floor
Before you mop or deep clean, sweep your kitchen floor thoroughly to remove crumbs, dust, and debris that can make the space look messy and feel sticky underfoot. This step guarantees you’re not just pushing dirt around when you move on to spot-cleaning.
Thoroughly sweeping before mopping removes crumbs and dust, preventing dirt from spreading during spot-cleaning.
Next, tackle any floor stains by gently scrubbing with a mild cleaner or a mix of water and vinegar. Focus on sticky spots or spills to keep your floor looking fresh. Don’t forget about mat maintenance. Shake out or vacuum your kitchen mats regularly to prevent dirt buildup.
Here’s a quick guide to sweep and spot-clean effectively:
- Use a broom or vacuum to clear the entire floor, paying close attention to corners and under appliances.
- Identify and scrub any visible floor stains with an appropriate cleaner.
- Clean and maintain mats by shaking out debris or washing them as needed.
This approach keeps your kitchen floor spotless and inviting without much effort.
Wipe Down Handles and Frequently Touched Spots
Since handles and frequently touched spots harbor the most germs, wiping them down regularly keeps your kitchen healthier and more pleasant to use. Focus on door knobs, cabinet handles, and light switches. These areas accumulate dirt and bacteria quickly.
Use a disinfectant wipe or a cloth dampened with a mild cleaner to thoroughly clean these surfaces. Don’t forget to get into crevices where grime often builds up. Make it a habit to wipe down these spots daily or after cooking, especially if you’ve been handling raw ingredients.
Keeping these high-touch points clean reduces the spread of germs and helps maintain a fresh kitchen environment. It only takes a few minutes, but the impact on your kitchen’s cleanliness is significant. By regularly sanitizing door knobs and light switches, you ensure your kitchen stays safe and inviting for everyone.
Add Fresh Scent With Air Freshener or Diffuser
Keeping your kitchen handles and switches clean sets the stage for a fresher atmosphere. To improve that fresh feeling, adding a pleasant scent is key. You have several air freshener options that can quickly lift your kitchen’s mood.
Here’s how to do it effectively:
- Choose a spray air freshener for an instant burst of fragrance, perfect for last-minute freshness.
- Use a diffuser to enjoy long-lasting, subtle scents; diffuser benefits include continuous aroma and natural essential oil use.
- Opt for plug-in air fresheners to maintain a consistent scent without any effort.
Each choice offers a simple way to keep your kitchen smelling inviting. Whether you prefer the quick fix of sprays or the gentle, ongoing aroma from diffusers, adding fragrance complements your cleaning routine perfectly. This small step ensures your kitchen not only looks clean but also smells welcoming.
Frequently Asked Questions
How Often Should I Deep Clean My Kitchen Appliances?
You should deep clean your kitchen appliances every three to six months to keep them running smoothly and looking great. While doing this, check your kitchen lighting to guarantee it brightens your workspace, making cleaning easier.
Don’t forget to tidy your pantry organization at the same time. Clearing out expired items helps prevent messes. Staying consistent with these tasks saves you time and effort in the long run, keeping your kitchen fresh and efficient.
What Natural Cleaners Are Safe for Kitchen Surfaces?
You can use eco friendly solutions like white vinegar and baking soda as natural disinfectants for your kitchen surfaces. Vinegar cuts grease and kills bacteria, while baking soda gently scrubs without scratching.
Lemon juice also works great to disinfect and leave a fresh scent. These natural cleaners are safe, effective, and avoid harsh chemicals, helping you keep your kitchen clean and healthy without harming the environment.
How Can I Prevent Mold in My Kitchen Sink?
You know what they say, “An ounce of prevention is worth a pound of cure.” To keep mold at bay in your kitchen sink, focus on mold prevention and regular sink maintenance.
Always dry the sink after use, clean drains weekly with a vinegar and baking soda mix, and guarantee good ventilation to reduce moisture. Fix leaks promptly and avoid leaving food scraps in the drain to stop mold growth before it starts.
What’s the Best Way to Organize Kitchen Drawers?
The best way to organize kitchen drawers is to use drawer dividers to separate utensils and keep everything in its place. You’ll want to categorize items. Put spatulas, knives, and spoons in designated sections for easy access.
Drawer dividers prevent clutter and make utensil organization simple, so you can quickly find what you need. Regularly declutter and adjust the dividers as your utensil collection changes to maintain order.
How Do I Clean Grease From Kitchen Walls?
To clean grease from kitchen walls, start by mixing warm water with a few drops of dish soap for effective grease removal. Dip a sponge or cloth into the solution and gently scrub the greasy areas.
For tougher spots, add a bit of baking soda to your mixture for extra scrubbing power. Rinse the walls with clean water afterward, then dry with a towel.
This wall cleaning method removes grease without damaging your paint.
Conclusion
Now, imagine stepping back, your kitchen gleaming under soft light, every surface spotless and inviting. The air carries a fresh, subtle scent that makes you want to stay just a little longer.
You’ve transformed chaos into calm, and the simple satisfaction of a clean kitchen is yours. Just one more glance, and you realize this isn’t just clean; it’s a space ready for new memories.
Ready to enjoy your kitchen fast and make the most of this fresh, inviting space?