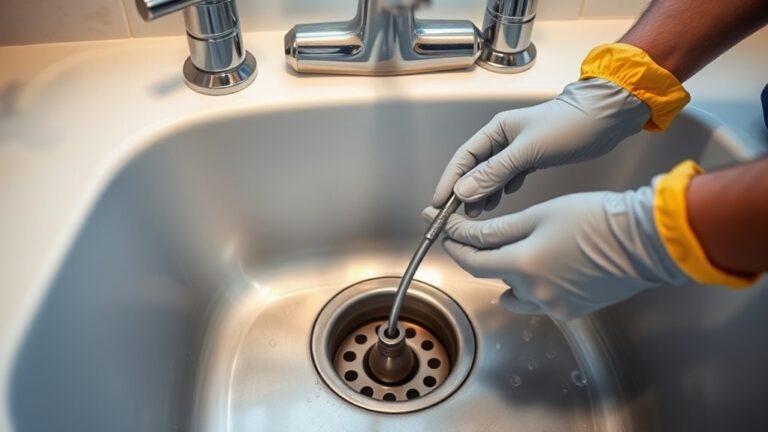
How to Unclog a Kitchen Sink in 7 Simple Steps
Dealing with a clogged kitchen sink is frustrating, and if you’ve ever faced this messy problem, you’re not alone. Many people struggle with slow drains and stubborn blockages that disrupt their daily routines. The good news? Unclogging your kitchen sink doesn’t have to be a headache, and with the right approach, you can fix it yourself quickly.
To unclog your kitchen sink in seven simple steps, start by gathering tools like a plunger, wrench, bucket, and gloves. Remove the drain stopper and clear any debris you can see.
Use a plunger to dislodge minor clogs, then check the P-trap for buildup and clean it if needed. If the clog persists, try a homemade cleaner with baking soda and vinegar.
Finish by adopting habits like scraping food scraps and avoiding grease down the drain. Keep following for useful tips to maintain a clog-free sink.
Key Takeaways
- Remove the drain stopper and clear visible debris using gloves and pliers for better access to the clog.
- Use a sink plunger with water to create suction and dislodge the clog effectively.
- Check and clean the P-trap by loosening slip nuts, removing debris, and securely reinstalling it.
- Pour baking soda followed by vinegar down the drain, let fizz for 15 minutes, then flush with boiling water.
- Adopt preventative habits like using a sink strainer and avoiding grease to maintain clear drains.
Gather the Tools You Need to Unclog Your Sink
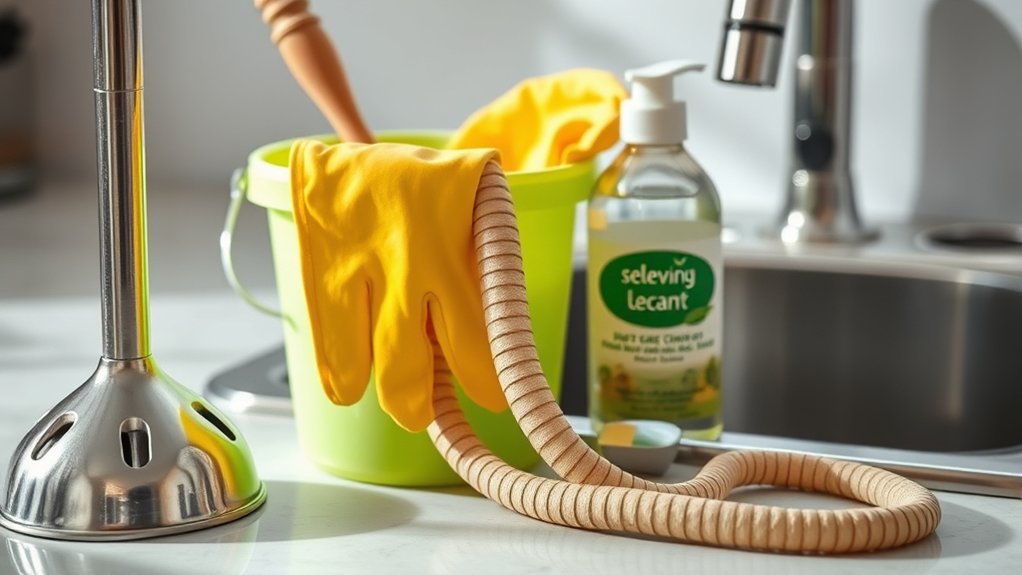
Before you begin unclogging your kitchen sink, make sure you have the right tools on hand. Having everything ready not only speeds up the process but also helps protect your kitchen sink aesthetics. You don’t want to scratch or damage your sink’s surface while working on plumbing maintenance.
Start with a basic plunger designed for sinks, as it creates the suction needed to dislodge blockages effectively. A plumber’s wrench is essential for loosening pipes without causing unnecessary wear. You’ll also need a bucket to catch any water during pipe removal.
Use a sink plunger, plumber’s wrench, and bucket to efficiently clear clogs and manage water during pipe repairs.
Keep a flashlight nearby to inspect the pipes under the sink clearly. Rubber gloves protect your hands and keep the job hygienic. Having these tools ready guarantees you can tackle the clog confidently without risking damage to your kitchen’s look or the plumbing itself.
Proper preparation is the key to maintaining both functionality and style.
Clear Your Kitchen Sink Drain Stopper and Remove Debris
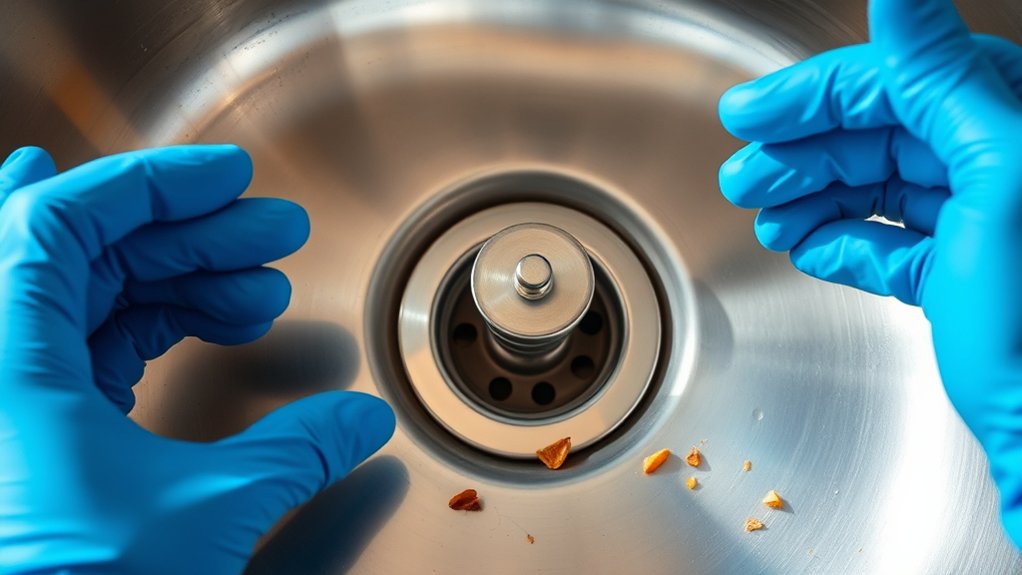
Once you’ve gathered your tools, start by removing the drain stopper to access any trapped debris. Drain stopper removal is usually simple; you might need to twist it, pull it up, or unscrew a retaining nut underneath the sink. If your stopper is stuck, try gently wiggling it while pulling upward.
Once removed, check the stopper itself for gunk and buildup. Clean it thoroughly before setting it aside.
Next, focus on debris clearing inside the drain. Use a flashlight to spot any visible clogs or trapped food scraps near the opening. Carefully remove debris with your fingers or a pair of needle-nose pliers. Avoid pushing debris further down the drain.
Wipe the drain opening and stopper with a cloth to ensure a clean fit when you reinstall it.
After you clear all debris and clean the stopper, place the stopper back securely. This step improves water flow and prevents future clogs from forming right at the drain entrance.
Use a Plunger to Quickly Dislodge Minor Kitchen Sink Clogs

You’ll want to pick the right plunger—usually a cup-shaped one made for sinks—to get the best seal. Then, use steady, controlled plunges to build pressure and break up the clog without causing any damage.
If the water doesn’t clear after a few tries, it’s best to stop and try another method. No point in forcing it and making things worse!
Choosing The Right Plunger
Selecting the right plunger can make all the difference when tackling minor kitchen sink clogs. You’ll encounter different plunger types, each suited for specific tasks.
A cup plunger works best for flat surfaces like sinks, while flange plungers are designed for toilets. Choosing the right type guarantees you apply pressure effectively. Also, mastering grip techniques helps you maintain control and maximize suction.
| Plunger Type | Best For | Grip Technique |
|---|---|---|
| Cup Plunger | Flat sink surfaces | Firm, two-handed grip |
| Flange Plunger | Toilets | One hand on handle, one on cup |
| Accordion Plunger | Narrow pipes | Strong, controlled push |
Pick a plunger matching your sink’s shape and use proper grip for efficient clog removal.
Proper Plunging Technique
Although plunging may seem straightforward, using the proper technique is key to quickly dislodging minor kitchen sink clogs. Before you start, verify your plunger is clean and in good condition. Regular plunger maintenance prevents ineffective plunging.
Here’s how to use the proper technique:
- Seal the sink drain completely with the plunger’s cup.
- Fill the sink with enough water to cover the plunger’s cup for better suction.
- Push and pull the plunger firmly but steadily, avoiding air leaks.
- After several plunges, quickly pull the plunger away to release pressure and clear the clog.
Following these steps maximizes the plunger’s power and helps you clear minor clogs efficiently. Remember, good plunger maintenance ensures lasting effectiveness.
When To Stop Plunging
While plunging can quickly clear minor kitchen sink clogs, knowing when to stop is just as important to avoid causing damage or making the clog worse. If you don’t see water draining after 10 to 15 vigorous pumps, it’s time to pause.
Continuing to plunge beyond this point risks damaging your pipes or seals, so prioritize plunger safety. Instead of forcing it, consider alternative remedies like using a drain snake or a natural enzyme cleaner. These methods can tackle stubborn clogs without the risk of harm.
Identify What’s Causing Your Kitchen Sink Clog
Before you start unclogging, you’ll want to figure out what’s causing the blockage. Notice if the water is draining slowly or if you hear any gurgling sounds—these can help you pinpoint the issue.
You might also grab some simple tools, like a flashlight or a drain snake, to take a closer look and get a better idea of what’s going on inside the pipe.
Common Kitchen Clog Causes
If your kitchen sink is draining slowly or not at all, the cause usually lies in common household habits. You might be dealing with a clog caused by:
- Food scraps stuck in the garbage disposal, especially fibrous or starchy items.
- Grease and oil buildup that solidifies and narrows the pipes.
- Poor dishwasher maintenance, allowing debris to back up into the sink drain.
- Accumulated soap scum and mineral deposits restricting water flow.
Signs of a Blockage
When your kitchen sink shows signs of trouble, recognizing the symptoms early can help you pinpoint the clog’s cause. Notice if water pressure decreases when you run the faucet. Slow drainage or gurgling sounds often signal a blockage.
If water pools around the sink or backs up into adjacent drains, you likely have a significant clog. Consider your pipe materials, as older metal pipes tend to corrode and trap debris more easily than modern PVC.
Grease buildup, food scraps, and soap residue can cling inside, restricting flow. Identifying these signs quickly lets you address the specific cause before the problem worsens. By paying attention to water pressure changes and the condition of your pipes, you’ll better understand what’s blocking your kitchen sink.
Tools for Inspection
Although clogs can seem mysterious, you can quickly identify the cause by using the right inspection tools. Proper inspection techniques help you pinpoint blockages and save time. Before you start, confirm your tools are clean and in good condition. Tool maintenance is key for effective use.
Here are four essential tools for inspection:
- Flashlight – Illuminates dark pipes and drains for a clear view.
- Plumber’s snake with camera – Allows you to see inside pipes and locate stubborn clogs.
- Mirror on a telescoping handle – Helps inspect hard-to-reach areas beneath the sink.
- Gloves – Protect your hands while handling tools and debris.
Using these tools properly will make identifying your kitchen sink clog straightforward and efficient.
Check and Clean the Kitchen Sink P-Trap
Since the P-trap sits directly beneath your kitchen sink, it often collects debris and grease that cause clogs. For effective P trap maintenance, start by placing a bucket underneath to catch any spills.
The P-trap beneath your sink collects debris and grease, making regular maintenance essential to prevent clogs.
Then, carefully loosen the slip nuts on both ends of the P-trap using pliers or by hand if possible. Remove the trap and inspect it for buildup or blockages. This drain pipe inspection helps identify any stuck debris causing slow drainage.
Clean the trap thoroughly with a brush and warm, soapy water to remove grease and grime. After cleaning, reattach the P-trap securely, making sure the slip nuts are tight to prevent leaks.
Regularly checking and cleaning the P-trap can prevent future clogs, keep your drains flowing smoothly, and avoid costly plumbing issues. Don’t forget to run water after reassembly to confirm everything is sealed and draining properly.
Try a Homemade Kitchen Sink Drain Cleaner for Stubborn Clogs
If your kitchen sink remains clogged after cleaning the P-trap, you can tackle stubborn blockages with a homemade drain cleaner using simple household ingredients. Homemade solutions offer a safe, eco-friendly alternative to harsh chemical alternatives, making them ideal for your kitchen plumbing.
Here’s a quick homemade recipe to try:
- Pour 1/2 cup of baking soda down the drain.
- Follow it with 1/2 cup of white vinegar.
- Cover the drain with a plug and let the mixture fizz for 15 minutes.
- Flush with boiling water to clear loosened debris.
This method helps break down grease and grime without damaging your pipes. If the clog persists, repeat the process once more before considering other options. Using homemade solutions not only saves money but also protects your plumbing from the wear caused by chemical alternatives.
Prevent Future Clogs With Easy Kitchen Habits
To keep your kitchen sink draining smoothly, you need to adopt a few simple habits that prevent clogs before they start. Start by being mindful during food preparation. Scrape plates into the trash or compost instead of rinsing scraps down the drain.
Avoid pouring grease or oil into the sink because they solidify and cause blockages. Using a sink strainer is a smart addition to your kitchen design. It catches food particles and prevents them from entering the drainpipe.
Regularly clean your sink and drain with hot water to wash away buildup. Also, spacing out heavy use can help. Don’t overload your sink with large food waste all at once.
These easy adjustments not only keep your sink clear but also prolong your plumbing’s life. By integrating these habits into your daily routine, you’ll save time, avoid costly repairs, and enjoy a more functional kitchen space.
Frequently Asked Questions
Can Chemical Drain Cleaners Damage My Kitchen Sink Pipes?
Yes, chemical drain cleaners can cause chemical damage to your kitchen sink pipes. When you use these harsh chemicals, they can lead to pipe corrosion over time, especially if your pipes are old or made of metal.
This corrosion weakens the pipes, increasing the risk of leaks or bursts. To protect your plumbing, you might want to contemplate safer alternatives like natural solutions or mechanical methods instead of relying on chemical cleaners regularly.
How Often Should I Clean My Kitchen Sink Drain to Prevent Clogs?
Think of your kitchen sink drain as a garden path. If you don’t tend it regularly, weeds (debris) will take over. To keep it clear, you should set a cleaning schedule, doing drain maintenance about once a month.
This routine stops buildup before it becomes a problem, letting water flow freely like a well-kept stream. So, stay consistent, and your sink will thank you with smooth drainage every day.
Is It Safe to Use a Wire Hanger to Unclog a Sink?
You can use a wire hanger as a DIY method to unclog your sink, but you need to take safety precautions. Straighten the hanger and create a small hook at one end to fish out debris gently. Be careful not to scratch your pipes or push the clog deeper.
Always wear gloves to protect your hands from bacteria and sharp edges. If you’re unsure, consider safer alternatives or professional help to avoid damage.
What Should I Do if My Kitchen Sink Clog Causes Bad Odors?
If your kitchen sink clog causes bad odors, start with odor elimination by pouring a mixture of baking soda and vinegar down the drain. Let it fizz for 15 minutes, then flush with hot water.
You can also use a drain deodorizer to neutralize lingering smells. Regularly cleaning the drain helps prevent future odors.
If the smell persists, check for deeper clogs or consider professional help to keep your kitchen fresh.
When Should I Call a Professional Plumber for a Kitchen Sink Clog?
You should call a professional plumber when DIY solutions haven’t worked after 30 minutes, or if the clog causes water to back up repeatedly. Emergency plumbing is essential if you notice leaks, flooding, or foul odors you can’t control.
Did you know 60% of homeowners try DIY first but end up needing pros? Don’t wait too long. Calling an expert early can prevent bigger, costly damage to your kitchen plumbing system.
Conclusion
Don’t let a clogged kitchen sink ruin your day. It’s easier to fix than you think.
Even if you’re worried about making a bigger mess or damaging your pipes, following these simple steps will guide you safely through the process.
Taking a little time now saves you from costly repairs later. You’ve got this. Your sink will be draining smoothly in no time, and your kitchen will feel fresh and hassle-free again with an unclogged kitchen sink!