Unclog Kitchen Sink With Disposal in 7 Easy Steps
Dealing with a clogged kitchen sink with a disposal can be incredibly frustrating, especially when it disrupts your daily routine. You’re not alone—many people struggle with this common household issue and wish there was a simple way to fix it without calling a plumber.
Luckily, with the right steps, you can get your sink draining smoothly again in no time.
To unclog your kitchen sink with a disposal, first turn off power for safety, then press the reset button if needed. Use a plunger to clear minor blockages, blocking other drains if applicable. Remove and clean the splash guard to eliminate trapped debris.
Manually unjam the blades with an Allen wrench if stuck. Flush the drain with hot water and baking soda to prevent buildup.
If problems persist, knowing when to seek expert help can save you time and effort.
Key Takeaways
- Turn off power to the disposal before inspecting or attempting to unclog to ensure safety.
- Use an Allen wrench in the disposal’s bottom hole to manually rotate blades and clear obstructions.
- Fill the sink with water, block other drains, and plunge firmly to dislodge minor clogs.
- Pour half a cup of baking soda into the drain, let it sit, then flush with hot water to break down buildup.
- If the clog persists or the disposal makes unusual noises, call a professional plumber for effective resolution.
Common Causes of a Clogged Kitchen Sink With Disposal
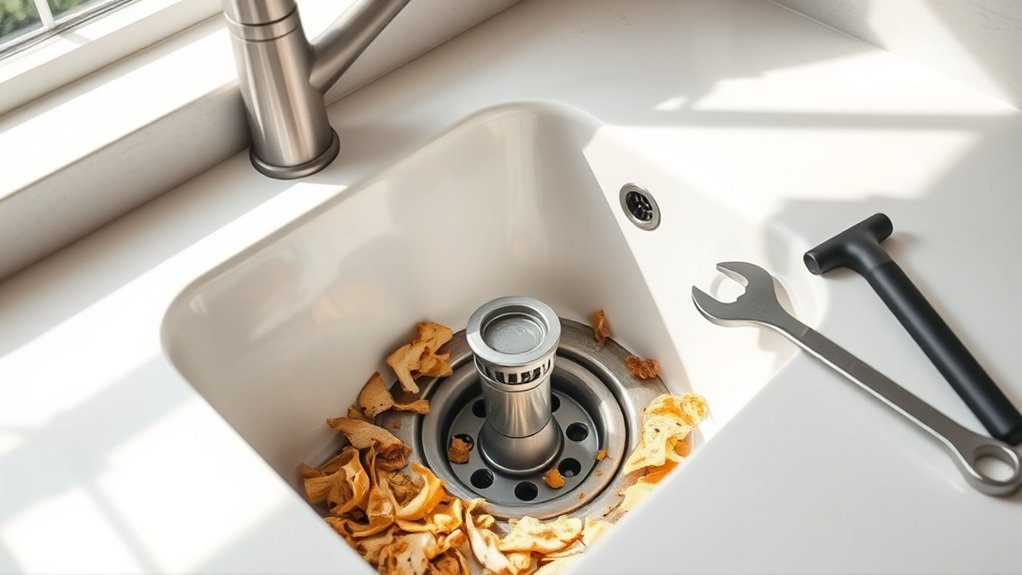
Although disposals help break down food waste, certain items and habits can quickly clog your kitchen sink. One common culprit is food particles that don’t break down easily, like fibrous vegetable peels or coffee grounds. These can accumulate and create blockages over time.
Another frequent cause is grease buildup. When you pour cooking grease or oil down the drain, it cools and solidifies, sticking to the pipes and trapping debris. This narrows the passage and slows water flow, eventually causing a clog.
You should also avoid overloading the disposal with too much waste at once. Running it without enough water can leave food particles stuck inside the pipes. Starchy foods, like pasta or rice, swell when wet and can cause thick clogs.
Safely Reset Your Garbage Disposal
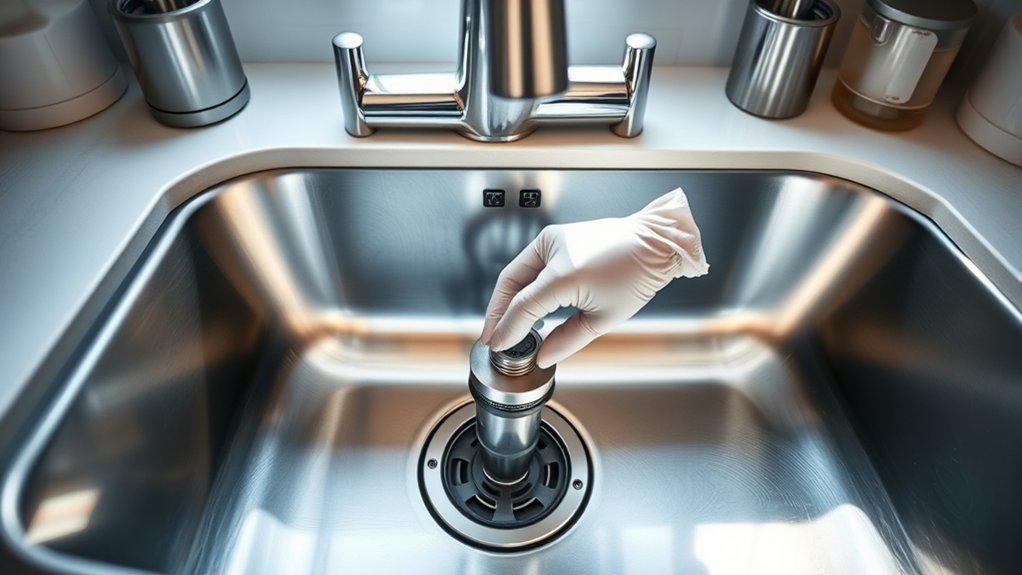
If your garbage disposal stops working, the first step is to reset it safely to avoid damage or injury. Following proper disposal safety and reset procedures ensures you don’t worsen the problem.
First, turn off the power at the circuit breaker or unplug the unit. Locate the red reset button, usually at the bottom of the disposal. Press it firmly until it clicks, indicating the unit has been reset.
| Step | Action | Tip |
|---|---|---|
| 1 | Turn off power | Prevents accidental starts |
| 2 | Find reset button | Usually red, at the bottom |
| 3 | Press reset button | You’ll feel a click |
| 4 | Restore power and test | Run water while testing |
If the disposal still doesn’t work after resetting, avoid forcing it and consider calling a professional. Always prioritize disposal safety during reset procedures to protect yourself and your appliance.
Use a Plunger to Clear Minor Sink Blockages
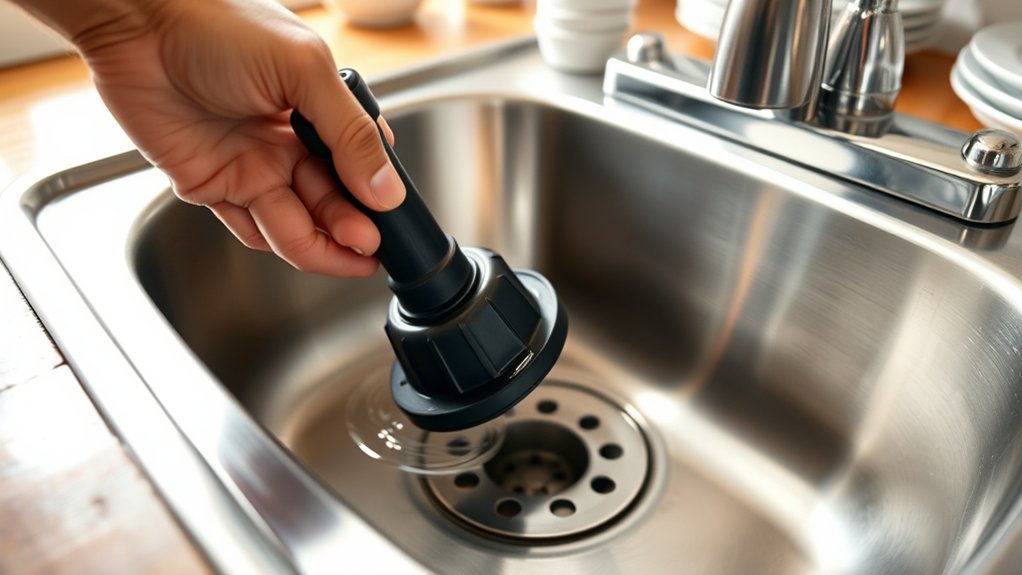
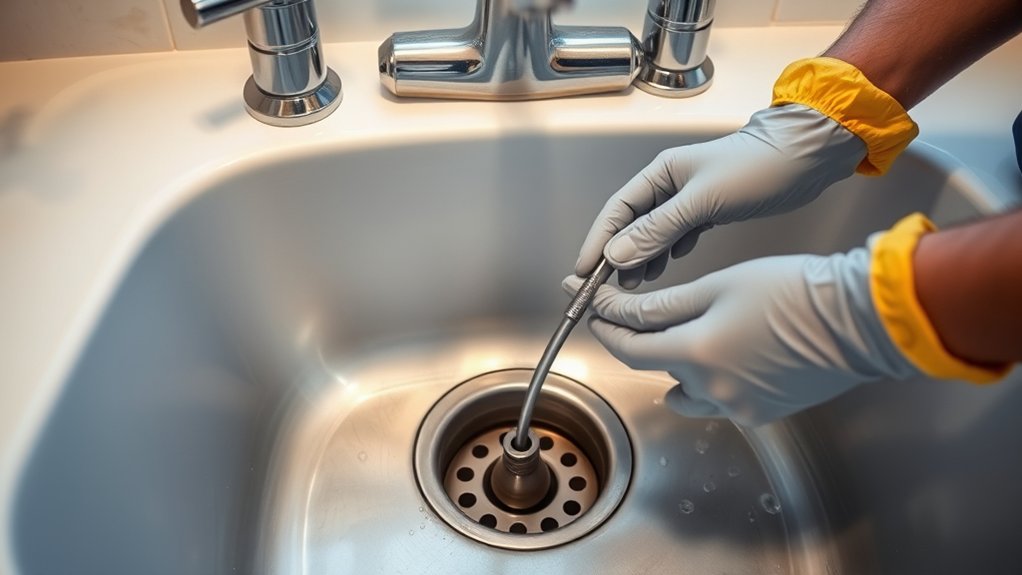
Once you’ve safely reset your garbage disposal and it’s still sluggish or clogged, using a plunger can help clear minor blockages in your kitchen sink. Start by filling the sink with enough water to cover the plunger’s cup.
Make sure to block the other sink drain if you have a double basin. This prevents air from escaping. Position the plunger over the drain, then use firm, consistent plunges to create suction and dislodge the clog.
Avoid harsh plunging, which may damage pipes or the disposal.
Clean the Disposal Splash Guard to Remove Trapped Debris
Because food particles often get stuck around the disposal splash guard, cleaning it regularly can prevent odors and improve your disposal’s performance. Start by lifting the splash guard gently. Most models allow you to pull it out for easy access. Use a small brush or an old toothbrush to scrub underneath and around the guard thoroughly.
This splash guard cleaning helps remove hidden debris that clogs the area and causes unpleasant smells. Rinse the splash guard under warm water to wash away loosened particles. Don’t forget to wipe the sink area around the disposal opening, where debris can accumulate too.
Regular debris removal prevents buildup that might lead to clogs or slow drainage. After cleaning, place the splash guard back securely to maintain its splash-prevention function. Taking these simple steps ensures your disposal stays clean, fresh, and working efficiently without odors or blockages caused by trapped food debris.
How to Unjam Disposal Blades by Hand
Although disposals are designed to handle tough scraps, their blades can sometimes get jammed by hard objects or fibrous materials. To fix this, start with a careful disposal blade inspection. First, unplug the unit or turn off the power at the circuit breaker to stay safe. Use a flashlight to look inside for any visible obstructions.
Next, perform manual blade removal by inserting an Allen wrench into the hole at the bottom center of the disposal. Turn it back and forth to manually rotate the blades and free any stuck debris. Avoid using your fingers directly inside the disposal to prevent injury.
Once the blades move freely, flush the disposal with water while turning it on briefly to guarantee smooth operation. If the blades remain stuck, repeat the inspection and manual blade removal. This hands-on approach helps restore your disposal’s function without calling a plumber.
Use Hot Water and Baking Soda to Flush Your Drain
If you want to clear lingering grime and neutralize odors, flushing your drain with hot water and baking soda is a simple and effective step. Start by pouring about half a cup of baking soda directly into the drain. Let it sit for a few minutes to break down buildup and absorb smells.
Then, slowly pour a kettle of hot water down the drain to flush out loosened debris. This process uses eco-friendly solutions that avoid harsh chemicals, making it perfect for maintaining your kitchen sink disposal safely.
Incorporating this method into your DIY plumbing routine not only keeps your drain clear but also helps prevent future clogs. You can repeat this treatment once a week to sustain a fresh, clean drain without resorting to toxic cleaners.
This straightforward approach saves money and protects your plumbing while being gentle on the environment.
When to Call a Plumber for Clogged Kitchen Sinks
If your sink keeps clogging no matter what you try, it’s probably time to call a plumber. Also, if your disposal starts making weird noises or you see water leaking underneath, don’t wait to get help. Taking care of these problems early on can save you from bigger headaches later.
Persistent Drain Blockages
When your kitchen sink remains clogged despite repeated attempts to clear it, you need to recognize when it’s time to call a plumber. Persistent drain blockages can signal deeper issues beyond simple kitchen sink maintenance or disposal troubleshooting. Ignoring these signs might worsen the problem or cause damage.
Consider calling a plumber if you notice:
- Water backing up consistently despite plunging
- Foul odors that don’t disappear after cleaning
- Slow drainage that worsens over days
- Gurgling sounds from the sink or disposal
- Multiple drains clogging simultaneously
A professional can diagnose hidden pipe problems and safely clear stubborn blockages, ensuring your kitchen sink stays functional and your disposal runs smoothly. Don’t delay. Timely intervention saves you effort and money.
Unusual Disposal Noises
Although you might ignore unusual disposal noises at first, they often signal a clogged kitchen sink or a problem requiring professional help. When you hear grinding, rattling, or humming that’s out of the ordinary, don’t wait.
These unusual sounds can indicate food debris stuck in the blades, a jammed motor, or an electrical issue. Trying to force the disposal without addressing the root cause might worsen the problem or damage the unit.
If you’ve already tried basic troubleshooting like resetting the disposal or clearing visible blockages and those disposal noises persist, it’s time to call a plumber. A professional can safely diagnose and fix internal issues, ensuring your sink drains smoothly and preventing costly repairs down the line.
Water Leakage Issues
Water leakage around your kitchen sink signals a problem that often demands prompt attention. Ignoring leaks can lead to water damage, mold, or even costly repairs. While regular kitchen sink maintenance helps prevent leaks, some issues require a plumber’s expertise.
Pay attention to these signs indicating you should call a professional:
- Persistent dripping despite tightening connections
- Water pooling under the sink cabinet
- Corroded or cracked pipes visible during inspection
- Leakage around the disposal unit after use
- Foul odors combined with moisture, signaling hidden leaks
Following disposal safety tips, like avoiding harsh chemicals, can reduce the risk of damage. If you notice any of these issues, don’t hesitate. Calling a plumber can save you from bigger headaches down the line.
Frequently Asked Questions
Can I Use Chemical Drain Cleaners With a Garbage Disposal?
You shouldn’t use chemical drain cleaners with a garbage disposal because the chemical reactions can damage the disposal’s components. These cleaners often contain harsh ingredients that can corrode metal parts or harm the seals, leading to costly repairs.
Instead, focus on regular disposal maintenance like running cold water during use and cleaning it with natural solutions. This keeps your disposal working well without risking damage from chemicals.
How Often Should I Clean My Garbage Disposal?
You should clean your garbage disposal about once a week to keep it running smoothly. Regular maintenance routines, like grinding citrus peels or ice cubes, help prevent buildup and odors.
Doing this consistently not only improves performance but also extends your disposal lifespan. Neglecting cleaning can lead to clogs and unpleasant smells, so make it a habit.
Staying on top of maintenance saves you from costly repairs down the road.
What Foods Should I Never Put in the Disposal?
You should never put fibrous food debris like celery, corn husks, or onion skins in the disposal, as they can tangle and clog. Avoid starchy foods like potato peels because they expand and cause blockages.
Also, never pour grease buildup or oil down the drain. They solidify and trap debris, leading to clogs. By steering clear of these items, you’ll keep your disposal running smoothly and prevent costly repairs.
Will Running Cold Water Help Prevent Clogs?
When it comes to clog prevention, running cold water definitely helps keep things flowing smoothly. You’ve probably heard “a stitch in time saves nine,” and here it fits perfectly.
Cold water solidifies any grease or fats, so the disposal can chop them up more easily, preventing buildup. Keeping a steady water flow while using the disposal flushes debris down the pipes, reducing the chance of clogs and saving you from a messy headache later.
Can a Disposal Cause Bad Odors in the Kitchen?
Yes, a disposal can cause bad odors in your kitchen if food particles get trapped and start to rot. To combat this, make sure you run cold water during and after use to help flush debris.
Improving air circulation around the sink area also helps prevent smells from lingering. You can use odor absorbers like baking soda or activated charcoal in the drain to neutralize bad odors and keep your kitchen smelling fresh.
Conclusion
Now that you’ve learned these seven easy steps, you can tackle your clogged kitchen sink with disposal like a pro. Just like a knight wielding a shining sword, you’ve got the tools and knowledge to conquer stubborn blockages.
Remember, safety first. Always reset your disposal properly and don’t hesitate to call a plumber if things get tricky. With a little patience and care, your clogged kitchen sink with disposal will flow smoothly again in no time.