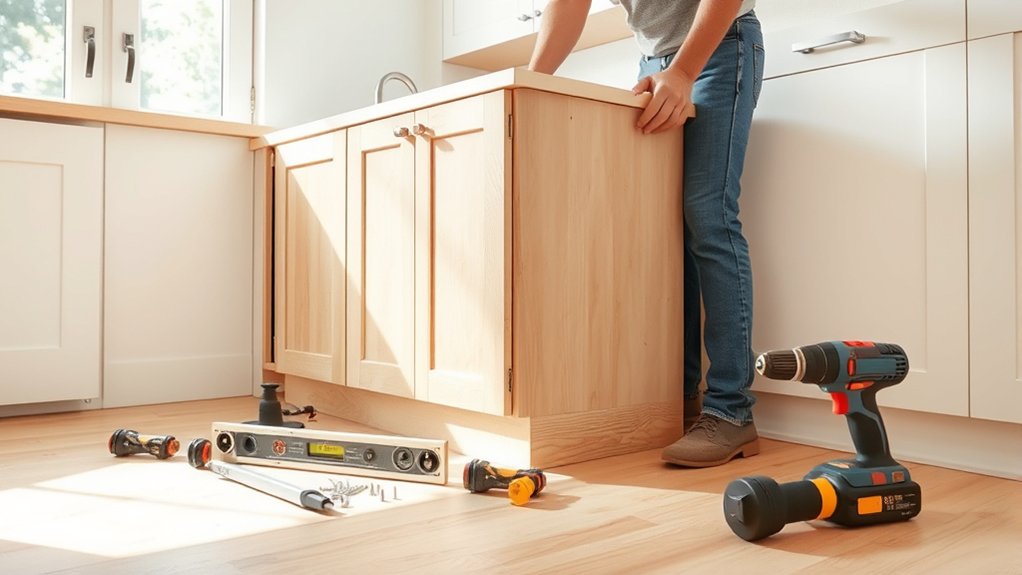
How to Install Kitchen Base Cabinets in 7 Easy Steps
If you’ve ever tried to install kitchen base cabinets, you know it can quickly become overwhelming. You’re not alone—many people struggle with getting everything measured, leveled, and secured just right. But don’t worry, with the right approach, you can achieve a professional-looking installation without the stress.
To install kitchen base cabinets in 7 easy steps, first gather your tools and materials, then measure and prep your space accurately.
Next, level the floor and mark the cabinet layout.
Assemble your cabinets fully before positioning.
Secure them to wall studs, clamp, and join cabinets tightly.
Adjust doors and drawers for smooth operation.
Finally, install toe kicks and add finishing trim for a polished look.
Keep following for detailed tips to make your installation flawless.
Key Takeaways
- Measure and prepare the installation area, making sure walls and floors are level and clear of any obstructions. This step helps everything fit perfectly later on.
- Assemble the cabinets fully off-site. Organize the hardware and check for any defects before you start installing to avoid surprises.
- Locate and mark the wall studs, then anchor the cabinets securely using long screws. Use clamps to keep the joins tight while you work.
- After securing the cabinets, adjust the doors and drawers so they open smoothly and have even spacing. This makes everything look neat and function well.
- Finally, install the toe kicks and finishing trim. Seal and sand the edges for a polished, professional finish that ties the whole kitchen together.
Gather Tools and Materials for Base Cabinet Installation
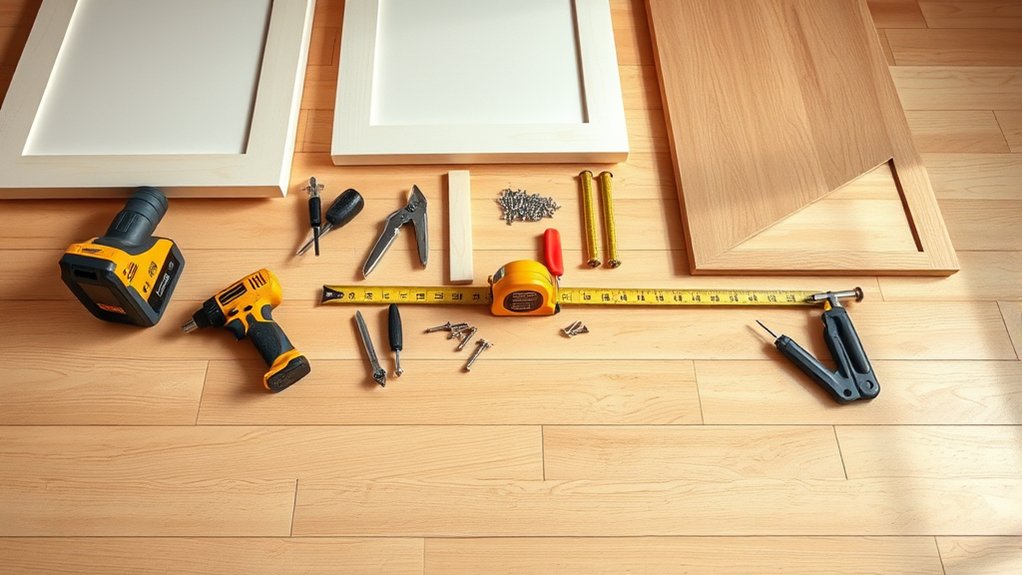
Where do you begin when installing kitchen base cabinets? Start by gathering all the essential tools and materials to keep the process smooth. You’ll need a drill, level, measuring tape, stud finder, clamps, screws, and shims. Don’t forget safety gear like gloves and goggles.
Next, consider your cabinet color and hardware selection since these affect both aesthetics and installation details. Make sure your cabinet color matches your kitchen’s style and coordinates with your chosen hardware, such as handles or knobs. Having these on hand helps you plan placements and adjustments effectively.
Also, check that your base cabinets come with all necessary mounting brackets and instructions. Being prepared upfront saves you time and frustration later. Once you have everything ready, you’ll feel confident moving forward with installing your kitchen base cabinets efficiently and accurately.
Measure and Prepare Your Kitchen Space for Base Cabinets
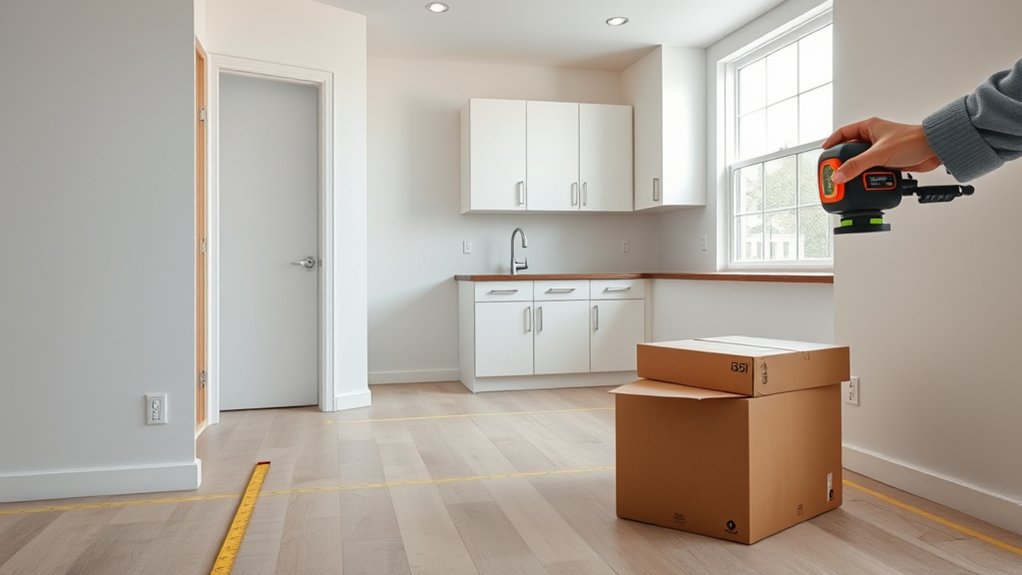
Before you start installing your kitchen base cabinets, take precise measurements of your space to guarantee a perfect fit. Measure the length, width, and height of the area where your cabinets will go. This helps avoid gaps and ensures your decorative hardware will align properly after cabinet painting. Don’t forget to note any obstacles like electrical outlets or plumbing.
Use this table to organize your measurements:
| Measurement Area | Notes |
|---|---|
| Wall Length | Total length where cabinets go |
| Height to Countertop | Space from floor to countertop |
| Obstructions | Pipes, outlets, vents |
Preparing your space also means clearing the area and patching any wall imperfections. Proper measurements and prep save time and headaches, letting you focus on installing cabinets and adding finishing touches like decorative hardware and cabinet painting with confidence.
Level the Floor and Mark Base Cabinet Layout
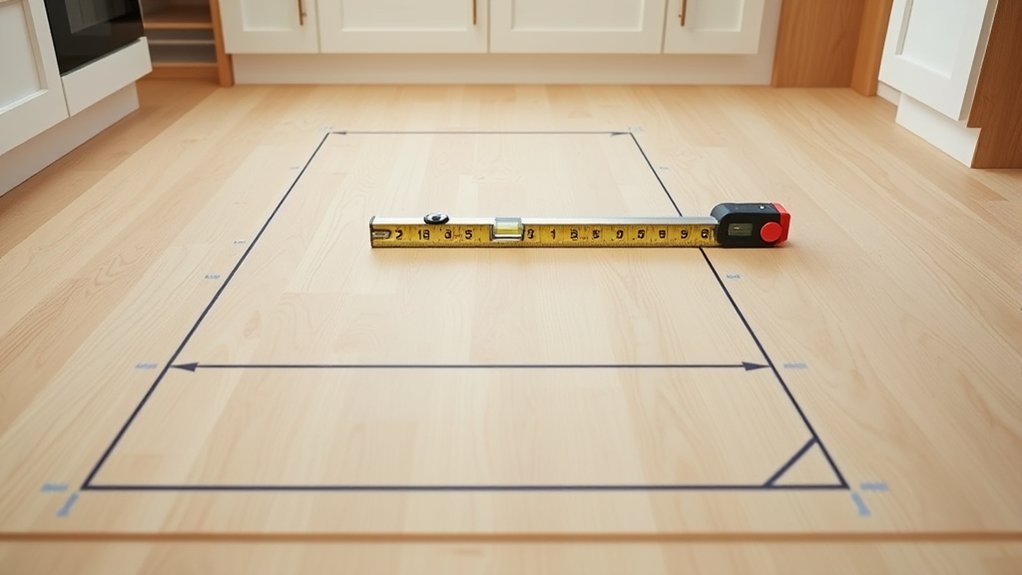
Before you start installing, make sure to check if your floor is level. This will help ensure your cabinets sit evenly without any wobbling. Grab a level tool and look for any uneven spots that might need some fixing.
Once you’ve got that sorted, go ahead and mark the exact cabinet layout right on the floor. This way, you’ll have a clear guide to follow during your installation, making the whole process a lot smoother.
Check Floor Evenness
How level is your kitchen floor? Before installing base cabinets, perform a thorough floor inspection to identify any uneven surface areas. Uneven floors can cause cabinets to wobble or misalign, leading to long-term issues.
Use a long level or straightedge to check different spots across the floor. Mark any high or low points clearly. If you find significant dips or bumps, you’ll need to address these before proceeding, either by sanding high spots or filling low areas with a leveling compound.
Ensuring a flat, even surface sets a solid foundation for your cabinets, making installation easier and the final result more professional. Don’t rush this step; a careful floor inspection prevents costly adjustments later and guarantees your cabinets sit securely and look great.
Outline Cabinet Placement
Once your floor is level, you can start outlining the cabinet placement to guarantee everything fits perfectly. Begin by marking the base cabinet layout directly on the floor using a pencil or chalk line.
Measure carefully from walls and corners to ensure accuracy. Remember to account for cabinet hardware and any custom finishes you plan to install. This helps avoid surprises during installation and keeps your design precise.
| Step | Action |
|---|---|
| Measure & Mark | Outline cabinet footprint |
| Check Alignments | Confirm straight lines |
| Plan Hardware Space | Allow clearance for handles |
Assemble Base Cabinets Before Positioning
Before you position the base cabinets, start by gathering all the components and organizing them by type. It really helps to have everything laid out before you begin. Then, follow the assembly instructions carefully to make sure each cabinet is put together correctly. Taking the time to assemble them now will make the installation go much smoother and faster. Trust me, a little prep work upfront saves a lot of hassle later on.
Organize Cabinet Components
Although it might be tempting to position the cabinets right away, assembling the base cabinets beforehand will save you time and effort during installation. Before you start, organize all cabinet components to streamline the process.
Lay out cabinet hardware, panels, shelves, and doors in separate sections so you can quickly find what you need. This organization supports smooth interior organization later on.
Focus on these key points: Sort cabinet hardware like hinges and handles by type and size. Group panels and shelves for each cabinet unit together. Keep screws and fasteners in labeled containers.
Arrange interior organization accessories, such as drawer dividers or pull-out trays, nearby.
This preparation helps you avoid delays and guarantees every piece is at hand when you begin assembling.
Follow Assembly Instructions
Since assembling the base cabinets off-site makes positioning easier, you should carefully follow the manufacturer’s assembly instructions step by step. Begin by sorting all cabinet materials and cabinet hardware to verify nothing is missing.
Pay close attention to how panels fit together, and use the recommended screws and fasteners for a secure build. Avoid rushing; precise assembly prevents alignment issues later.
Once you’ve assembled each base cabinet fully, inspect for any loose hardware or defects in cabinet materials. This approach saves time during installation and reduces the risk of damage.
Secure and Join Base Cabinets to the Wall
When you start securing and joining the base cabinets to the wall, make sure the cabinets are level and properly aligned. This step is vital for a sturdy installation and smooth operation later. Use wall anchoring techniques to firmly attach the cabinets to the studs, which provides essential support. Take safety precautions by wearing gloves and using appropriate tools to avoid injury.
Here’s how to secure and join your base cabinets effectively:
Locate wall studs using a stud finder for reliable anchoring points. Pre-drill holes through the cabinet back panels to prevent wood splitting. Use long screws designed for cabinetry to fasten cabinets securely to the wall. Clamp adjacent cabinets together and screw through the side panels to join them tightly.
Following these steps ensures your base cabinets stay stable and aligned, setting a solid foundation for the next phase of your kitchen installation.
Adjust Doors and Drawers for Proper Alignment
After securing the cabinets, you’ll want to adjust the doors and drawers to guarantee they open smoothly and align perfectly. Start by checking each door’s hinge adjustment. Most hinges have screws that let you move the door up, down, left, or right.
Use a screwdriver to make small turns until the gaps between doors and cabinet frames are even. Next, focus on drawer alignment. Slide each drawer in and out, adjusting the side screws or rails to ensure they operate without sticking and close flush.
Here’s a quick guide to help you with hinge adjustment and drawer alignment:
| Task | Adjustment Point | Tip |
|---|---|---|
| Door height | Vertical hinge screws | Align top and bottom edges |
| Door side-to-side | Horizontal hinge screws | Even gaps around door edges |
| Drawer depth | Drawer rail screws | Ensure drawer is flush |
| Drawer side-to-side | Side adjustment screws | Smooth sliding, no rubbing |
With these tweaks, your cabinets will look professional and function perfectly.
Install Toe Kicks and Add Finishing Trim
Although your cabinets are securely in place, installing toe kicks and adding finishing trim will complete the look and protect the base of your kitchen units. Toe kick installation not only improves aesthetics but also provides a comfortable space for your feet when standing close to the counter.
Start by measuring the height and length of the cabinet bases to cut the toe kicks accurately. Next, secure the toe kicks using finishing nails or screws, ensuring they’re flush with the cabinet fronts.
For finishing trim details, carefully select trim pieces that match your cabinet style. Attach them around edges and gaps to cover seams and create a polished appearance. Remember to sand edges for smooth finishes, use wood filler for nail holes, paint or stain trim to match cabinets, and seal trim to protect from moisture.
Frequently Asked Questions
What Type of Wood Is Best for Base Cabinets?
You’ll want to choose hardwoods like maple, oak, or birch for base cabinets because these wood types offer excellent cabinet durability. They resist dents and scratches better than softer woods, ensuring your cabinets last longer and look great.
If you’re aiming for a budget-friendly option, plywood with hardwood veneer also provides good strength and stability. Ultimately, selecting the right wood types directly impacts how durable and sturdy your base cabinets will be.
How Do I Remove Old Base Cabinets Safely?
To remove old base cabinets safely, start by turning off the power and water supply to avoid hazards. Use safety precautions like gloves and goggles.
Begin cabinet removal by emptying contents, then unscrew the cabinet from the wall studs. Carefully pry the cabinets away without damaging the walls or floor.
Work slowly, checking for hidden nails or screws. Following these steps guarantees a smooth, safe cabinet removal process.
Can I Install Base Cabinets on Uneven Floors?
Think of your uneven floor as a rocky path; you wouldn’t walk it without steady shoes. You can absolutely install base cabinets on uneven floors, but you need to focus on floor leveling first.
Use shims or leveling compounds to create a stable, flat surface. This guarantees proper cabinet support, preventing wobbling or damage. Taking these steps helps your cabinets stand firm, just like sturdy boots on rough terrain.
What Is the Average Cost of Kitchen Base Cabinets?
You’ll typically spend between $100 and $500 per cabinet, depending on materials and style. Remember, cabinet hardware like handles and knobs can add to the cost, so budget accordingly.
Your kitchen layout also affects the total price. L-shaped or U-shaped designs might require more cabinets, increasing expenses. If you want custom features or high-end finishes, expect to pay more.
Planning carefully helps you stay within your budget.
How Do I Maintain and Clean Base Cabinets Effectively?
Keeping your base cabinets clean is like giving your kitchen a fresh breath every day. For effective cabinet cleaning, wipe spills immediately with a damp cloth to avoid stains.
Use mild soap and water for routine cleaning, avoiding harsh chemicals that can damage finishes. For maintenance tips, regularly check hinges and handles, tightening them as needed.
You’ll keep your cabinets looking great and functioning smoothly for years to come.
Conclusion
Now that you’ve followed these simple steps, your kitchen base cabinets will be sturdy and perfectly aligned. Imagine Sarah, who transformed her cramped kitchen by installing cabinets herself over a weekend. Her space now feels open and organized.
By taking your time and double-checking measurements, you’ll enjoy a polished, professional look without the cost of a pro. With your new kitchen base cabinets in place, cooking and cleaning become a breeze!