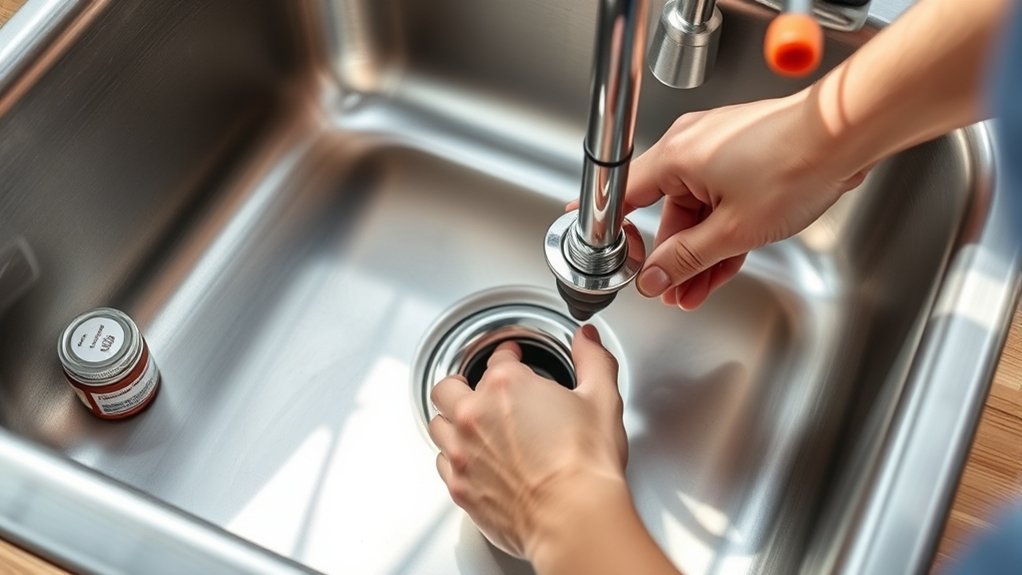
How to Install a Kitchen Sink Drain in 5 Easy Steps
If you’ve ever dealt with a slow or leaking kitchen sink drain, you’re not alone. Many people struggle with installing or fixing their kitchen sink drains because it can seem tricky and intimidating. But with the right guidance, you can tackle this project yourself without stress or costly plumber visits.
To install a kitchen sink drain in five easy steps, start by gathering the right tools and materials, like a pipe wrench and plumber’s putty. Next, turn off your water, remove the old drain, and clean the sink surface thoroughly.
Then, apply plumber’s putty under the drain flange and secure it tightly. Finally, connect the drain pipe and P-trap, checking for leaks. Follow these steps, and you’ll quickly master a neat, leak-free kitchen drain setup.
More tips can help you perfect the process.
Key Takeaways
- Turn off the water supply and remove the old drain by loosening slip nuts and unscrewing the locknut beneath the sink.
- Clean the sink surface thoroughly, removing old putty and debris, then dry completely for a proper seal.
- Apply plumber’s putty around the drain flange and insert it into the sink’s drain hole. Secure it with the gasket and mounting nut.
- Connect the drain pipe to the flange. Slide slip nuts and washers onto pipe ends before tightening them by hand and with pliers.
- Attach the P-trap, ensure proper alignment, then run water and check all joints for leaks. Tighten as necessary.
Gather Your Tools and Materials for Kitchen Sink Drain Installation
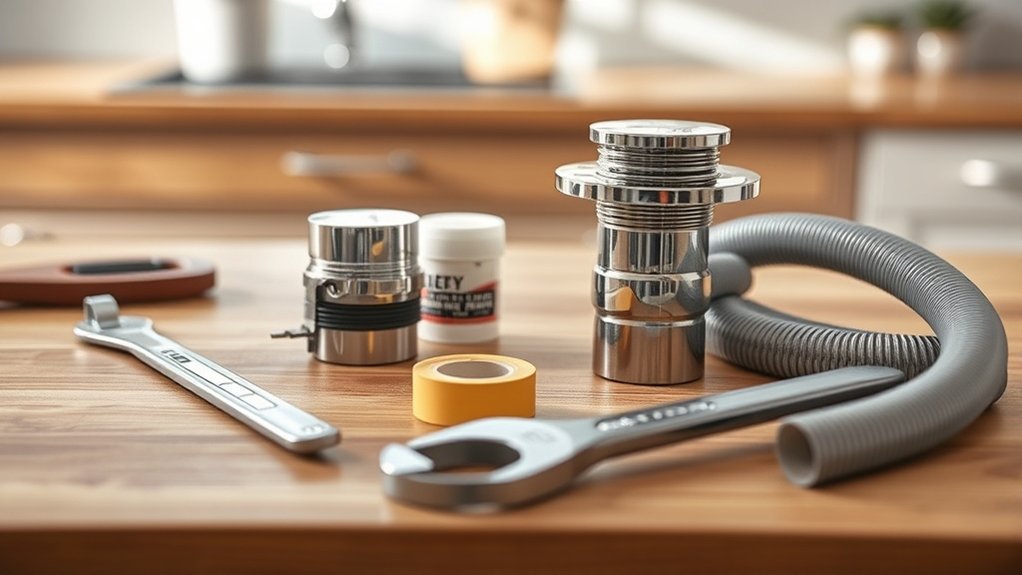
Before you begin installing your kitchen sink drain, make sure you have all the necessary tools and materials on hand. You’ll need items like a pipe wrench, plumber’s putty, a bucket, and a screwdriver. Prioritize tool safety by inspecting each tool for damage and wearing gloves to protect your hands. Using damaged tools can cause injury or damage the sink components.
Material selection is equally important. Choose drain components made from durable materials like stainless steel or PVC, depending on your sink type. Ensure the gasket and washers are compatible with your drain to prevent leaks. Also, get a quality plumber’s putty to create a watertight seal. Having everything ready helps you work efficiently and avoids unnecessary trips to the hardware store. By focusing on tool safety and careful material selection, you’ll set a solid foundation for a smooth installation process.
Remove the Old Kitchen Sink Drain
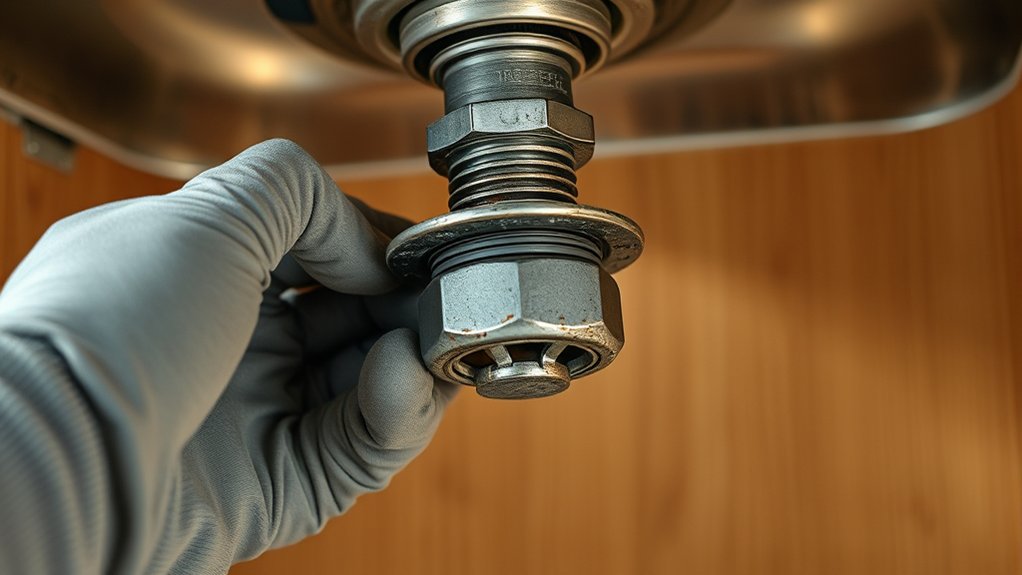
How do you safely remove the old kitchen sink drain without causing damage? First, turn off the water supply and place a bucket under the drain to catch any leftover water. Loosen and remove the slip nuts connecting the drain pipe to the sink tailpiece using a wrench or pliers.
Next, carefully unscrew the locknut securing the drain flange from beneath the sink. If the flange is stuck due to old plumber’s putty or sealant, gently tap around it with a rubber mallet or use a putty knife to break the seal. Avoid using excessive force to prevent damaging the sink surface.
Once removed, inspect the drain parts for buildup and residue. This is a perfect time for drain cleaning to improve water flow and prevent clogs. Removing the old drain properly is essential for effective sink maintenance and sets you up for a smooth installation of the new kitchen sink drain.
Clean and Prepare the Sink Surface

Where should you focus your attention after removing the old drain? Start with the sink surface cleaning. You want to remove any old putty, grime, or debris left behind to guarantee a smooth, leak-free installation. Use a putty knife or scraper carefully to avoid scratching the sink.
Once you’ve cleared away the bulk, clean the area thoroughly with warm, soapy water or a mild cleaner. Rinse and dry the surface completely to prevent moisture from interfering with the sealing process.
For effective preparation techniques, inspect the sink surface for any nicks or damage that could compromise the seal. If you find any, smooth them out with fine sandpaper and wipe away dust.
Taking these steps will give you a clean, dry, and even surface, which is essential for the next phase of your installation. Proper sink surface cleaning and preparation techniques set the foundation for a successful kitchen sink drain replacement.
Install the Kitchen Sink Drain Flange With Plumber’s Putty
Once you’ve prepared the sink surface, press a generous rope of plumber’s putty around the underside edge of the drain flange. This sealant application guarantees a watertight barrier between the sink and flange, preventing leaks.
Next, carefully insert the drain flange into the sink’s drain hole, pressing firmly to create an even seal with the putty. From beneath the sink, assemble the drain assembly by sliding on the rubber gasket, friction washer, and mounting nut onto the threaded flange tailpiece.
Tighten the mounting nut by hand, then use pliers to secure it snugly without over-tightening, which could damage the sink or flange. Excess plumber’s putty will squeeze out around the flange’s edge. Wipe this away with a clean cloth for a neat finish.
This step is essential in your kitchen sink drain installation, as proper sealant application and flange positioning lay the foundation for a leak-free drain assembly.
Connect the Drain Pipe and P-Trap to Prevent Leaks
Although the drain flange is securely in place, you still need to connect the drain pipe and P-trap to guarantee water flows properly and prevent leaks under your sink. Start by aligning the drain pipe with the flange outlet, ensuring proper pipe alignment to avoid stress on the joints.
Slide the slip nuts and washers onto each pipe end before fitting them together. Tighten the nuts by hand, then give them a slight turn with pliers. Don’t overtighten, as this can damage the fittings and cause leaks.
Next, attach the P-trap to the drain pipe, maintaining correct pipe alignment so water drains smoothly. Secure the slip nuts and washers here as well, checking for tightness.
Once everything is connected, run water through the drain and inspect all joints carefully for leak prevention. If you spot any drips, tighten the connections slightly until the leaks stop. Proper connection and alignment are essential to a leak-free kitchen sink drain.
Frequently Asked Questions
Can I Install a Kitchen Sink Drain Without Plumber’s Putty?
Yes, you can install a kitchen sink drain without plumber’s putty by using alternative drain sealants like silicone caulk. These sealants provide a strong, waterproof barrier and are easy to apply with common installation tools such as a caulking gun.
Just make sure the surface is clean and dry before applying. Using the right sealant and tools guarantees a secure fit without the mess of putty, giving you a reliable, long-lasting seal.
How Do I Fix a Leaking Kitchen Sink Drain After Installation?
To fix a leaking kitchen sink drain after installation, first tighten all connections to stop drips. If leaks persist, remove the drain flange and apply fresh plumber’s putty or a silicone sealant for better leak prevention.
While you’re at it, perform drain cleaning to clear any clogs that might cause pressure buildup and leaks. Regular maintenance helps keep your sink leak-free and functioning smoothly.
What Type of Drain Pipe Material Is Best for Kitchen Sinks?
Back in the days of knights and castles, you’d want a drain pipe that lasts through ages, just like you do now. For kitchen sink drain pipe material options, PVC and stainless steel stand out for drain pipe durability.
PVC is affordable and resists corrosion, while stainless steel offers strength and a sleek look. You’ll want to pick a material that balances budget and longevity, ensuring your sink drain stays leak-free for years.
How Long Does a Typical Kitchen Sink Drain Installation Take?
A typical kitchen sink drain installation usually takes about 1 to 2 hours. You’ll want to focus on pipe alignment to guarantee everything fits perfectly and prevents leaks.
During the process, make sure to check for any blockages and perform drain cleaning if needed. Taking your time with these steps helps avoid future problems and keeps your sink running smoothly.
Don’t rush. Precision saves you from costly fixes later.
Can I Install a Kitchen Sink Drain Myself Without Prior Plumbing Experience?
You can definitely tackle DIY plumbing like installing a kitchen sink drain, even if you’re not a pro. Think of it as your own plumbing Odyssey. With patience and the right tools, sink installation becomes manageable.
Just follow clear instructions, watch tutorials, and double-check connections to avoid leaks. While it might feel intimidating at first, your confidence will grow, and you’ll save money by doing it yourself rather than calling a plumber.
Conclusion
Installing your kitchen sink drain doesn’t have to be intimidating. In fact, with just five simple steps, you can have a leak-free, properly functioning drain in no time.
Did you know that over 60% of DIY plumbing mistakes come from improper drain connections? By following these steps carefully, you’ll avoid common pitfalls and save both time and money.
So, gather your tools, stay confident, and enjoy your smoothly draining kitchen. Installing your kitchen sink drain properly is easier than you think!