How to Paint Kitchen Countertops in 5 Simple Steps
Are your kitchen countertops looking worn out or outdated? You’re not alone—many people struggle with finding an affordable way to refresh their kitchen without a full renovation. If you’ve been dreaming of a quick, budget-friendly update, painting your kitchen countertops might be just the solution you need.
To paint your kitchen countertops, first gather supplies like painter’s tape, sandpaper, and cleaner, then thoroughly clean the surface.
Next, choose a high-quality bonding primer and durable, water-based paint designed for countertops.
Apply primer and paint in thin, even coats, allowing each layer to dry fully.
Seal with a water-based polyurethane for protection.
Finally, maintain by wiping spills promptly and avoiding abrasives.
If you want tips to achieve a lasting, professional finish, keep exploring the process.
Key Takeaways
- Prepare your workspace by cleaning surfaces and gathering painter’s tape, sandpaper, primer, paint, and protective gear.
- Choose a high-quality bonding primer and durable, water-based epoxy or acrylic enamel paint for long-lasting results.
- Apply primer and paint evenly using brushes or foam rollers. Make sure to use thin coats and allow full drying between applications.
- Seal the painted countertop with clear water-based polyurethane or epoxy sealer. Apply 2-3 thin coats for the best protection.
- Maintain the finish by cleaning spills promptly, avoiding abrasives, and doing regular touch-ups to keep it durable and looking great.
Gather Materials and Clean Your Countertops

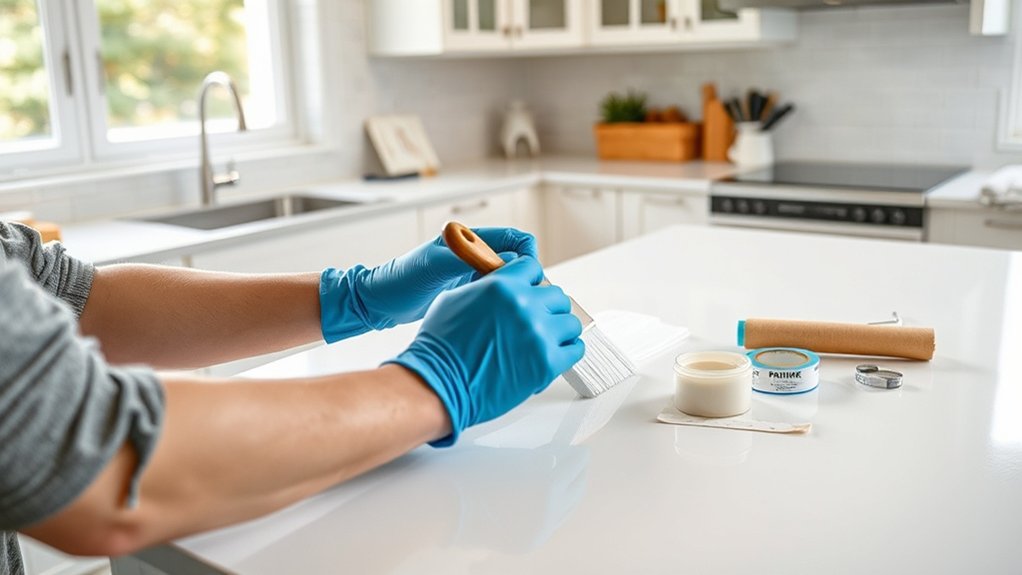
Before you begin painting, gather all the necessary materials to assure a smooth process. You’ll need painter’s tape, sandpaper, a cleaning solution, sponges, and protective gear. Choosing your color carefully matters. Pick shades that complement your kitchen’s style and lighting.
For safety precautions, make certain to wear gloves and a mask, especially if you’re sensitive to fumes or dust. Open windows or use fans to keep the area well-ventilated.
Next, clear your countertops completely and clean them thoroughly. Remove grease, dirt, and grime with a degreaser or mild detergent, then rinse and dry. This step guarantees the paint adheres properly and lasts longer.
Sand your countertops lightly to create a smooth surface for painting. By preparing your materials and workspace thoughtfully, you’ll avoid interruptions and make the painting process more efficient and enjoyable.
Pick the Best Primer and Paint for Kitchen Countertops

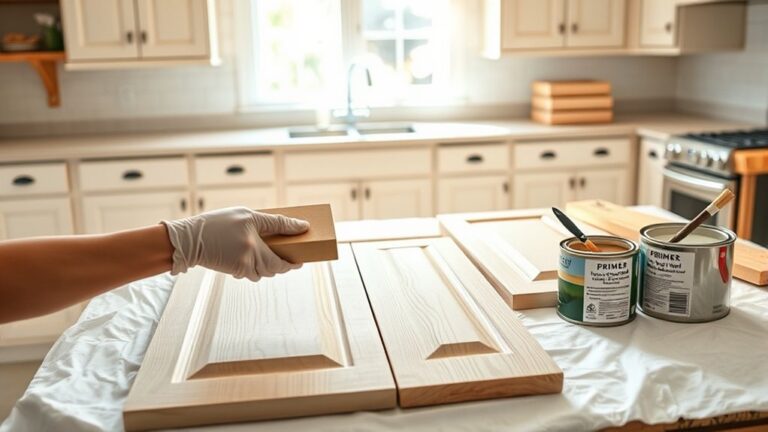
Since your countertops endure heavy use, choosing the right primer and paint is essential to guarantee durability and a smooth finish. Start with a high-quality bonding primer designed for glossy or laminate surfaces. It helps paint adhere properly and prevents peeling. For paint, opt for a durable, water-based epoxy or acrylic enamel, which withstands heat, moisture, and daily wear.
When selecting color options, consider shades that complement your kitchen’s style while hiding minor stains or scratches. Light colors brighten the space, while darker hues add depth. Keep in mind that some paints offer built-in sealants, which reduce the need for extra topcoats.
Different paint techniques affect the final look. Use smooth, even strokes to avoid streaks, or try a sponge or rag for subtle texture. Whatever you pick, make sure your primer and paint are compatible to avoid bubbling or cracking over time. Picking the right products sets the foundation for a long-lasting, beautiful countertop makeover.
Apply Primer and Paint Smoothly in Even Layers
Choosing the right primer and paint sets you up for success, but applying them smoothly in even layers brings out the best finish. Start by using a high-quality brush or foam roller to spread the primer evenly, avoiding drips or streaks. Keep your strokes consistent and work in one direction to create a smooth base.
Once the primer dries, pick your color options carefully to complement your kitchen style. Apply the paint in thin, even coats rather than thick layers to prevent bubbling or uneven texture. Use long, steady strokes and maintain a wet edge to blend each section seamlessly. Patience is key. Let each coat dry fully before adding the next.
Mastering these painting techniques ensures your countertops have a professional-looking, durable finish. Take your time and focus on smooth application to transform your countertops with a flawless, refreshed look.
Seal Your Painted Countertops to Protect the Finish
To keep your painted countertops looking fresh and durable, you’ll want to seal them with a protective finish. Sealing your countertops improves durability by creating a barrier against moisture, stains, and everyday wear.
Start by choosing a clear, water-based polyurethane or epoxy sealer designed for kitchen surfaces. Before applying, verify the paint is completely dry and clean.
Use a high-quality synthetic brush or a foam roller to apply thin, even coats. Avoid heavy layers that can cause bubbles or uneven texture.
Allow each coat to dry fully, then lightly sand with fine-grit sandpaper before applying the next. This sealing technique guarantees better adhesion and a smooth finish.
Typically, two to three coats provide maximum protection. Proper sealing techniques not only protect your paint job but also make cleaning easier and extend the life of your countertops.
Maintain Your Painted Countertops for Lasting Beauty
Once you’ve sealed your painted countertops, keeping them looking great is all about proper care. Wipe spills immediately with a soft cloth and mild detergent to prevent stains that can dull your finish.
Avoid abrasive cleaners or scrubbers that can damage the seal coat and fade your color choice. Use cutting boards and trivets to protect the surface from scratches and heat, preserving the design inspiration you worked hard to achieve.
Regularly check for chips or wear spots and touch them up promptly to maintain a flawless look. Keep your cleaning routine gentle but consistent to extend the life of your paint job.
With the right maintenance, your countertops will keep their vibrant color and fresh design inspiration for years. Remember, a well-maintained surface not only looks beautiful but also reflects your care and style in the kitchen.
Your efforts will pay off by keeping your painted countertops stunning and durable.
Frequently Asked Questions
Can I Paint Countertops Made of Granite or Marble?
Yes, you can paint granite or marble countertops, but surface preparation is vital. You’ll need to thoroughly clean, sand, and prime the surface to guarantee the paint adheres properly.
Choosing the right paint selection matters too. Opt for a high-quality epoxy or countertop-specific paint designed for stone surfaces.
Keep in mind, even with proper steps, painted granite or marble may not be as durable as the original finish, so handle with care.
How Long Does the Entire Countertop Painting Process Take?
The entire countertop painting process usually takes about 2 to 4 days. You’ll spend a good chunk of time on surface preparation, cleaning, sanding, and priming to guarantee the paint adheres well.
Painting techniques like applying multiple thin coats and allowing proper drying time between each are essential. Rushing won’t help, so be patient to get a smooth, durable finish that lasts.
Is It Safe to Use Painted Countertops for Food Preparation?
You might wonder if painted countertops are truly safe for food prep. The key lies in food safety and surface durability. If you use a high-quality, food-safe sealer and let it cure fully, your painted countertop can handle food prep without issues.
However, avoid cutting directly on the surface to prevent damage. With proper care, your painted countertop stays durable and safe, letting you cook confidently every day.
What Are Common Mistakes to Avoid When Painting Countertops?
Don’t skip primer selection because it’s key for durability and adhesion. If you pick the wrong primer, your paint might peel or chip quickly.
Also, avoid poor color matching. Test your paint sample in different lighting before committing, or you might end up with a shade that clashes with your kitchen.
Ultimately, don’t rush the drying process. Give each coat plenty of time to dry to avoid uneven finishes and bubbles. Take your time for the best result!
Can I Change the Color of My Countertops Again Later?
Think of your countertops like a canvas that can be refreshed anytime. Yes, you can change their color again later, but keep in mind that color fading might happen over time, especially with frequent use.
To guarantee smooth future updates, properly prep the surface each time you repaint. This way, your countertops stay vibrant and ready for whatever new shade you want to try next, making your kitchen feel fresh and personalized.
Conclusion
Now that you know how to paint your kitchen countertops in five simple steps, you can transform your space without a costly renovation. Just like Sarah, who refreshed her outdated counters with durable paint and a protective seal, you’ll enjoy a fresh, stylish look that lasts.
Remember, proper prep and maintenance are key to keeping your countertops beautiful. So grab your supplies, follow the steps, and watch your kitchen come to life with beautifully painted kitchen countertops!