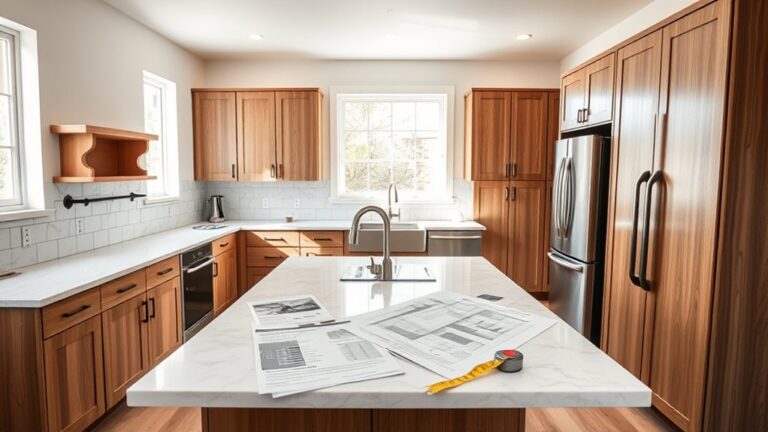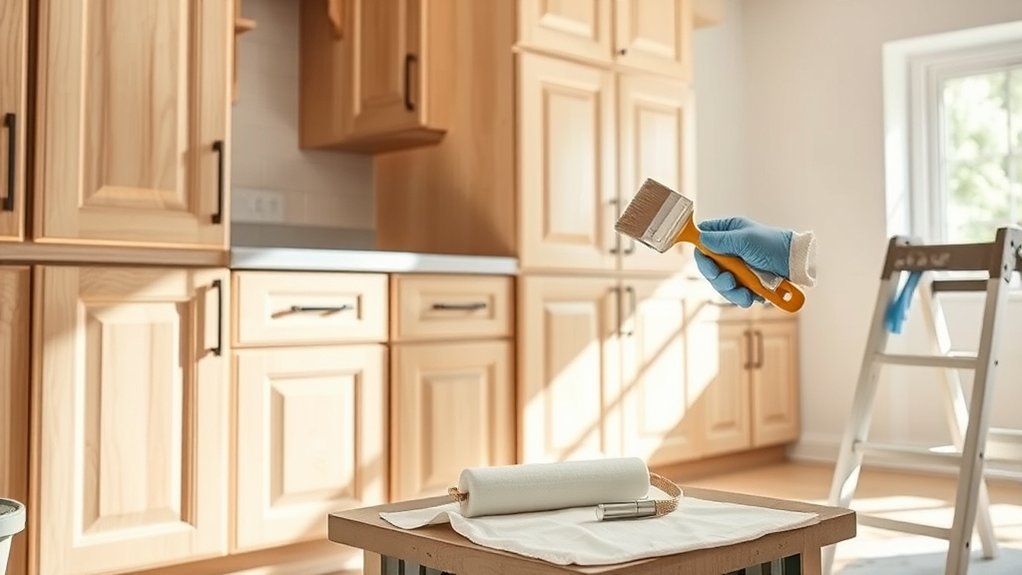
How to Paint Kitchen Cabinets in 10 Simple Steps
If you’ve ever looked at your kitchen cabinets and wished they looked fresh and new, you’re not alone. Many people struggle with finding the time, patience, and know-how to get a smooth, professional finish without the cost of a full remodel. The good news? Painting your kitchen cabinets can be simpler than you think, and it’s a fantastic way to transform your space on a budget.
To paint your kitchen cabinets in 10 simple steps, start by gathering all tools, removing doors and hardware, and thoroughly cleaning to remove grease.
Sand surfaces smooth, then apply a suitable primer and your chosen paint finish using proper brush techniques.
Let each coat dry fully before adding more.
Once dry, carefully reattach doors and hardware, then seal for protection.
Follow these basics, and you’ll soon master the details to achieve a flawless, long-lasting finish.
Key Takeaways
- Remove cabinet doors and hardware, labeling and storing screws for easy reassembly.
- Clean and degrease all surfaces thoroughly to ensure proper paint adhesion.
- Sand cabinets with fine-grit sandpaper to smooth surfaces and remove old finishes.
- Apply primer and paint evenly using proper brush techniques. Make sure to allow adequate drying time between coats.
- Reattach doors and hardware carefully, then seal cabinets with a protective finish for durability.
Gather Essential Tools and Materials
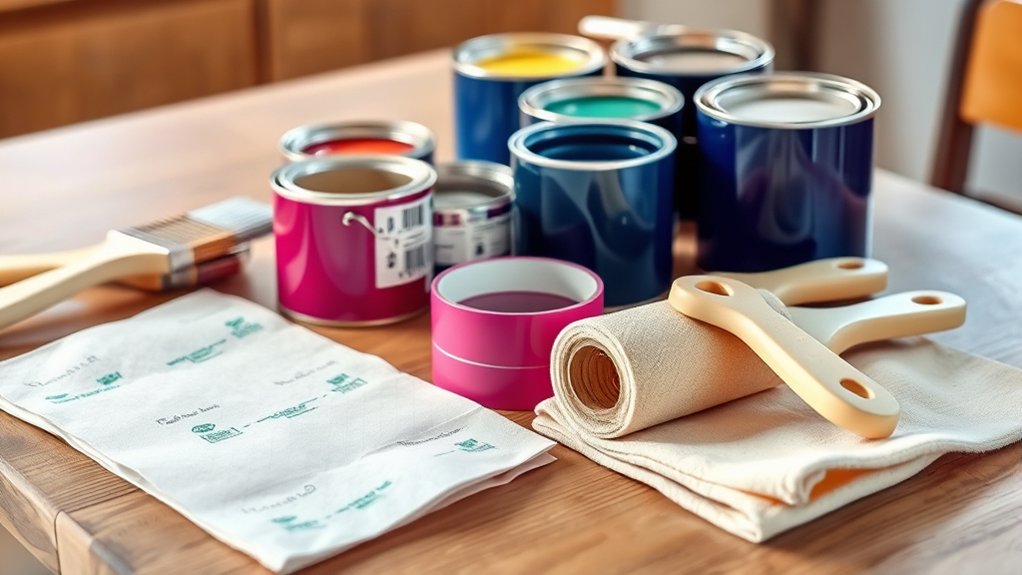
Before you begin painting your kitchen cabinets, you’ll need to gather all the essential tools and materials to guarantee a smooth process. Start by choosing the right paint, primer, brushes, rollers, sandpaper, painter’s tape, and drop cloths. Selecting a primer suitable for your cabinet material ensures better adhesion and durability.
Consider color coordination carefully. Your paint color should complement your kitchen’s overall design and existing elements like countertops and flooring. Also, think about your cabinet styles, whether modern, traditional, or shaker, as this influences the type of finish and paint you’ll want to use. For example, glossy finishes often work well with contemporary styles, while matte or satin finishes suit more classic looks.
Having all these materials ready before you start saves you from interruptions later. When you’re set up properly, painting your cabinets becomes a more efficient and enjoyable project.
Remove Cabinet Doors and Hardware

How do you get started with preparing your cabinets for painting? Begin with cabinet removal by carefully taking off the cabinet doors. Use a screwdriver to unscrew the hinges, keeping the screws in a labeled container to avoid losing them. Removing the doors allows you to work more efficiently and guarantees you reach every surface.
Next, focus on hardware preservation. Take off all knobs, handles, and other hardware pieces. Store these parts safely in a designated box or bag so you don’t misplace them. Preserving your hardware means you can reinstall it easily once the painting is finished, saving you money and time.
Clean and Degrease Cabinets Thoroughly
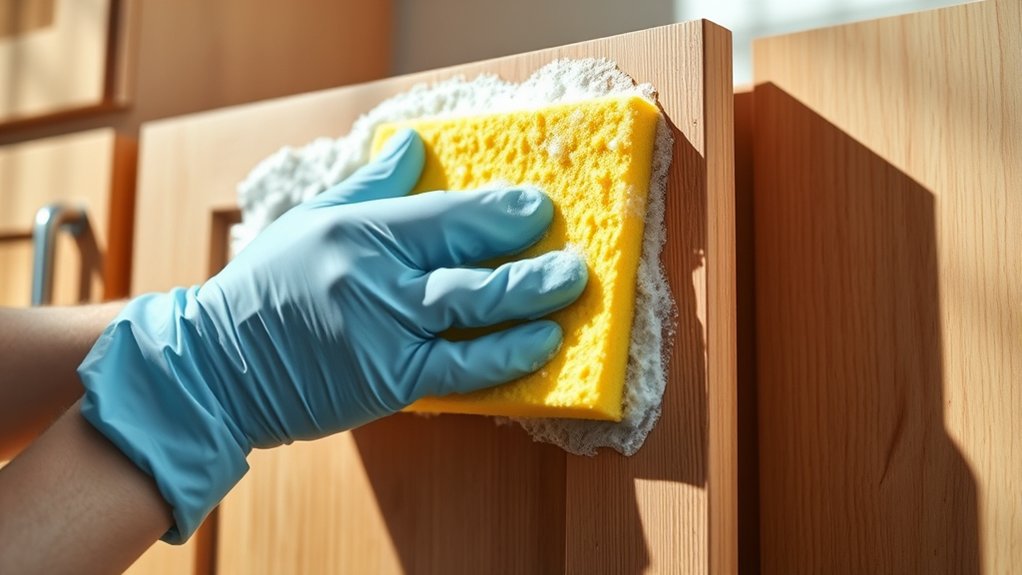
Since grease and dirt can build up over time, you’ll need to clean and degrease your cabinets thoroughly to guarantee the paint adheres properly. Start by wiping down all cabinet surfaces with a mixture of warm water and a mild detergent to remove loose dirt.
Thoroughly clean and degrease cabinets to ensure paint sticks and lasts beautifully.
Next, focus on cabinet cleaning with a degreaser or a solution of vinegar and water to break down stubborn grease, especially around handles and edges. Use a sponge or soft cloth to avoid damaging the wood or laminate.
Rinse with clean water and let the cabinets dry completely before moving on. Proper surface preparation is essential because any residue left behind can prevent the paint from sticking well, leading to peeling or uneven coverage later on.
Taking your time during this step ensures a smooth, professional finish and extends the life of your paint job. Remember, clean cabinets are the foundation of a successful kitchen cabinet makeover.
Sand Cabinets for a Smooth Surface
Once your cabinets are completely dry and free of grease, the next step is sanding them to create a smooth surface for painting. Sanding is essential in cabinet refinishing because it removes old finishes and rough spots, ensuring the new paint sticks well.
Focus on surface preparation by using fine-grit sandpaper (around 220 grit) to avoid damaging the wood. Sand in the direction of the grain for the best results. After sanding, wipe down the cabinets with a damp cloth to remove dust.
Here’s a quick sanding guide:
| Step | Description |
|---|---|
| Choose Sandpaper | Start with 120 grit, finish with 220 grit |
| Sanding Technique | Light, even strokes with the grain |
| Tools | Sanding block or electric sander |
| Clean Surface | Wipe with a damp cloth to remove dust |
Proper sanding guarantees smooth, durable results and sets the stage for flawless cabinet refinishing.
Choose Paint Type and Finish for Kitchen Cabinets
You’ll want to pick the right type of paint to make sure your cabinets look great and stand the test of time. Think about finishes that strike a balance between durability and the look you’re going for, like satin or semi-gloss. Also, keep in mind how easy the paint will be to clean and maintain as time goes by.
Types Of Cabinet Paint
Choosing the right type and finish of paint for your kitchen cabinets can make all the difference in achieving a durable and attractive result. You want a paint that withstands daily wear, complements your cabinet hardware, and highlights your chosen paint color options.
Here’s a quick look at popular cabinet paint types:
| Paint Type | Emotion Evoked |
|---|---|
| Latex Paint | Fresh, clean, and vibrant |
| Oil-Based Paint | Classic, rich, and smooth |
| Acrylic Paint | Durable, modern, and sleek |
Latex paint is easy to clean and dries quickly, perfect for a fresh look. Oil-based paint offers a hard, smooth finish but takes longer to dry. Acrylic paint blends durability with flexibility, resisting chips well. Pick one that suits your style and lifestyle to bring your kitchen cabinets to life.
Best Paint Finishes
How do you pick the best paint finish to make your kitchen cabinets stand out? It all starts with understanding paint sheen and how it interacts with color coordination in your space. Here’s what to factor in:
1. Glossy Finish
Perfect if you want a shiny, reflective look that highlights details and is easy to clean. It works well in modern kitchens with bold colors.
2. Satin Finish
Offers a soft sheen that balances durability and subtlety, making it great for coordinating with various color schemes without overwhelming the room.
3. Matte Finish
Provides a smooth, non-reflective surface that hides imperfections but can be harder to clean. It’s ideal if your kitchen style is rustic or traditional.
Choose a finish that complements your cabinet color and overall kitchen vibe for the best visual impact.
Durability And Maintenance
Although selecting the right paint finish sets the tone, understanding durability and maintenance helps you keep your kitchen cabinets looking fresh for years. Choose paints designed for high-traffic areas, like semi-gloss or satin finishes, which resist stains and are easy to wipe clean.
These finishes also highlight decorative accents, enhancing your cabinets’ style without sacrificing longevity. When picking your color schemes, consider how lighter shades might show wear faster, while deeper tones can hide minor imperfections.
Regularly clean your cabinets with mild soap and a soft cloth to preserve the paint’s integrity. Avoid abrasive cleaners that can dull the finish.
Apply Primer to Help Paint Stick Better
Since a smooth, durable finish depends largely on proper preparation, applying a primer is an essential step before painting your kitchen cabinets. Primer adhesion ensures the paint bonds well, preventing peeling and extending the life of your finish. To guarantee success, focus on thorough surface preparation first.
Here’s how to apply primer effectively:
- Clean and Sand: Remove grease, dirt, and old paint residues. Sand the surface lightly to create a texture that helps primer adhesion.
- Choose the Right Primer: Use a high-quality primer suited for cabinets. Oil-based or shellac primers work best for tough surfaces.
- Apply Evenly: Use a brush or roller to spread the primer in thin, consistent coats. Avoid drips or pooling to maintain an even base.
Use Proper Techniques to Paint Cabinets Evenly
When you start painting your kitchen cabinets, using the right techniques will guarantee a smooth, even finish that lasts. Begin by verifying your paint color matches your kitchen’s style and lighting. Proper color matching helps create a cohesive look.
Use high-quality brushes designed for cabinet painting, and apply paint in long, even strokes following the wood grain. Avoid pressing too hard to prevent brush marks or streaks.
Start with the edges and detailed areas using smaller brushes, then switch to larger brushes for flat surfaces. Maintain a wet edge by overlapping each stroke slightly, which prevents uneven drying.
Keep your brush clean and free of dried paint buildup to assure smooth application. By mastering these brush techniques and focusing on consistent coverage, you’ll achieve an even, professional-looking finish that boosts your kitchen cabinets beautifully.
Let Cabinets Dry and Cure Between Coats
You’ll want to let your cabinets dry completely between coats to avoid any smudges or uneven finishes. It really makes a difference! Giving the paint enough time to cure fully helps create a durable surface. So, be patient and make sure to follow the recommended drying times for the best results. It’s definitely worth the wait!
Drying Time Importance
How long should you wait between coats of paint on your kitchen cabinets? Proper drying time is essential to ensure a smooth, durable finish. Rushing this step can cause peeling or uneven texture.
Here’s why you shouldn’t skip or shorten drying time:
- Prevent Smudging: Allowing paint to dry fully avoids smudges or streaks when you apply the next coat.
- Enhance Paint Curing: Each coat needs time to cure properly, building a strong, lasting surface.
- Improve Adhesion: Dry paint ensures the next layer bonds well, reducing the risk of chipping.
Curing Process Tips
Although it may be tempting to speed up the process, letting your kitchen cabinets dry and cure fully between coats guarantees a durable, professional finish. Pay attention to the curing temperature to avoid issues like bubbling or uneven drying.
Ideal curing temperatures usually range between 65°F and 75°F. Also, respect the curing duration recommended on your paint can, typically 4 to 6 hours per coat. Rushing this step can compromise adhesion and durability.
| Step | Curing Temperature | Curing Duration |
|---|---|---|
| First Coat | 65°F – 75°F | 4 – 6 hours |
| Second Coat | 65°F – 75°F | 4 – 6 hours |
| Final Cure | 65°F – 75°F | 24 – 48 hours |
Following these tips guarantees your cabinets dry evenly and last longer.
Reattach Doors and Hardware Carefully
Once the paint has fully dried, take your time to reattach the doors and hardware carefully to avoid damaging the fresh finish. Proper door alignment is essential to ensure your cabinets look professional and function smoothly. Follow these steps:
- Check Door Alignment: Before tightening screws, position each door and adjust hinges as needed. Misaligned doors can cause gaps or rubbing, so take your time to get this right.
- Attach Doors Gently: Use a screwdriver to secure doors firmly but avoid overtightening, which can strip holes or crack the wood.
- Install Hardware Replacement: If you’re updating knobs or handles, attach the new hardware now. Make sure screw holes line up and hardware is flush against the door.
Add Final Touches: Cleaning, Touch-Ups, and Sealing
Now that your cabinets are back in place, take a moment to wipe away any dust or smudges from the painted surfaces. It’s a good idea to give everything a quick once-over to catch any spots that might need a little touch-up. Once you’ve fixed those, go ahead and apply a sealant coat to protect all your hard work and ensure everything lasts.
Cleaning Painted Surfaces
Before you finish your kitchen cabinet project, take time to clean the painted surfaces carefully to remove any dust, brush strokes, or paint smudges. This final step guarantees your work highlights the perfect color coordination and complements your chosen cabinet styles.
Here’s how to do it efficiently:
- Use a soft, damp microfiber cloth to gently wipe down all surfaces without disturbing the paint.
- Inspect for any uneven brush strokes or small smudges; lightly sand these areas with fine-grit sandpaper.
- Wipe the cabinets again to remove sanding dust, ensuring a smooth, flawless finish.
Cleaning thoroughly now sets the stage for any touch-ups you might need and keeps your cabinets looking fresh and professionally done.
Applying Sealant Coat
After you’ve cleaned and smoothed your cabinets, it’s time to apply the sealant coat. This step is essential for protecting your hard work and ensuring durability.
Begin by choosing the right sealant for your paint type, whether water-based or oil-based. Use a high-quality brush or foam applicator to spread the sealant evenly across all surfaces.
During sealant application, avoid heavy layers; a thin, even coat works best. Let the first coat dry completely, then lightly sand with fine-grit sandpaper for a smooth finish before applying a second coat.
This protective coating shields your cabinets from moisture, stains, and daily wear, keeping them looking fresh longer. Once fully dry, your cabinets are ready for regular use and admiration.
Frequently Asked Questions
How Long Does the Entire Cabinet Painting Process Take?
The entire cabinet painting process usually takes about 3 to 5 days, depending on your prep work and drying time. You’ll spend time sanding, cleaning, and priming before applying paint.
Choosing the right paint types, like durable latex or oil-based, affects drying speed and finish. Also, selecting color options you love can motivate you to stay on schedule.
Don’t rush. Proper drying guarantees a smooth, lasting result.
Can I Paint Kitchen Cabinets Without Removing the Doors?
You don’t have to go full Houdini with cabinet removal to refresh your space. Yes, you can paint kitchen cabinets without removing the doors, saving time and effort.
Just be sure to carefully tape edges and use a paint sprayer or brush for even coverage. Choosing the right paint color will make your cabinets pop, even with this simpler method.
It’s all about preparation and patience for a smooth finish.
What Safety Precautions Should I Take While Painting Cabinets?
You should always wear safety equipment like gloves, goggles, and a mask to protect your skin, eyes, and lungs from paint fumes and dust. Make sure you set up proper ventilation by opening windows and using fans to keep fresh air flowing.
Avoid inhaling fumes directly, and take breaks if you feel dizzy or lightheaded. These ventilation precautions and protective gear keep you safe while painting your cabinets efficiently.
How Do I Fix Paint Drips or Uneven Spots?
If you spot paint drips or uneven spots, wait until the paint dries completely. Then, lightly sand the area with fine-grit sandpaper to smooth it out.
Make sure your paint consistency isn’t too thick or thin. This helps avoid drips. When repainting, use even brush strokes and don’t overload your brush.
Applying thin, consistent coats will give you a flawless finish without those annoying drips or uneven patches.
Is It Necessary to Use a Paint Sprayer for Cabinets?
You don’t have to use a paint sprayer for cabinets, though it can make the process faster and give a smooth, even finish. Imagine brushing on color options that glide effortlessly, revealing your perfect paint finish.
A sprayer helps avoid brush marks, but high-quality brushes or rollers work fine if you’re careful. Choose your paint finish, satin or semi-gloss, to suit your style, and you’ll achieve beautiful cabinets without spraying.
Conclusion
By following these 10 simple steps, you’ll transform your kitchen cabinets with confidence and ease. Did you know that painting cabinets can increase your kitchen’s value by up to 5%? Imagine the fresh, bright look you’ll achieve while boosting your home’s appeal.
Just take your time, prep carefully, and enjoy the process. Soon, you’ll have beautifully painted cabinets that look professional and last for years to come. Painting kitchen cabinets is a smart way to refresh your space and add lasting value.