How to Clean Your Kitchen Sink in 7 Easy Steps
Keeping your kitchen sink clean can feel like an endless chore. You’re not alone if you find it tough to keep grime, stains, and lingering odors at bay. Many people struggle with maintaining a spotless sink despite regular cleaning efforts.
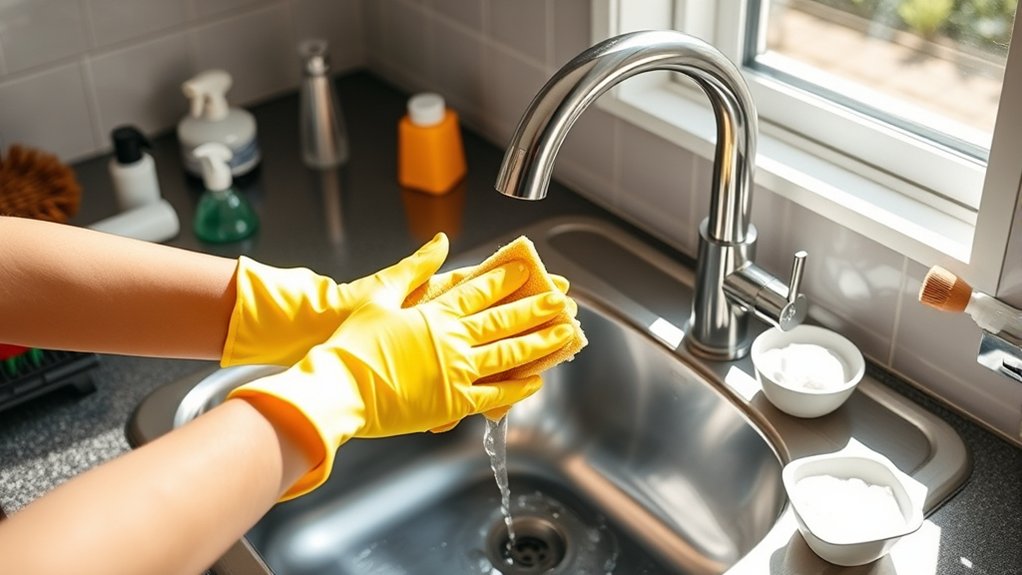
Start by clearing and emptying your sink, then remove any food debris and clear the drain using gloves or tools if needed. Sprinkle baking soda over the surface, spray vinegar to fizz and loosen grime, then scrub with a sponge.
Tackle tough stains with lemon juice and more baking soda, rinse well, and disinfect to kill bacteria. Finally, rinse and dry your sink to prevent spots.
Want to uncover more tips for keeping your kitchen sink spotless?
Key Takeaways
- Clear the sink and inspect plumbing for leaks or damage before cleaning.
- Remove food debris and flush drains with hot water to prevent clogs.
- Use baking soda and vinegar to scrub and loosen dirt and grime naturally.
- Treat stains and mineral deposits with baking soda, vinegar, and lemon juice.
- Disinfect surfaces with appropriate cleaners, rinse well, and dry to prevent spots.
Clear and Empty Your Kitchen Sink
Before you begin scrubbing, make sure to clear and empty your kitchen sink completely. Remove all dishes, utensils, and any leftover food containers. This clears your workspace and lets you focus on cleaning without obstacles.
Clear your kitchen sink completely before scrubbing to create a clutter-free, focused cleaning space.
Take this opportunity to organize accessories like soap dispensers, sponges, and brushes, placing them neatly on the counter or in a designated holder. Doing so prevents clutter and helps you maintain a tidy sink area in the future.
Next, spend a moment checking plumbing integrity. Look under the sink for any signs of leaks, corrosion, or loose connections. Tighten fittings if needed, and note any issues that might require professional repair.
Ensuring your plumbing is in good shape prevents surprises during cleaning and keeps your kitchen functioning smoothly. By fully clearing your sink and confirming plumbing health, you set the stage for an efficient and thorough cleaning process.
Remove Food Debris and Clear the Drain
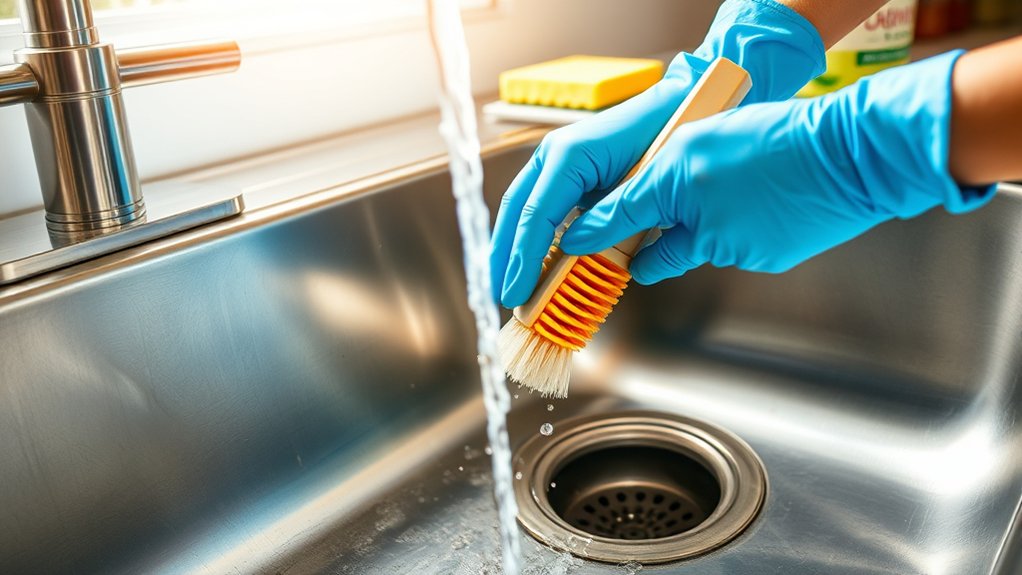
First, go ahead and clear out any visible food debris from your sink. This helps stop buildup before it even starts. Then, turn your attention to the drain—clearing it out will keep the water flowing nicely and help you avoid any annoying clogs. Doing these simple things will leave your kitchen sink cleaner and working better.
Clearing Visible Food Debris
Although it may seem simple, clearing visible food debris from your kitchen sink is essential to keep it clean and prevent clogs. Start by removing any leftover food scraps on the sink surface and around the drain.
If you have a food disposal, avoid putting large chunks or fibrous materials directly into it, as these can cause jams. Instead, scrape debris into the trash before rinsing.
Check your utensil storage area for stray food particles that might have fallen during washing, and wipe it down regularly to avoid buildup. Keeping your sink free of visible debris not only maintains hygiene but also guarantees your food disposal works efficiently.
Taking these small steps daily will help maintain a fresh, clean kitchen sink environment.
Unclogging Kitchen Drain
Why is your kitchen drain slow or clogged? Usually, food debris, grease buildup, or foreign objects block the flow. To fix this, start with a thorough drain inspection.
Remove visible debris and use a plunger or a drain snake to clear deeper clogs. Regular plumbing maintenance prevents future blockages.
Here’s a simple guide to unclog your kitchen drain:
| Step | Tool Needed | Tip |
|---|---|---|
| Remove debris | Gloves | Use a flashlight for visibility |
| Plunge drain | Plunger | Seal properly around drain |
| Use drain snake | Drain snake | Rotate gently to avoid damage |
| Flush with hot water | Kettle or pot | Helps dissolve grease |
| Inspect drain | Flashlight | Check monthly for blockages |
Keep up with these steps to maintain a free-flowing kitchen sink and avoid costly repairs.
Scrub Your Kitchen Sink With Natural Cleaners

When you scrub your kitchen sink with natural cleaners, you’ll remove grime without harsh chemicals. Using eco friendly ingredients like baking soda, vinegar, and lemon juice, you can create effective DIY cleaning solutions that are safe for your family and the environment.
Sprinkle baking soda all over the sink’s surface, then spray or pour vinegar to activate a gentle fizzing action that loosens dirt. Let it sit for a few minutes before scrubbing with a soft sponge or brush. The lemon juice not only helps cut grease but also leaves a fresh scent behind.
These natural cleaners break down residue and kill bacteria without the toxic effects of conventional cleaners. Plus, you save money by making your own solutions at home. Remember to rinse thoroughly with warm water once you’re done scrubbing to wash away loosened grime and cleaning residues, leaving your kitchen sink sparkling clean and naturally refreshed.
Remove Tough Stains and Mineral Deposits
Tackling tough stains and mineral deposits requires a bit more effort, but you can restore your kitchen sink’s shine with the right approach. Start by sprinkling baking soda over the stained areas; it acts as a gentle abrasive for effective stain removal without damaging the surface.
Next, spray white vinegar onto the baking soda. This reaction helps break down mineral deposits and loosens stubborn grime. Let it fizz for about 10 minutes before scrubbing with a soft brush or sponge.
For persistent mineral deposits, soak a cloth in lemon juice and place it on the affected spots for 15 minutes to dissolve buildup naturally. Rinse thoroughly with warm water to wash away loosened deposits and residue.
Repeat these steps if necessary, but avoid harsh chemicals that can harm your sink’s finish. With consistent care, you’ll keep your kitchen sink free from tough stains and mineral deposits, preserving its clean, polished look.
Disinfect Your Kitchen Sink to Kill Bacteria
After removing tough stains and mineral deposits, the next step is to disinfect your kitchen sink to eliminate harmful bacteria. Proper germ control is essential for bacteria prevention and keeping your kitchen safe. Here’s how you can do it effectively:
Use a disinfectant spray or a bleach solution, following the product instructions for safety. Apply the disinfectant evenly across the entire sink surface, including the faucet and drain areas.
Let the disinfectant sit for at least 5-10 minutes to ensure it kills all bacteria. Use a clean sponge or cloth to scrub the sink gently, targeting any hidden spots.
Rinse thoroughly with warm water to remove any residual disinfectant.
Disinfecting your sink regularly helps reduce the risk of cross-contamination and keeps your kitchen hygienic. By incorporating these simple steps into your cleaning routine, you can maintain excellent bacteria prevention and effective germ control in your kitchen.
Rinse and Dry Your Kitchen Sink
Although disinfecting removes germs, you still need to rinse your kitchen sink thoroughly to wash away any leftover cleaning agents. Start by using lukewarm water to guarantee all residues are flushed out without damaging your sink’s surface.
To save water, consider turning off the faucet while scrubbing or use a bowl to collect water for rinsing. Small water-saving tips like these can make a big difference. If you have sink accessories like strainers or cutting boards, rinse them separately to avoid reintroducing dirt.
After rinsing, dry your sink completely with a clean microfiber cloth to prevent water spots and mineral buildup. Drying also helps keep your sink looking polished and reduces the chance of bacteria growth in damp areas.
Regularly drying your sink after use is a simple habit that extends cleanliness and maintains your kitchen’s fresh appearance.
Keep Your Kitchen Sink Shining Between Cleans
Even when you’re not doing a deep clean, you can keep your kitchen sink shining by wiping it down daily and quickly addressing water spots or stains. This simple routine not only maintains your sink’s sparkle but also enhances your kitchen decor, making your space look fresh and inviting. Plus, it helps avoid buildup that can lead to plumbing maintenance issues.
Try these quick tips to keep your sink looking great between cleans:
- Use a microfiber cloth to wipe away water spots after each use.
- Apply a gentle, non-abrasive cleaner once a week to prevent stains.
- Rinse and dry the sink thoroughly to avoid mineral deposits.
- Place a sink grid to protect the surface and reduce scratches.
- Regularly check the drain and faucet for leaks to prevent plumbing problems.
Frequently Asked Questions
Can I Use Bleach to Clean My Kitchen Sink?
Yes, you can use bleach to clean your kitchen sink, but you need to take into account bleach safety and sink material compatibility first. Bleach works well on stainless steel sinks but can damage natural stone or certain coatings.
Always dilute bleach properly, avoid mixing it with other cleaners, and rinse thoroughly to protect your skin and surfaces. If you’re unsure, test a small area or use a gentler cleaner to keep your sink safe and spotless.
How Often Should I Deep Clean My Kitchen Sink?
You should deep clean your kitchen sink at least once a week to keep it fresh and spotless. Regular deep cleaning helps with kitchen stain removal and sink odor control, preventing buildup that causes unpleasant smells and tough stains.
If you use your sink heavily, consider deep cleaning twice a week. Staying consistent guarantees your sink stays hygienic, looks great, and smells clean, making kitchen chores much more pleasant for you.
What Tools Do I Need for Sink Cleaning?
You’ll need a few essential tools to clean your sink effectively. Studies show kitchen sinks can harbor up to 100,000 bacteria per square inch, so tackling them well matters.
Grab cleaning brushes to reach tight corners and scrubbing pads for stubborn stains and grime. Don’t forget a sponge for gentle wiping and gloves to protect your hands. These tools make your sink sparkle and keep germs in check effortlessly.
Is It Safe to Use Vinegar on All Sink Materials?
No, vinegar isn’t safe for all sink materials. While it’s great for stainless steel and porcelain, it can damage natural stone like granite or marble because of its acidity.
For those, you’ll want to use vinegar alternatives like mild dish soap or baking soda to protect your sink. Always check your sink material safety before cleaning so you don’t accidentally cause etching or dullness.
How Do I Prevent Sink Clogs Long-Term?
To prevent sink clogs long-term, you should practice regular drain maintenance by avoiding pouring grease, coffee grounds, or large food scraps down the drain. Use a drain strainer to catch debris and flush your drain weekly with hot water.
Schedule plumbing inspections at least once a year to catch issues early and keep pipes clear. These steps will help you avoid costly blockages and keep your sink draining smoothly for years.
Conclusion
By following these seven easy steps, you’ll keep your kitchen sink sparkling clean and fresh. Just like a well-tuned instrument, a clean sink makes your kitchen feel harmonious and inviting.
Don’t forget to rinse and dry thoroughly to prevent water spots and maintain your sink’s shine between deep cleans. With a little regular care, your kitchen sink will always be ready for whatever cooking adventure comes next!
Keeping your kitchen sink clean not only improves your kitchen’s look but also helps maintain a healthy and pleasant space. So, make these steps part of your routine and enjoy a sparkling kitchen sink every day!