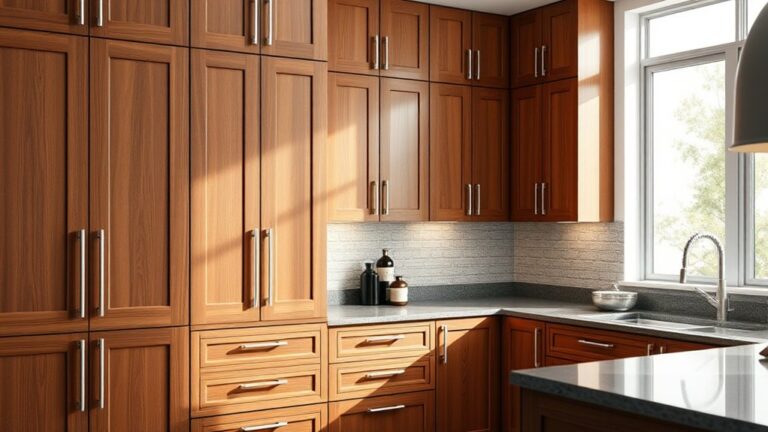
How to Build Kitchen Cabinets in 3 Simple Steps
If you’ve ever dreamed of upgrading your kitchen but felt overwhelmed by the idea of building cabinets, you’re not alone. Many people struggle with where to start or worry about making costly mistakes. The good news? Building kitchen cabinets in three simple steps is totally doable, even if you’re a beginner.
To build kitchen cabinets in three simple steps, start by gathering quality wood, tools like a drill and saw, screws, and safety gear. Next, cut and assemble the cabinet boxes using wood glue and screws, ensuring corners are square and panels align perfectly.
Finally, securely mount the cabinets to wall studs, sand and finish surfaces, then install hardware like hinges and handles for a polished look. Keep going to uncover tips for precise measurements and flawless finishes.
Key Takeaways
- Measure and cut wood panels accurately for cabinet sides, bottom, top, and back.
- Assemble cabinet boxes using wood glue and screws. Clamp pieces to create strong bonds.
- Ensure corners are square and drill pilot holes to prevent wood splitting during assembly.
- Secure cabinets to wall studs with sturdy screws and mounting brackets. Make sure to check they’re level.
- Sand surfaces smoothly, apply finish, and install hardware like hinges and handles for both function and style.
What You Need to Build Kitchen Cabinets
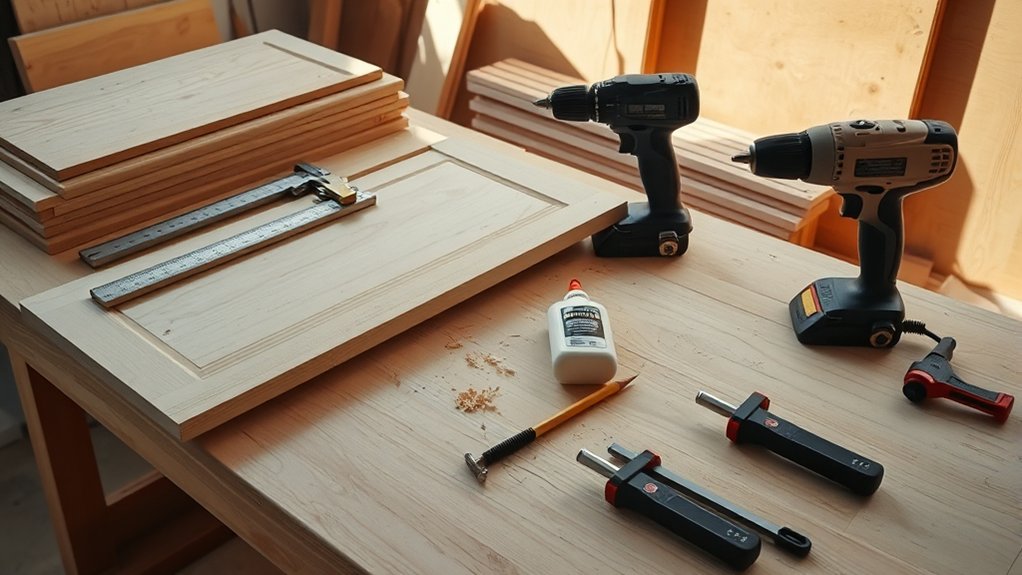
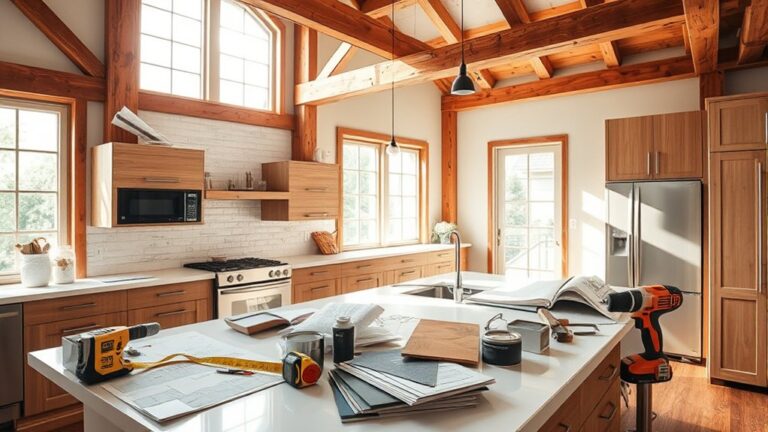
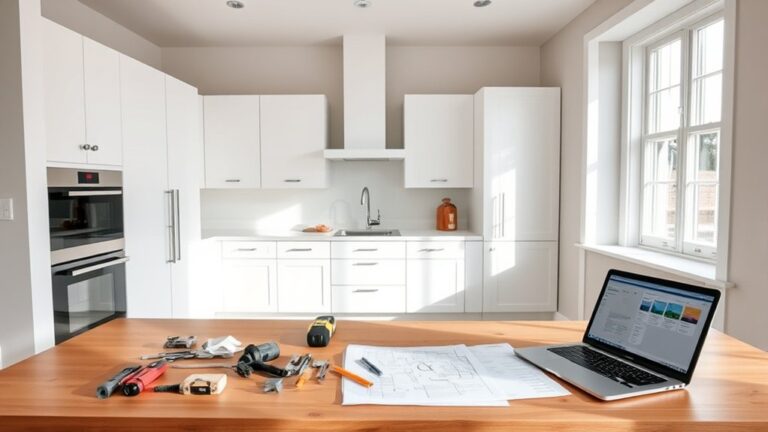
Before you start building kitchen cabinets, you’ll need to gather the right tools and materials. Make sure you have quality wood, screws, nails, wood glue, and sandpaper on hand. Don’t forget essential tools like a drill, saw, measuring tape, and clamps.
Gather quality wood, screws, and essential tools like a drill and saw before building your kitchen cabinets.
You’ll also want to pick out cabinet hardware, including hinges, handles, and drawer slides, to complete your cabinets with style and functionality.
It’s crucial to follow safety precautions throughout the process. Always wear safety goggles and gloves to protect your eyes and hands from wood splinters and sharp tools.
Work in a well-ventilated area to avoid inhaling sawdust or fumes from glue and finishes. Having a first aid kit nearby is smart, just in case.
How to Build and Assemble Cabinet Boxes
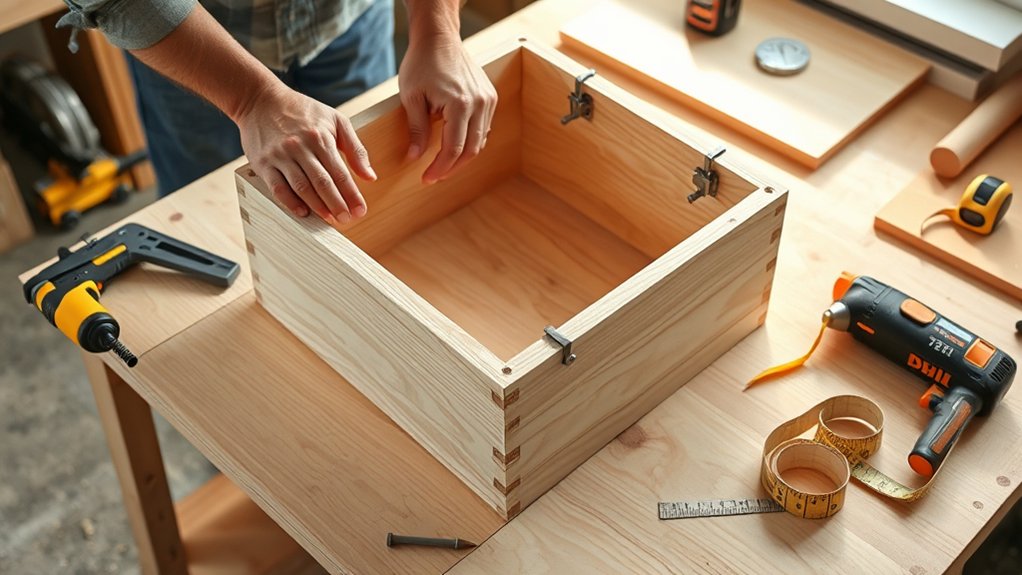
Now that you have all your materials and tools ready, you can start building the cabinet boxes. Begin by cutting the panels for the sides, bottom, top, and back, following your cabinet design measurements precisely.
Assemble the box by attaching the sides to the bottom panel using wood glue and screws, making sure the corners are square. Next, fix the top panel in place, then attach the back panel for added stability. Clamp the pieces tightly while the glue dries to create a strong bond.
Keep in mind the placement of cabinet hardware like hinges and drawer slides during assembly to avoid interference later. Drill pilot holes where necessary to prevent wood splitting. Double-check the alignment of each box before moving on.
Installing and Finishing Your Kitchen Cabinets

Once you’ve assembled the cabinet boxes, you can begin installing them in your kitchen. Start by securing the cabinets to the wall studs, making sure they’re level and aligned. Proper hardware selection is vital here. Choose sturdy screws and mounting brackets for a reliable hold.
After installation, focus on finishing techniques to protect and improve your cabinets. Sand surfaces smoothly, then apply paint, stain, or a clear coat depending on your desired look.
Here’s a quick guide to hardware and finishing choices:
| Step | Hardware Selection | Finishing Techniques |
|---|---|---|
| Install Cabinets | Heavy-duty screws, brackets | Level cabinets, secure firmly |
| Doors & Drawers | Soft-close hinges, handles | Sand edges, test alignment |
| Final Touch | Cabinet knobs, pulls | Paint, stain, or clear finish |
These steps guarantee your kitchen cabinets look great and stand the test of time.
Frequently Asked Questions
What Types of Wood Are Best for Kitchen Cabinets?
You’ll find hardwoods like maple, cherry, and oak are best for kitchen cabinets because their wood grain offers durability and appealing patterns. Maple has a smooth grain that takes finishing techniques well, while oak’s pronounced grain adds character.
Cherry darkens beautifully over time, enhancing the finish. Using proper finishing techniques will protect the wood and highlight its natural grain, giving your cabinets a lasting, polished look you’ll love.
How Do I Design Cabinets to Maximize Kitchen Storage?
To maximize your kitchen storage, design cabinets with adjustable shelves and pull-out drawers for easy access. Use vertical space by adding tall cabinets or stacking shelves.
Incorporate smart storage solutions like lazy Susans and built-in spice racks. Choose cabinet hardware that’s both functional and space-saving, such as soft-close hinges and slim handles.
This way, you’ll keep everything organized while making the most of every inch in your kitchen.
What Tools Are Safest for Beginners to Use?
Think of safety gear as your armor and power tools as your trusted sword in your woodworking quest. For beginners, start with tools like a cordless drill, a jigsaw, and a circular saw with safety features.
Always wear gloves, goggles, and ear protection to shield yourself. These tools are powerful yet manageable, letting you build confidently without risking injury. Stay alert, use your gear, and you’ll master cabinet making safely and skillfully.
How Do I Maintain and Clean My Kitchen Cabinets?
You should clean your kitchen cabinets regularly by wiping them with a soft cloth and mild soap to avoid buildup. Establish cleaning schedules to keep grime and grease from settling in.
Don’t forget to clean cabinet hardware like knobs and hinges, as they collect dirt and fingerprints. Tighten or replace any loose hardware promptly to maintain functionality.
This routine helps your cabinets look great and last longer without damage or wear.
Can I Customize Cabinet Doors With Paint or Veneer?
You can definitely customize cabinet doors with paint or veneer, turning them into your kitchen’s canvas. Cabinet door styles come alive when you experiment with painting techniques like distressing or color blocking, giving your space personality.
Veneers add rich texture and warmth, like wrapping your doors in fine fabric. Whether you want a bold splash of color or a subtle woodgrain finish, these options let you tailor your cabinets to fit your unique style perfectly.
Conclusion
Now that you know the basics, building your own kitchen cabinets is within reach! Did you know that DIY kitchen renovations can save you up to 30% compared to hiring professionals?
By gathering the right materials, assembling your cabinet boxes carefully, and installing them with precision, you’ll create a beautiful, functional space that’s truly yours. Roll up your sleeves and enjoy the satisfaction of a custom kitchen made by your own hands.
With a little effort and these simple steps, building kitchen cabinets can transform your home and give you the confidence to tackle more projects.