How to Repaint Kitchen Cabinets in 3 Easy Steps
Struggling to give your kitchen a fresh new look without the hassle and expense of a full remodel? You’re not alone. Many people want to update their kitchen cabinets but feel overwhelmed by the time, effort, and know-how it takes.
The good news is, repainting your kitchen cabinets can be a simple and rewarding project when you know the right steps.
To repaint your kitchen cabinets in three easy steps, start by thoroughly cleaning and sanding them, then remove all hardware.
Next, choose quality primer and paint, using angled brushes for edges and foam rollers for smooth surfaces.
Finally, apply thin, even coats, allowing each to dry fully and lightly sanding between coats for a flawless finish.
Once dry, reattach hardware and inspect for touch-ups.
Keep going to uncover tips for a truly professional and lasting result.
Key Takeaways
- Clean and remove all hardware from cabinets before lightly sanding surfaces for better paint adhesion.
- Choose high-quality primer and paint designed for cabinets to ensure durability and a smooth finish.
- Use angled brushes for edges and foam rollers for flat surfaces to apply thin, even coats of paint.
- Allow each coat to dry fully and sand lightly between coats to prevent brush marks and drips.
- Reattach hardware only after the final coat is completely dry, and inspect for touch-ups if needed.
Prepare Cabinets: Cleaning, Sanding & Hardware Removal

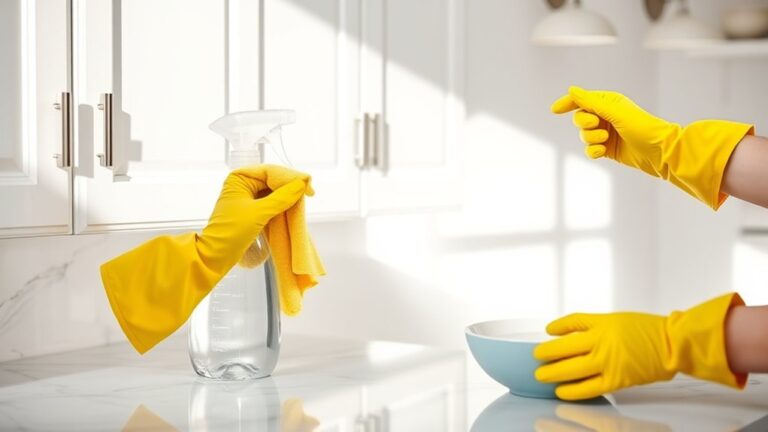
Before you begin painting, make sure to thoroughly clean your cabinets to remove grease and dirt. Use a degreaser and a sponge to scrub every surface, paying close attention to corners and edges.
Thoroughly clean cabinets with a degreaser and sponge, focusing on corners and edges before painting.
Once clean, remove all cabinet hardware like knobs and hinges carefully. This step not only protects your hardware but also preps the cabinets for a smooth finish. If you’re considering cabinet hardware upgrades, now’s the perfect time to decide which new handles or pulls will complement your refreshed look.
Next, lightly sand the cabinet surfaces and doors to create a smooth base for the paint to adhere to. If any cabinet doors are damaged or outdated, think about cabinet door replacement before you proceed. This can save you time and give your kitchen a fresh, modern feel.
Proper preparation is vital for a lasting paint job, so take your time with these steps to ensure the best results.
Choose Paint & Tools for Kitchen Cabinets
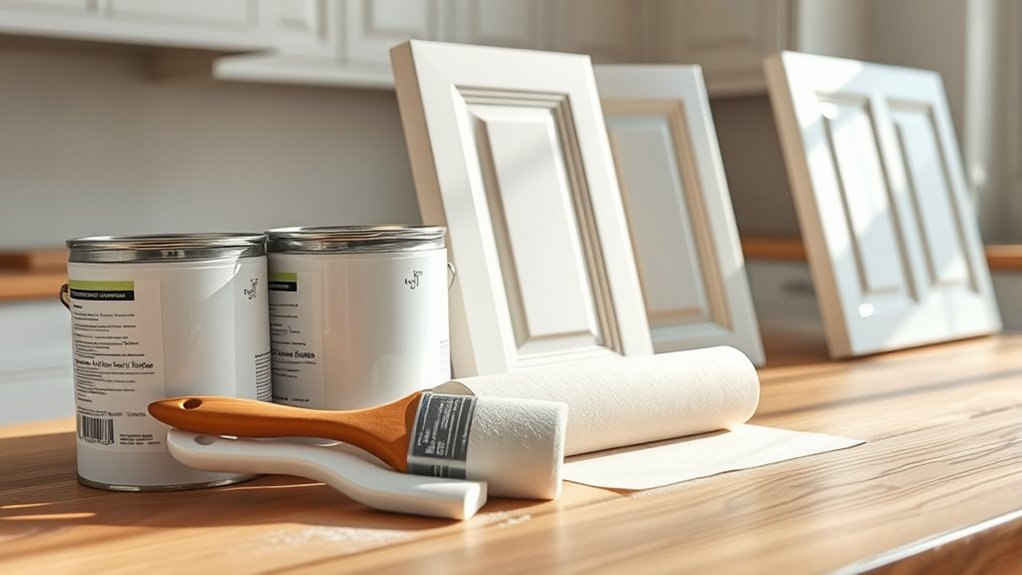
With your cabinets clean, sanded, and stripped of hardware, you’re ready to pick the right paint and tools to bring your vision to life. Choosing the right color options and finish types will set the tone of your kitchen’s style and durability. Think about how the paint will wear over time and the look you want to achieve.
Here are essential items to gather before you start:
- High-quality cabinet paint: Opt for enamel or acrylic latex for durability and smooth coverage.
- Primer: Helps paint adhere better and covers stains or previous colors.
- Paintbrushes: Use angled brushes for edges and detailed areas.
- Foam rollers: Provide a smooth finish on flat surfaces without brush marks.
- Sandpaper: Fine grit (220) for light sanding between coats to ensure smoothness.
Selecting the right tools and paint guarantees your cabinets not only look great but stand up to kitchen wear and tear.
Paint Your Kitchen Cabinets for a Smooth Finish
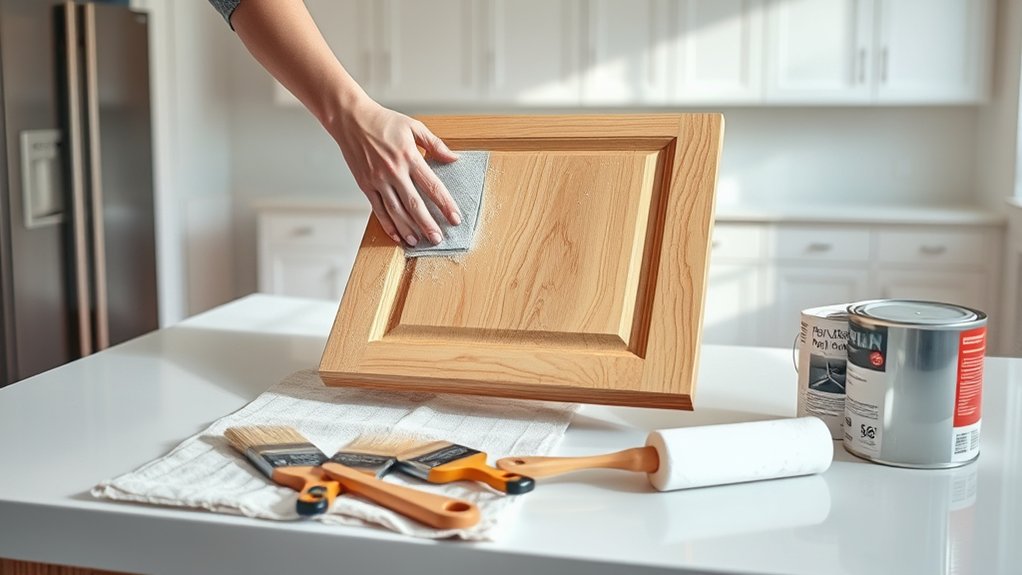
How do you achieve a flawless finish when painting kitchen cabinets? Start by applying thin, even coats of paint to avoid drips and brush marks. Use a high-quality brush or foam roller suited for your chosen paint type.
Follow the latest color trends, like soft neutrals or bold blues, to update your cabinet styles with a modern touch. Allow each coat to dry completely before adding the next.
Here’s a quick guide to keep you on track:
| Step | Tip | Result |
|---|---|---|
| Prep Surface | Sand and clean thoroughly | Smooth base for paint |
| First Coat | Use thin, even strokes | Avoids drips and streaks |
| Second Coat | Apply after full drying | Rich, consistent color |
| Final Touch | Light sanding before last coat | Ultra-smooth finish |
Frequently Asked Questions
How Long Does the Entire Repainting Process Typically Take?
The entire repainting process typically takes 3 to 5 days, depending on your color choices and drying times. You’ll spend time prepping, sanding, and cleaning before applying primer and paint.
Using the right painting tools, like quality brushes and rollers, speeds things up and guarantees a smooth finish. Remember to let each coat dry fully, usually 24 hours, to avoid smudges.
Planning your time well makes the job easier and more satisfying.
Can I Repaint Cabinets Without Removing Them From the Wall?
Yes, you can repaint cabinets without removing them from the wall, but it requires careful prep. Start by removing cabinet hardware to avoid getting paint on handles or hinges. Clean and sand the surfaces thoroughly, then use painter’s tape to protect surrounding areas.
Choosing the right paint color is essential since you’ll see the cabinets daily. Opt for durable, kitchen-friendly paint. This method saves time but needs patience for a smooth finish.
What Type of Primer Works Best for Kitchen Cabinets?
Picture a smooth, flawless surface ready to showcase your color choices. For kitchen cabinets, a high-quality bonding primer works best, ensuring paint durability against moisture and frequent use.
This primer seals old finishes and creates a perfect base, so your new color pops and lasts longer. Choosing the right primer is like setting the stage for your cabinets’ transformation, making sure the paint clings well and stays vibrant through daily wear.
How Do I Prevent Paint From Peeling Over Time?
To prevent paint from peeling over time, you need to prep your cabinets thoroughly and choose high-quality paint for maximum durability. Sand surfaces smooth, clean off dust, and use a primer designed for kitchen cabinets.
Also, remove or loosen cabinet hardware before painting to avoid missed spots and guarantee even coverage. Finally, let each coat dry completely and apply a clear protective topcoat to shield your cabinets from daily wear and moisture.
Is It Necessary to Seal Cabinets After Painting?
Yes, you should seal your cabinets after painting to boost cabinet durability and guarantee strong paint adhesion. A clear sealer or polyurethane protects the paint from scratches, moisture, and daily wear, preventing peeling and chipping.
Without sealing, your hard work might not last long. So, once the paint’s dry, apply a suitable sealer to keep your cabinets looking fresh and durable for years to come.
Conclusion
Now, picture your refreshed kitchen. Cabinets gleam with a fresh coat, doors swing smoothly, and hardware sparkles like new.
With just a little cleaning, sanding, and the right paint and tools, you’ve transformed your space effortlessly. The crisp strokes of your brush bring warmth and charm back to your kitchen, making it feel inviting and bright.
You’ve painted not just cabinets, but a whole new vibe—simple, stunning, and truly yours. Repainting kitchen cabinets has never felt more rewarding or easy.