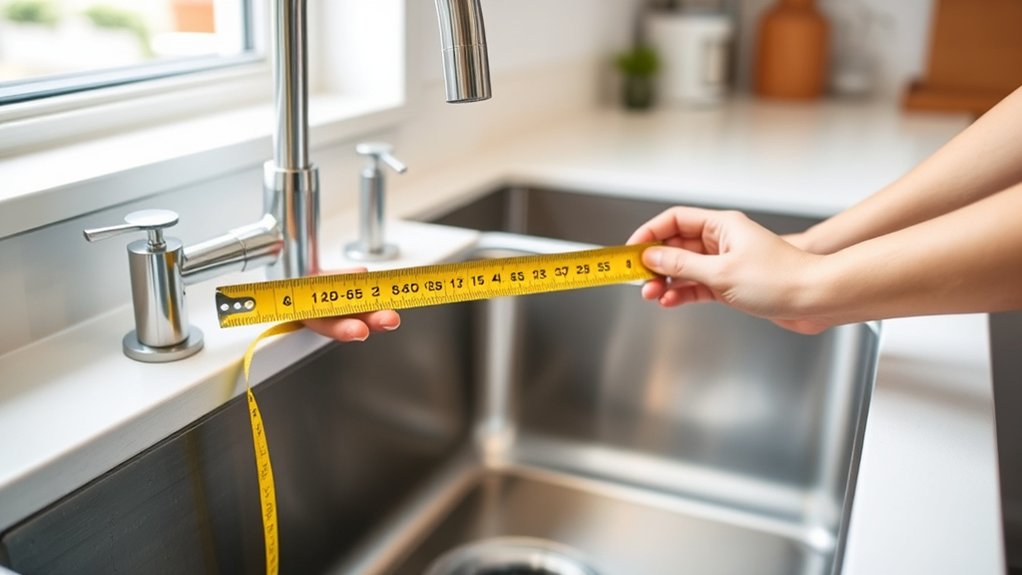
How to Measure Kitchen Sink in 7 Easy Steps
Measuring your kitchen sink can feel tricky, especially if you want to avoid costly mistakes or awkward fits. You’re not alone—many people struggle with figuring out the right dimensions and placements before replacing or installing a sink.
Getting it right ensures your sink fits perfectly and complements your kitchen’s style without any hassle.
To measure your kitchen sink in 7 easy steps, start by gathering a tape measure, notepad, and flashlight. Measure the sink’s length and width, including any rims, then check your countertop cutout size.
Next, measure the sink’s depth and faucet hole placements. Don’t forget to measure drain and plumbing connection points for compatibility.
Finally, use these measurements to pick a sink that fits perfectly and matches your kitchen’s style.
Keep going to uncover detailed tips for a flawless install.
Key Takeaways
- Measure the sink’s length and width, including any rim or lip, for accurate outer dimensions.
- Measure sink depth from the top edge to the bottom of the basin to ensure proper clearance.
- Measure the countertop cutout dimensions and mark cut lines clearly for precise fitting.
- Check faucet hole number, spacing, and drain position to ensure compatibility with plumbing.
- Record all measurements carefully and consider sink material, design, and accessories for proper fit.
Gather the Tools You’ll Need to Measure Your Kitchen Sink
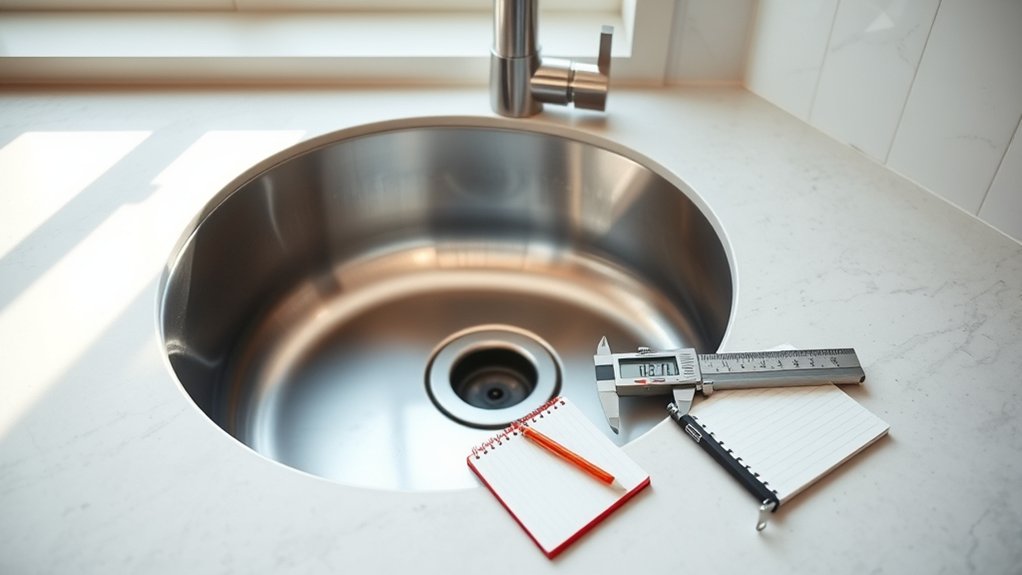
Before you measure your kitchen sink, make sure you have the right tools on hand. Grab a tape measure or a ruler that gives you accurate readings. You’ll also want a notepad and pen to jot down your measurements clearly.
Ensure you have a tape measure, notepad, and pen ready before measuring your kitchen sink accurately.
Having a flashlight might help if your sink area is dimly lit. While measuring, keep in mind the color options and material choices you might consider for your new sink.
Different materials, like stainless steel or granite composite, can affect your measurement needs due to thickness or design. Likewise, color options might influence your decision on sink size to complement your kitchen style.
Getting precise measurements is easier when you’re prepared, so take a moment to gather these tools. With everything ready, you’ll avoid guesswork and choose a sink that fits perfectly both in size and style.
Measure the Length and Width of Your Kitchen Sink
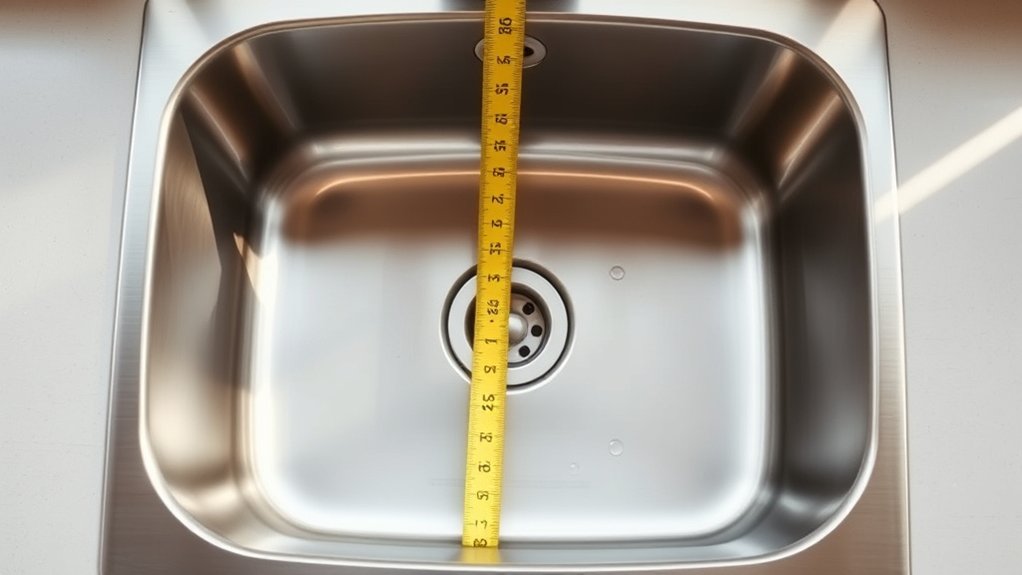
Start by measuring the length of your kitchen sink from one edge to the other. Then, go ahead and measure the width at the sink’s widest point. These two measurements will really help you find the right fit for your space.
Measure Sink Length
Although it might seem straightforward, measuring the length and width of your kitchen sink requires accuracy to guarantee a proper fit. Start by placing your tape measure at one end of the sink’s outer edge, stretching it straight to the opposite end to get the sink length.
Be sure to measure the longest point, especially if your sink material has beveled or rounded edges. This length measurement helps determine the sink’s overall footprint and water capacity, which varies depending on size and depth.
Accurate length measurement ensures your sink fits the countertop cutout and matches plumbing requirements. Keep the tape measure level and avoid gaps to prevent errors.
Measure Sink Width
When you measure the sink width, place your tape measure across the widest part of the sink’s outer edge, making sure it’s straight and level. Accurate width measurement helps you pick a sink that fits perfectly in your countertop space.
Keep these points in mind:
- Measure from edge to edge, including any lip or rim that rests on the countertop.
- Note the sink’s material types, like stainless steel or composite granite, as thickness varies and affects the overall fit.
- Consider color options that match your kitchen’s style but won’t influence the width measurement.
Measure the Sink Cutout in Your Countertop
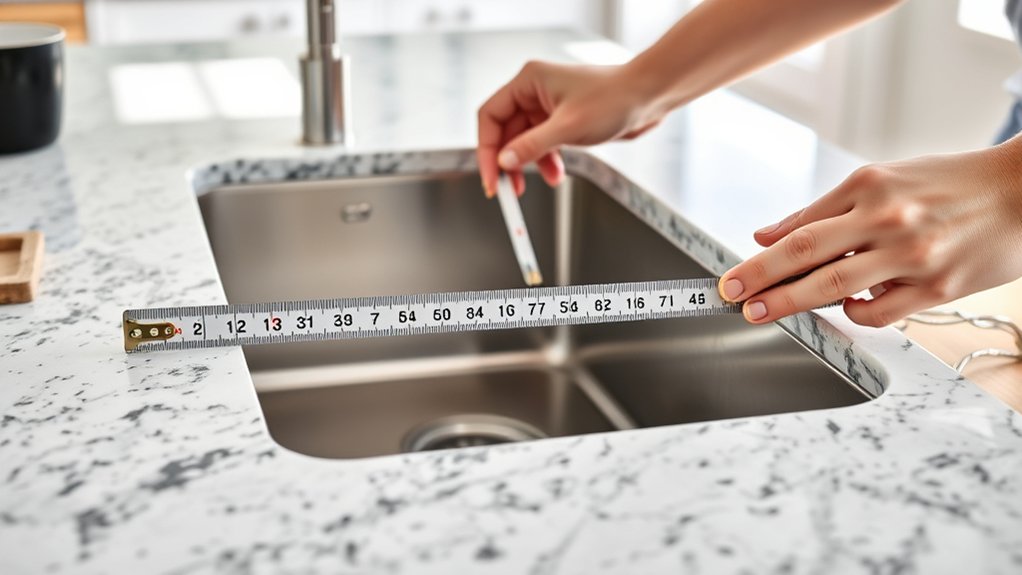
Before you begin cutting, you’ll need to measure the sink cutout in your countertop carefully to guarantee a perfect fit. Start by checking the countertop material, as this affects how you measure and cut. For example, laminate requires more delicate handling than stone or solid surface materials. Use a tape measure to mark the width and length of the cutout, following the sink manufacturer’s template.
Double-check your measurements against the sink’s dimensions and consider the installation techniques you’ll use, whether it’s undermount, drop-in, or farmhouse style. Each method demands slightly different cutout sizes and edge clearances, so adjust accordingly. Mark the cutout lines clearly with a pencil or masking tape, ensuring the lines are straight and precise.
Taking these steps ensures your sink fits snugly, avoiding gaps or overlaps. Accurate measuring and awareness of your countertop material and installation method will make the entire process smoother and prevent costly mistakes.
Measure the Depth of Your Kitchen Sink Correctly
Now that you’ve accurately measured the sink cutout, it’s important to focus on the sink’s depth to guarantee it fits your needs and space. Depth affects usability and storage under the sink, so measuring it correctly is vital.
Accurately measuring sink depth ensures it fits your space and maximizes usability and storage beneath.
Here’s how to measure the depth properly:
- Measure from the top edge of the sink to the bottom of the basin. This gives you the actual depth where water will collect.
- Consider material options like stainless steel or composite granite, as thickness and design may slightly impact depth.
- Account for installation tips, whether it’s undermount, drop-in, or farmhouse style, as mounting method can affect the effective depth and clearance beneath.
Taking these steps ensures you pick a sink that suits your kitchen layout and daily tasks without surprises during installation. Accurate depth measurement helps optimize both functionality and storage space below your countertop.
Measure Faucet and Accessory Hole Placement
Since the faucet and accessory holes determine where your fixtures will sit, measuring their placement accurately is essential to guarantee everything fits and functions smoothly. Start by identifying the number of holes your sink or countertop has for faucet installation and accessory placement.
Use a tape measure to find the distance between each hole’s center, usually measured from the center of one hole to the next. Note the diameter of each hole to ensure your faucet and accessories, like soap dispensers or sprayers, will fit properly.
Next, measure the distance from the back edge of the sink or countertop to the center of the first hole. This helps with proper alignment and clearance.
Double-check your measurements before ordering fixtures or drilling new holes, as improper placement can cause installation issues or affect usability. Accurate faucet installation and accessory placement will make your kitchen sink setup both functional and visually balanced.
Measure Drain and Plumbing Connection Points
Now, let’s focus on finding the drain position to make sure everything lines up properly. Take your time measuring the pipe diameter carefully so it matches your plumbing setup perfectly. And lastly, double-check that your connections are compatible—this will help you avoid any leaks or installation headaches down the line.
Locate Drain Position
Where exactly is your sink’s drain located? Pinpointing this spot is vital for proper drainpipe alignment and seamless sink mounting. Here’s how to accurately locate it:
- Check Existing Plumbing: Identify where the drainpipe exits the countertop or cabinet. This ensures your sink’s drain matches the plumbing layout.
- Measure from Sink Edges: From the sink’s outer edges, measure inward to the drain hole’s center. This helps align the mounting hole with your plumbing.
- Note Vertical Position: Determine how far down the drain extends to avoid interference with cabinets or shelves below.
Measure Pipe Diameter
To guarantee a secure fit between your sink’s drain and existing plumbing, measure the pipe diameters carefully at all connection points. Start by using a caliper or a flexible measuring tape to find the outer diameter of each pipe.
Accurate pipe diameter measurements are vital because they directly affect water flow efficiency and prevent leaks. Measure both the inlet and outlet pipes, including any adapters or couplings.
Remember, even a slight difference in pipe diameter can cause improper sealing or restrict water flow, leading to drainage problems. Once you have these measurements, you’ll confirm the new sink’s drain matches your plumbing system perfectly, promoting smooth water flow and avoiding costly adjustments later on.
Always double-check your measurements for the best results.
Check Connection Compatibility
Although measuring pipe diameter is essential, you also need to verify the compatibility of your sink’s drain with your existing plumbing connections. This guarantees a smooth installation and prevents leaks or mismatches.
Start by inspecting the connection points. Measure the diameter and thread type to match your sink’s drain precisely.
Next, consider material durability. Make sure the sink’s drain material complements your plumbing pipes for long-lasting performance.
Finally, evaluate color coordination. While not critical, matching colors between your sink drain and visible plumbing can improve your kitchen’s aesthetics.
Use Your Measurements to Choose the Right Kitchen Sink
How do you guarantee your new kitchen sink fits perfectly and functions well in your space? Start by using your accurate measurements to narrow down sink sizes that suit your countertop cutout and cabinet dimensions. Consider design factors like whether you want a single or double basin, the depth of the sink, and the placement of faucet holes. Your measurements ensure the sink won’t interfere with plumbing or cabinet doors.
Next, evaluate material options that complement your kitchen style and durability needs. Stainless steel offers versatility, while granite composite adds elegance and scratch resistance. Matching your measurements with design preferences and material choices helps you select a sink that fits seamlessly and lasts long. Don’t forget to factor in extra space for accessories like drainboards or cutting boards if your measurements allow. Using precise measurements as your foundation makes choosing the right kitchen sink straightforward and assures a perfect fit and function.
Frequently Asked Questions
What Materials Are Kitchen Sinks Commonly Made From?
Kitchen sinks are commonly made from stainless steel, cast iron, composite granite, and fireclay. You’ll appreciate stainless steel for its material durability and sleek look. Cast iron offers great durability and a classic aesthetic.
Composite granite combines toughness with stylish options, while fireclay provides a smooth, timeless finish. Each material gives you different aesthetic options, so you can pick one that matches your kitchen style and stands up to daily use.
How Do I Maintain and Clean My Kitchen Sink?
You don’t need a quill and parchment to keep your kitchen sink spotless. First, use mild soap and a soft sponge daily to avoid scratches. Incorporate sink accessories like strainers to catch debris and prevent clogs.
For a fresher feel, install water filtration to reduce mineral buildup. Wipe your sink dry after each use to prevent water spots and maintain its shine. Regular care keeps your sink looking brand new and functional.
Can I Install a Kitchen Sink Myself or Should I Hire a Professional?
You can install a kitchen sink yourself if you’re comfortable with DIY plumbing and have basic tools. Sink installation involves plumbing connections and precise fitting, so if you’re unsure or dealing with complex setups, hiring a professional is safer. Mistakes can cause leaks or damage.
But if you’ve done some plumbing before and follow clear instructions, tackling the sink installation can save you money and give you confidence in your DIY skills.
What Are the Different Types of Kitchen Sinks Available?
You’ll find various kitchen sinks like top-mount, under-mount, farmhouse, and integrated models. When choosing, consider faucet compatibility to guarantee your faucet fits perfectly.
Some sinks come with pre-drilled holes, while others don’t. Also, think about garbage disposal options. Certain sinks have built-in features or enough space for easy installation.
Picking the right type means matching your style and functionality needs, making your kitchen both practical and stylish.
How Do I Prevent Leaks Around My Kitchen Sink?
Don’t just hope your sink becomes a money fountain through leaks. Take control! For proper leak detection, inspect all joints and pipes regularly; no one’s impressed by surprise puddles.
You’ll want to apply sealant carefully around edges to keep water where it belongs. Use a good-quality silicone sealant and smooth it evenly. Remember, a well-sealed sink isn’t just a kitchen win—it saves you from unexpected indoor swimming lessons!
Conclusion
Measuring your kitchen sink is as simple as following a recipe—you just need the right tools and steps. By carefully measuring length, width, depth, and all connection points, you’ll guarantee a perfect fit that makes installation smooth and hassle-free.
With these measurements in hand, choosing the right sink becomes a breeze. Take your time, and soon your kitchen will have the sink that fits like a glove and works like a charm when you know how to measure kitchen sink.