How Do You Redo Kitchen Cabinets in 10 Simple Steps?
If you’ve ever looked at your kitchen cabinets and wished they could look brand new without spending a fortune, you’re not alone. Many people struggle with outdated or worn cabinetry but hesitate to tackle the project because it seems complicated or time-consuming.
The good news is that redoing your kitchen cabinets can be straightforward and rewarding when you know the right steps.
To redo your kitchen cabinets in 10 simple steps, start by gathering tools and removing doors and hardware carefully. Clean and degrease all surfaces thoroughly, then repair any damage like dents or scratches. Sand the cabinets smooth and apply a primer for better paint adhesion.
Paint with even strokes, seal to protect your finish, and finally, reinstall the doors and hardware securely. Follow this process, and you’ll have a refreshed kitchen look with lasting results.
There’s more to master to perfect each step.
Key Takeaways
- Remove cabinet doors and hardware carefully, labeling parts for easy reinstallation.
- Clean and degrease all surfaces thoroughly before starting repairs or sanding.
- Repair dents and scratches, then sand cabinets smooth using progressively finer grit sandpaper.
- Apply primer, paint evenly with quality tools, and seal cabinets with a durable kitchen-grade sealant.
- Reinstall doors and hardware precisely, adjusting for proper alignment and smooth operation.
Gather Your Tools and Materials for Cabinets
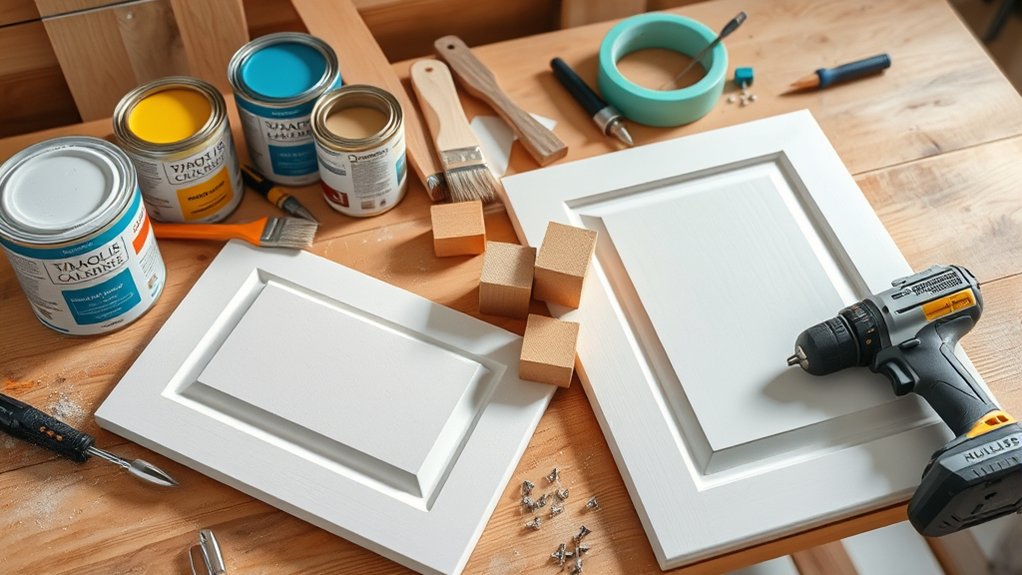
Before you plunge into redoing your kitchen cabinets, make sure you gather all the necessary tools and materials. Having everything ready prevents interruptions and keeps your project on track. Start with the basics: screwdrivers, sandpaper, paintbrushes, and a drill. Don’t forget safety gear like gloves and goggles.
Gather all essential tools and safety gear first to keep your cabinet project smooth and uninterrupted.
Next, collect your cabinet hardware, like handles, knobs, and hinges, for a fresh look once you refinish the cabinets. Choosing the right hardware can completely transform your kitchen’s style.
Tool organization is essential. Use a toolbox or labeled containers to keep screws, brushes, and small parts sorted. This saves you from hunting for items mid-project.
Also, grab painter’s tape and primer to prep your cabinets properly. By assembling all tools and materials upfront, you’ll work efficiently and avoid unnecessary delays. With everything in place, you’re ready to move confidently into the next step of redoing your kitchen cabinets.
Remove Cabinet Doors and Hardware Safely
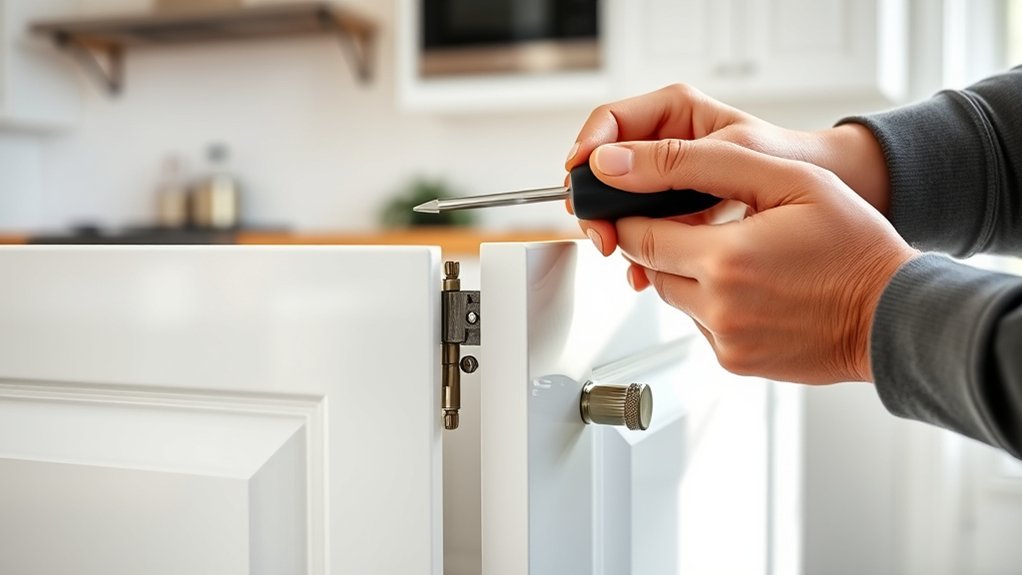
Once you’ve gathered your tools, carefully remove the cabinet doors and hardware to prevent damage. Start by unscrewing the hinges with a screwdriver, keeping a firm grip on the door to avoid dropping it. Place each door on a soft surface to protect the finish.
Next, remove all hardware, such as knobs and handles, noting their placement since hardware styles vary by cabinet design. Label each piece to guarantee you can reinstall or replace them accurately later.
Take your time with older cabinets, as wood can be fragile and screws might be stuck. Avoid forcing hardware off, which can strip screws or damage surfaces.
Removing doors and hardware safely preserves the integrity of your cabinet design, making the next steps in your kitchen cabinet redo smoother and more efficient. With everything off and organized, you’re ready to move on to prepping the cabinets for refinishing.
Clean and Degrease Cabinet Surfaces Thoroughly

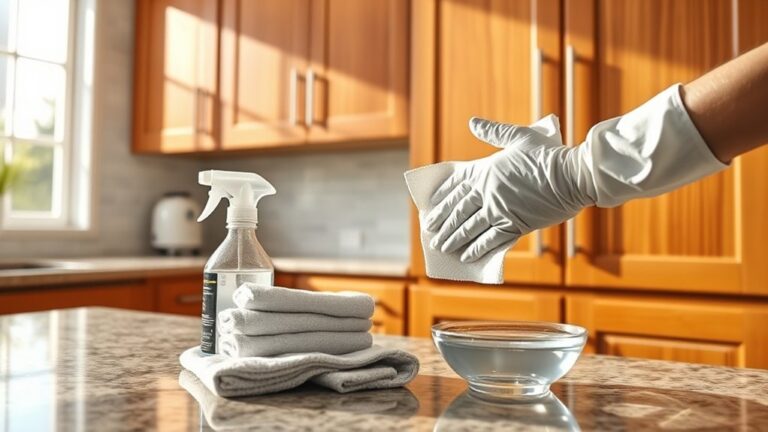
You really can’t skip cleaning and degreasing if you want your cabinets to look great and hold new paint or finish well. Try using a strong cleaner—something like a mix of warm water, dish soap, and vinegar works wonders to cut through grease. Just make sure to scrub thoroughly and rinse well so you get all the residue off before moving on.
Importance of Surface Preparation
Three essential steps, cleaning, degreasing, and drying, set the foundation for a flawless cabinet redo. Proper surface preparation guarantees your paint or stain adheres evenly, preventing peeling or bubbling later.
When you skip this, finishing techniques won’t achieve the smooth, professional look you want. Take your time to thoroughly clean all cabinet surfaces, removing dirt and grease that can block paint absorption.
After degreasing, make sure everything is completely dry before moving on. This attention to detail improves durability and elevates the final appearance.
Best Cleaning Solutions
Choosing the right cleaning solution makes all the difference when prepping your cabinets. To guarantee a smooth redo, you need to clean and degrease cabinet surfaces thoroughly. Start by gathering your cleaning tools like sponges, microfiber cloths, and scrub brushes.
For effective stain removal, consider these four solutions:
- Warm water mixed with mild dish soap. It’s great for light grease and dirt.
- White vinegar diluted in water. This helps cut through tougher grime naturally.
- Baking soda paste. It’s excellent for stubborn stains and residue.
- Commercial degreaser. Use this for heavy grease build-up but test on a small area first.
Using these solutions properly will prepare your cabinets perfectly for the next steps in your kitchen makeover.
Techniques for Effective Degreasing
Although cleaning your cabinets is a crucial first step, effective degreasing requires targeted techniques to break down stubborn grease and grime. Start by removing all cabinet hardware to access every surface thoroughly.
Use a degreaser specifically designed for kitchen use or a mixture of warm water, dish soap, and vinegar. Apply the solution with a sponge or cloth, scrubbing with gentle pressure to avoid damaging the finish.
Pay special attention to areas around cabinet hardware, where grease tends to build up. After scrubbing, rinse with clean water and dry completely to prevent residue.
Proper degreasing not only refreshes your cabinets but also supports better kitchen organization by ensuring surfaces are clean for hardware reinstallation and future maintenance.
Repair Cabinet Damage and Imperfections
Before you start painting or staining, you’ll want to fix any dents, scratches, or holes in your cabinet surfaces. Addressing these imperfections guarantees a smooth, professional finish and extends your cabinets’ lifespan.
Fix dents and scratches before painting to ensure a smooth finish and longer-lasting cabinets.
Start with cabinet hinge repair if doors are sagging or misaligned. Tighten screws or replace damaged hinges to improve function. Next, check drawer alignment adjustment to make sure drawers slide smoothly and close properly. Uneven drawers can spoil the cabinet’s look and usability.
Here’s a quick repair checklist:
- Fill dents and holes with wood filler; sand once dry.
- Use wood putty for scratches or gouges.
- Tighten or replace cabinet hinges for proper door alignment.
- Adjust drawer tracks or runners to fix misalignment.
Fixing these issues now saves time later and guarantees your cabinets look flawless once refinished.
Sand Cabinets to Create a Smooth Surface
You’ll want to start by choosing the right grit sandpaper so you don’t accidentally damage the wood. Also, make sure your workspace is clean and well-ventilated—that way, you can keep the dust under control. When you’re sanding, use smooth, even strokes to create a flawless surface for painting or staining.
Choosing The Right Grit
How do you choose the right grit to sand your kitchen cabinets effectively? It starts with understanding sandpaper types and grit progression. You want to begin with a coarser grit to remove old finish, then gradually move to finer grits to smooth the surface.
Follow this grit progression:
- Use 80-100 grit sandpaper to strip away old paint or varnish quickly.
- Move to 120-150 grit for smoothing out scratches and rough areas.
- Next, choose 180-220 grit to create a fine, even surface ready for priming or staining.
- Optionally, finish with 320 grit for an ultra-smooth finish, especially if you’re staining.
Preparing The Workspace
Where should you start when preparing your workspace for sanding kitchen cabinets? Begin by clearing the area completely to guarantee workspace organization. Remove any items that might get in your way or collect dust.
Lay down a drop cloth or plastic sheeting to protect floors and catch debris. Make sure your workspace is well-ventilated to avoid inhaling dust particles.
Next, focus on safety precautions. Wear a dust mask or respirator to protect your lungs, and use safety goggles to shield your eyes. Gloves will protect your hands from irritation.
Keep a vacuum or brush nearby to clean dust regularly, preventing buildup. By organizing the space efficiently and prioritizing safety, you’ll create a smooth, comfortable environment for sanding your kitchen cabinets effectively.
Sanding Techniques And Tips
Once your workspace is set and safety gear is on, it’s time to focus on sanding the cabinets to achieve a smooth, even surface. Sanding is essential for a flawless paint finish, so choosing the right sandpaper types and techniques matters.
Start with coarse grit to remove old paint or varnish, then gradually move to finer grits for smoothness.
Follow these steps:
- Use 80-120 grit sandpaper for initial sanding to strip surfaces.
- Switch to 150-220 grit for smoothing and preparing for primer.
- Sand in the direction of the wood grain to avoid scratches.
- Wipe dust off with a tack cloth before painting.
This approach ensures your cabinets are perfectly prepped for a professional-looking paint finish.
Choose the Best Paint Type and Color Early
Because the paint sets the tone for your entire kitchen makeover, choosing the best type and color early will save you time and hassle later. Start by considering color psychology. Different shades influence mood and perception. For example, soft blues create calm, while bright yellows energize the space. Pick a color that fits your kitchen’s vibe and your personal style.
Next, focus on paint durability. Kitchen cabinets face heat, moisture, and frequent use, so opt for a paint designed to resist chipping and staining. Semi-gloss or satin finishes work well because they’re easy to clean and withstand wear. Avoid flat paints that can absorb stains and degrade quickly.
Deciding on the paint type and color early guarantees you buy the right materials and avoid costly mistakes. It also helps you coordinate with countertops, backsplashes, and appliances, giving your kitchen a cohesive, fresh look you’ll love.
Apply Primer to Help Paint Adhere Better
Although choosing the right paint is crucial, applying a primer before painting your kitchen cabinets will guarantee the paint sticks properly and lasts longer. Primer application is necessary for adhesion improvement, especially on glossy or bare wood surfaces. It creates a smooth base that helps the paint grip better, reducing the chance of peeling or chipping.
To ensure effective primer application, follow these steps:
- Clean the cabinet surfaces thoroughly to remove grease and dirt.
- Lightly sand the cabinets to promote better primer adhesion.
- Use a high-quality primer suited for your cabinet material.
- Apply the primer evenly with a brush or roller, avoiding drips.
Paint Cabinets With Even Strokes for a Professional Look
After applying primer evenly, the next step is to paint your cabinets with smooth, even strokes to achieve a professional finish. Focus on maintaining consistent brush strokes to avoid streaks and uneven texture.
Make sure your paint consistency isn’t too thick or too thin; it should glide on smoothly without dripping. Use long, steady strokes in the direction of the wood grain for the best results.
Here’s a quick guide to help you maintain the right brush strokes and paint consistency:
| Paint Consistency | Brush Stroke Type | Result |
|---|---|---|
| Too Thick | Short, choppy | Visible brush marks |
| Too Thin | Dripping, uneven | Runs and drips |
| Just Right | Long, smooth | Even, professional look |
| Adjust as needed | Steady, consistent | Flawless finish |
Seal Cabinets to Protect Your Paint Finish
Applying a clear sealant is one of the most important steps to protect your freshly painted cabinets from wear and tear. Without a proper paint sealant, moisture, grease, and daily use can damage your work quickly. To get the best results, follow these steps:
Protect your freshly painted cabinets by applying a clear sealant to guard against moisture, grease, and daily wear.
- Choose a high-quality paint sealant designed for kitchen use to ensure durability.
- Apply the sealant evenly with a clean brush or foam applicator, covering all surfaces, including edges and corners.
- Let the sealant dry completely between coats; typically, two thin coats provide the best protection.
- Avoid reinstalling cabinet hardware until the sealant is fully cured to prevent smudging or damage.
Sealing your cabinets not only preserves the paint finish but also makes cleaning easier. Taking the time to properly seal your cabinets will keep them looking fresh and extend their lifespan.
Reinstall Doors and Hardware Carefully for a Fresh Kitchen
Once the sealant has fully cured, you can start reinstalling your cabinet doors and hardware. Begin by carefully aligning each door with the cabinet frame to guarantee a perfect fit that complements your cabinet design. Take your time; misaligned doors can disrupt the overall look and function.
Next, focus on your hardware selection. Choose handles and knobs that improve your refreshed cabinet design, reflecting your style while providing practical ease of use. Secure each piece firmly, but avoid overtightening to prevent damage.
If you upgraded your hardware, make sure the new screws match the holes or fill old ones to keep everything sturdy. Finally, open and close each door to test smooth operation and make minor adjustments as needed.
This step completes your kitchen cabinet makeover, giving your space a fresh, polished look that feels both new and functional.
Frequently Asked Questions
How Long Does the Entire Cabinet Refinishing Process Typically Take?
The entire cabinet refinishing process usually takes about 3 to 5 days, depending on the number of cabinets and drying times. You’ll want to remove cabinet hardware first, which adds some time.
Proper prep and using quality paint guarantee paint durability, so don’t rush. You’ll sand, prime, paint, and reattach hardware carefully.
Taking your time guarantees a professional finish that lasts, so plan your schedule accordingly.
Can I Redo Cabinets Without Removing All the Hardware?
Yes, you can redo cabinets without removing all the cabinet hardware, but it’s usually easier to remove it for a cleaner finish. Keeping the hardware on might cause uneven paint or stain, and you risk damaging it.
If you choose to skip hardware removal, tape around it carefully to protect it during the process. However, hardware removal provides you with more control and ensures a professional-looking result.
What Are the Best Types of Brushes or Rollers for Painting Cabinets?
For painting cabinets, brush types like angled sash brushes give you precision on edges, while foam brushes offer smooth finishes but can wear quickly. Roller types vary too. Small microfiber rollers create a sleek surface without texture, whereas nap rollers can leave rough spots.
You’ll want to balance control and smoothness, so combining a high-quality angled brush for detail with a fine foam roller for flat areas works best to get flawless cabinet paint results.
How Do I Prevent Paint From Chipping on Kitchen Cabinets?
To prevent paint from chipping on your kitchen cabinets, start with thorough cabinet cleaning to remove grease and dirt. This helps paint adhere better.
Next, lightly sand the surface to create a smooth base. Use a high-quality primer before painting, which boosts paint durability.
Apply thin, even coats with proper drying time in between. Finally, seal with a clear topcoat to protect against daily wear and guarantee lasting results.
Are There Eco-Friendly Paint Options for Kitchen Cabinets?
Yes, you can definitely choose eco friendly finishes and sustainable paints for your kitchen cabinets. These options reduce harmful chemicals and have low VOCs, making your kitchen healthier.
Look for water-based, non-toxic paints labeled as eco friendly or sustainable. They come in durable finishes perfect for cabinets and are easier on the environment.
Using these paints helps you create a beautiful, safe kitchen while supporting greener practices.
Conclusion
By following these steps, you’ll transform your kitchen cabinets with ease and just in time for your next dinner party. It’s no coincidence that a fresh coat of paint and some careful reassembly can breathe new life into your space.
This makes it feel brand new without a full renovation. So, gather your tools, roll up your sleeves, and get ready to enjoy a kitchen that looks polished and inviting. All in just 10 simple steps to redo kitchen cabinets.