How to Remove Kitchen Sink in 3 Simple Steps
If you’ve ever tried to remove a kitchen sink, you know it can be a tricky and frustrating task. You’re not alone—many people struggle with the process because of all the plumbing connections and tight spaces involved.
The good news is, with the right guidance, you can tackle this job yourself without stress or damage.
To remove your kitchen sink in three simple steps, first gather your tools and turn off the water valves under the sink.
Next, disconnect the plumbing by loosening the supply line nuts, drain connections, and faucet mounting nuts.
Finally, lift the sink straight up after ensuring all connections are detached and clean up the workspace by removing old caulk and debris.
Following these basics will help you get started safely and smoothly, with more tips to guarantee a damage-free removal.
Key Takeaways
- Turn off water valves and open the faucet to drain any remaining water before starting removal. This helps avoid spills and makes the process cleaner.
- Disconnect supply lines and drain pipes using the right wrenches. Place a bucket underneath to catch any leftover water that might drip out.
- Loosen the mounting nuts beneath the sink carefully with a basin wrench. This will free the faucet and sink so you can lift it out easily.
- Lift the sink straight up once you’re sure all plumbing and mounting hardware are fully detached.
- Clean the countertop by removing old caulk and debris. This prepares the area for a new installation or any repairs you need to do.
Gather Tools, Turn Off Water, and Prepare Your Workspace
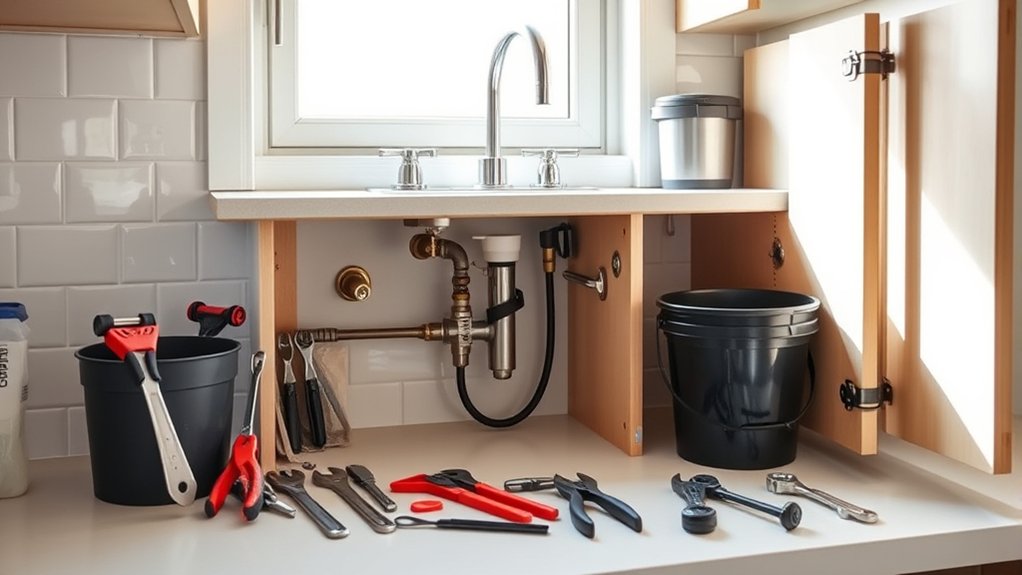
Before you begin removing your kitchen sink, make sure you gather all the necessary tools, turn off the water supply, and clear your workspace. Grab a wrench, bucket, pliers, screwdriver, and a utility knife to handle all steps efficiently.
Gather your tools, shut off water, and clear the area before starting to remove your kitchen sink.
Shut off the water valves under the sink to avoid leaks. Once you do this, open the faucet to drain any water left in the pipes.
Next, clear out any items stored in the under sink storage area to give yourself ample room to work and prevent accidents. Take extra care around your decorative backsplash. Protect it with painter’s tape or a cloth to avoid damage while maneuvering the sink.
Keeping this area tidy and organized not only makes the removal smoother but also helps you avoid unnecessary repairs. With your tools ready and workspace prepped, you’ll be set for the next steps in removing your kitchen sink.
Disconnect Kitchen Sink Plumbing and Remove Faucet Fixtures
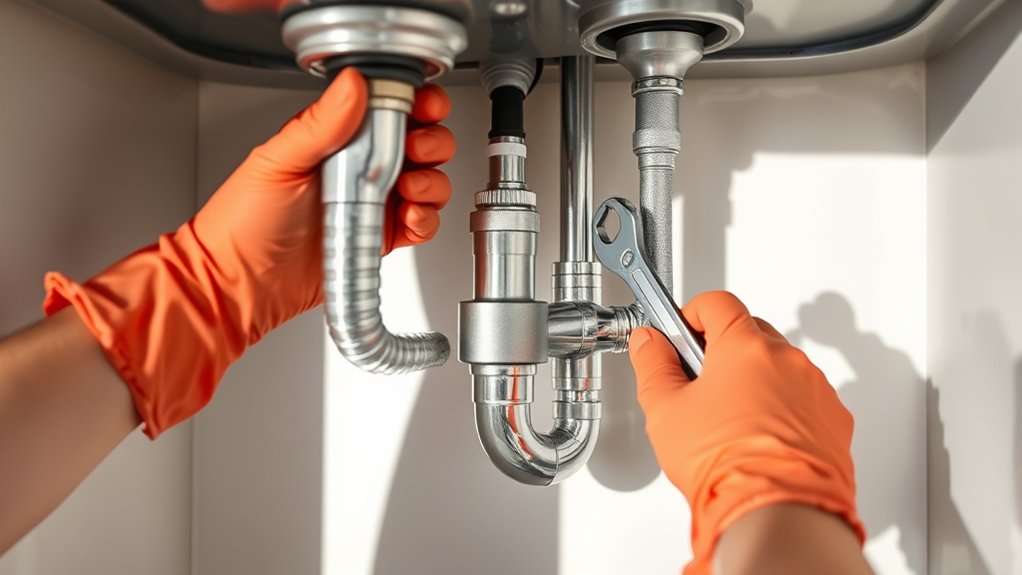
Once you’ve prepared your workspace, start by disconnecting the plumbing under the sink to prevent water spills and make removal easier. Begin with the water supply lines by using an adjustable wrench to loosen the nuts connecting the lines to the faucet valves. Have a bucket or towels ready to catch any residual water.
Next, move to the drain pipes. Carefully unscrew the slip nuts on the P-trap and other plumbing connections. Removing these parts clears the sink’s drainage system.
For faucet removal, locate the mounting nuts beneath the sink holding the fixture in place. Use a basin wrench for tight spaces to loosen these nuts. Once free, lift the faucet away from the sink. Be cautious not to damage the countertop or sink surface during removal.
Disconnect any remaining supply lines attached to the faucet. Completing these steps guarantees all plumbing connections and faucet fixtures are detached properly, setting you up for the next phase of your kitchen sink removal.
Lift Out the Sink and Clean Up Your Work Area
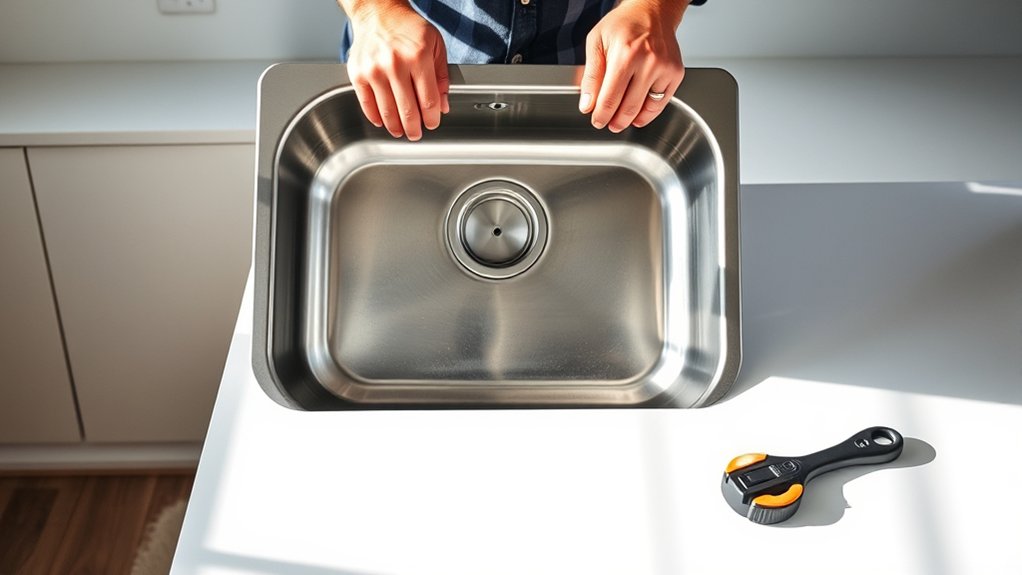
How do you safely lift out a kitchen sink without causing damage? First, make sure all plumbing connections are fully disconnected. Then, gently loosen any remaining sealant or mounting clips holding the sink in place.
With a helper if possible, carefully lift the sink straight up and out of the countertop. Avoid twisting or pulling at awkward angles to prevent cracks or scratches.
Once the sink is out, focus on workspace cleanup. Remove any old caulk, debris, or mounting hardware from the countertop. Wipe down the area thoroughly to prepare for a new sink or repair.
Proper workspace cleanup not only prevents future leaks but also ensures a smooth installation process. Remember, thorough sink removal and cleanup are crucial steps that set the foundation for a successful kitchen upgrade. Taking your time here helps avoid costly mistakes later.
Frequently Asked Questions
How Do I Know if My Sink Is Under Warranty?
You can check if your sink is under warranty by starting with warranty verification. Look for your purchase receipt or the product manual, which usually outlines repair coverage terms.
If you don’t have these documents, visit the manufacturer’s website and enter your sink’s model number for warranty status. You can also contact their customer service directly. They’ll help you confirm if your sink still qualifies for repair coverage or replacement.
Can I Remove a Kitchen Sink Without a Plumber?
Yes, you can remove a kitchen sink without a plumber if you’re comfortable with DIY plumbing. With the right tools and a bit of patience, you can handle the sink installation and removal yourself.
Just make sure to turn off the water supply, disconnect the plumbing carefully, and follow step-by-step instructions. If you run into complicated issues, though, don’t hesitate to call a professional to avoid costly mistakes.
What Should I Do if the Sink Is Glued Down?
If your sink feels like it’s been glued down with the tenacity of a toddler’s sticker obsession, you’re dealing with serious sink adhesives. Don’t just sulk. Grab your trusty plumbing tools and channel your inner demolition expert.
Carefully pry around the edges with a putty knife or a scraper, applying steady pressure. Heat can soften stubborn glue, so a hairdryer might be your secret weapon. Patience and persistence will free your sink without calling in a rescue squad.
How to Dispose of an Old Kitchen Sink Properly?
To dispose of an old kitchen sink properly, you should focus on eco friendly disposal methods. First, check if your local recycling center accepts sinks, especially metal ones, for recycling options.
If it’s ceramic, see if there’s a facility that handles construction debris or donates usable sinks. Avoid sending it to the landfill if possible. You can also contact a scrap metal recycler or donate the sink if it’s still in good condition.
Are There Safety Precautions for Handling Sharp Sink Edges?
Yes, you should definitely take safety precautions when handling sharp edges on a sink. Always wear thick gloves to protect your hands from cuts. Use safety goggles to shield your eyes from any metal shards or debris.
Work slowly and carefully, avoiding sudden movements that might cause you to slip. Keeping a first aid kit nearby is smart in case you accidentally nick yourself. Staying cautious prevents injuries and makes the job safer.
Conclusion
Now that you’ve removed your kitchen sink, you’ve really cut the Gordian knot. What once seemed tricky is now behind you.
With your workspace clean and tools put away, you’re all set for whatever comes next, whether it’s installing a new sink or making further upgrades.
Remember, taking it step by step makes any project manageable. You’ve got this—now enjoy the fresh start in your kitchen with your new kitchen sink setup!