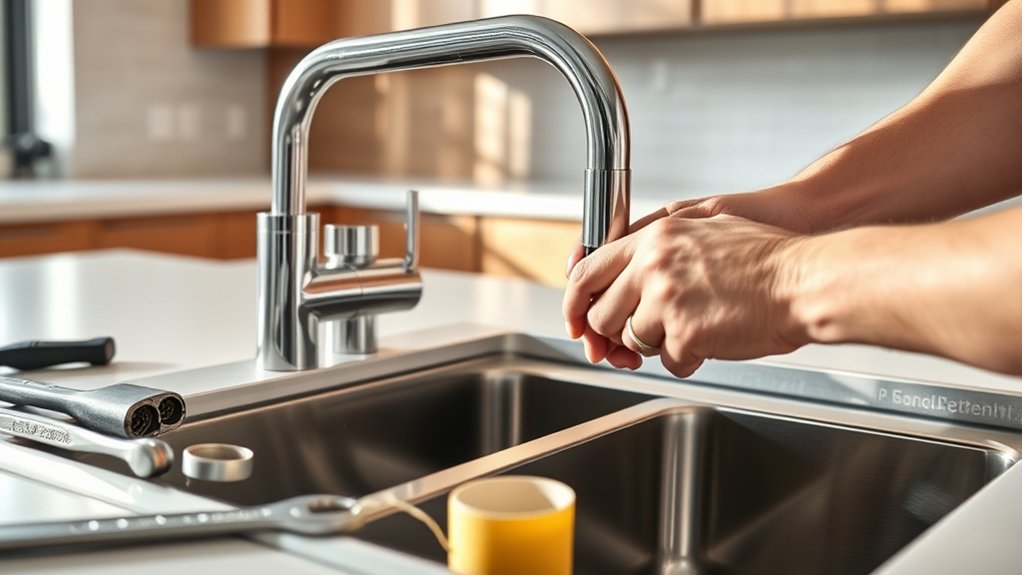
How to Install a Kitchen Faucet in 5 Easy Steps
If you’ve ever tried to install a kitchen faucet, you know it can feel overwhelming. You’re not alone—many people struggle with finding the right faucet and figuring out how to put it all together without making a mess or causing leaks.
Whether you’re upgrading your sink or fixing a drip, having a simple, reliable method can make the whole process much less stressful.
To install a kitchen faucet in five easy steps, first choose a faucet that fits your sink and gather your tools.
Turn off the water supply completely, then remove your old faucet by disconnecting water lines and loosening mounting nuts.
Next, place your new faucet in the sink and secure it tightly underneath.
Finally, connect the water lines, turn the supply back on, and check for leaks.
Keep going to uncover helpful tips that make the process even smoother.
Key Takeaways
- Select a compatible faucet and gather the necessary tools before starting the installation.
- Turn off the water supply and release pressure by opening the faucet.
- Remove the old faucet by disconnecting water lines and loosening mounting nuts.
- Insert and secure the new faucet in the sink’s mounting holes, tightening the nuts evenly.
- Connect the water lines, turn on the supply slowly, and check for leaks and proper operation.
Choose and Prepare for Your Kitchen Faucet Installation
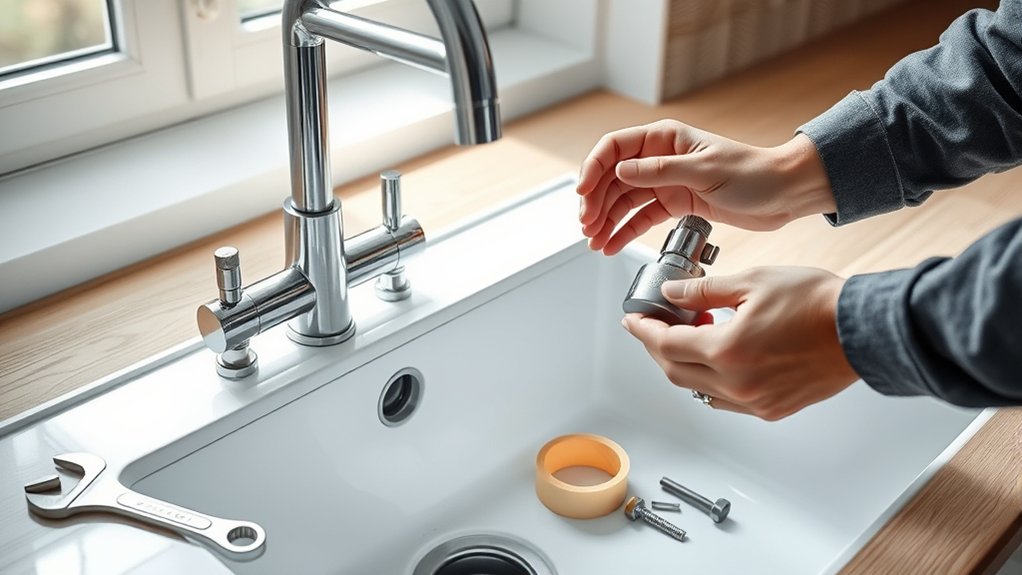
Before you begin installing your kitchen faucet, you’ll need to choose the right model that fits your sink and meets your needs. Faucet styles vary widely, from single-handle to pull-down sprayers, so consider what functionality and design suit your kitchen best.
Measure your sink’s mounting holes to verify compatibility. Once you’ve picked your faucet, gather the necessary installation tools like an adjustable wrench, basin wrench, plumber’s tape, and a screwdriver. Having these tools ready will make the process smoother and quicker.
Don’t forget to check the faucet package for any included parts or specialized tools. Preparing your workspace by clearing under the sink and laying down a towel to catch drips can help keep things tidy.
Taking these steps before you start will save you frustration and guarantee your new faucet fits perfectly and works efficiently right from the start.
Turn Off the Water Supply Before Removal
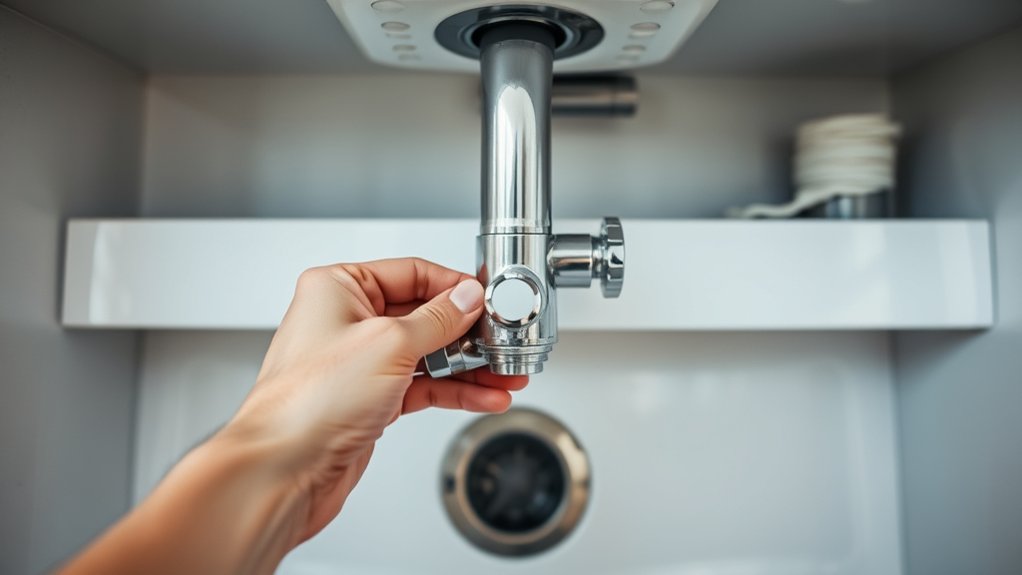
How do you guarantee a safe and hassle-free faucet removal? The key is to turn off the water supply before starting. This prevents unexpected bursts caused by water pressure and protects your faucet materials from damage.
Locate the shut-off valves under the sink and close them tightly. If there are no valves or they’re faulty, turn off the main water supply to your home. After shutting off, open the faucet to release any remaining water pressure. This step ensures no water sprays when you disconnect the faucet.
| Step | Action |
|---|---|
| Locate valves | Check under the sink |
| Shut off valves | Turn clockwise to close |
| Release pressure | Open faucet until dry |
| Check faucet materials | Inspect for damage or corrosion |
Remove the Old Kitchen Faucet

Once you’ve shut off the water and relieved the pressure, you can start removing the old kitchen faucet. Begin by disconnecting the water supply lines using the appropriate replacement tools, like an adjustable wrench or basin wrench.
Carefully loosen the nuts securing the faucet under the sink; these may be tight due to faucet materials like brass or stainless steel, so take your time. Keep a bucket or towel handy to catch any residual water.
Next, detach the faucet from the sink by loosening mounting nuts or screws. If the faucet has a gasket or plumber’s putty, gently scrape it off to avoid damaging the sink surface.
Inspect the area for corrosion or debris that might interfere with your new installation. By following these steps and using the correct replacement tools, you’ll efficiently remove the old faucet, setting you up for a smooth installation process.
Install and Secure Your New Kitchen Faucet
Although installing a new kitchen faucet might seem challenging, you can simplify the process by carefully following each step. First, insert the faucet through the mounting holes on your sink. Make sure the faucet base sits flush to guarantee proper faucet mounting.
Next, from underneath the sink, screw on the mounting nuts to secure the faucet firmly. Tighten them evenly to prevent wobbling.
Keep in mind, a secure faucet mounting helps maintain consistent water pressure and avoids leaks later. Use a basin wrench if space is tight for tightening.
Here’s a quick visual to guide you:
| Step | Action | Tip |
|---|---|---|
| 1 | Insert faucet | Align mounting holes |
| 2 | Secure mounting nuts | Tighten evenly |
| 3 | Check stability | Faucet shouldn’t move |
| 4 | Prepare for water line connection | Ensure firm mounting |
Once mounted, your faucet is ready for the next step, connecting water lines and testing for leaks.
Connect Faucet Water Lines and Test for Leaks
Where do you start when connecting your faucet’s water lines? First, ensure the water supply is off to avoid any mess. Check your faucet compatibility with the existing water lines and fittings. You might need to use adapters if they don’t match.
Attach the hot and cold water lines to their respective valves, tightening them securely by hand before using a wrench for a snug fit. Avoid over-tightening because it can damage threads and cause leaks.
Once connected, turn on the water supply slowly to check the water pressure. Watch closely for any drips at the connections; these indicate leaks. If you spot any, gently tighten the fittings until the leaking stops.
Also, run water through the faucet to flush out debris and confirm smooth operation. Testing for leaks early ensures your installation is solid and prevents water damage. This way, you’ll feel confident that your new kitchen faucet works perfectly.
Frequently Asked Questions
What Tools Do I Need to Install a Kitchen Faucet?
You’ll need an adjustable wrench, basin wrench, plumber’s tape, and a bucket for water spills. Make sure to check the water pressure before installation, as it affects how your new faucet performs.
Depending on the faucet brand, some might include specific tools or instructions, so always read the manual carefully. Having a screwdriver and a flashlight handy also helps.
These tools will make installing your kitchen faucet smoother and hassle-free.
How Do I Fix a Dripping Kitchen Faucet?
Fixing a dripping kitchen faucet is like stopping a tiny, persistent rainstorm in your home. First, shut off the water supply, then remove the handle to access the cartridge.
Leak repair often means cartridge replacement because worn parts cause those annoying drips. Swap the old cartridge with a new one, reassemble, and turn the water back on. You’ll quickly silence that drip, saving water and peace of mind.
Can I Install a Kitchen Faucet Myself Without Plumbing Experience?
Yes, you can install a kitchen faucet yourself even without plumbing experience. With basic DIY plumbing skills and the right tools, faucet maintenance and installation become manageable.
Just follow detailed instructions, watch tutorial videos, and take your time to avoid mistakes. Make sure to turn off the water supply first and double-check connections for leaks.
This hands-on approach saves money and boosts your confidence in handling simple home repairs.
What Types of Kitchen Faucets Are Best for Hard Water?
Dealing with “nature’s mineral seasoning” means you’ll want kitchen faucets designed for hard water. Look for models with built-in water softening features or those compatible with external water softeners to reduce buildup.
Faucets with durable finishes resist spotting and corrosion better. Also, using faucet aerators helps control flow and reduce mineral deposits, keeping your faucet cleaner longer.
Choosing these options helps you maintain a sparkling, hassle-free kitchen sink.
How Often Should I Replace My Kitchen Faucet?
You should replace your kitchen faucet every 10 to 15 years, depending on wear and tear. Faucet material plays a big role. Brass or stainless steel lasts longer than plastic.
If you notice decreased water pressure or leaks, it’s a sign your faucet might need replacing sooner. Regularly check for corrosion or cracks, especially if you have hard water. Staying on top of these issues keeps your kitchen running smoothly.
Conclusion
Now that you’ve installed your new kitchen faucet, sit back and admire your handiwork. You took control, turned off the water, removed the old faucet, and connected everything with care, all without calling a plumber.
With your new faucet securely in place and leak-free, you’ve brought a modern touch to your kitchen. Enjoy the fresh flow and the satisfaction of a job well done installing your kitchen faucet!