How to Restain Kitchen Cabinets in 10 Easy Steps
If you’ve ever wanted to refresh your kitchen cabinets but felt overwhelmed by the process, you’re not alone. Many people struggle with finding the right approach to restaining cabinets without making a mess or ending up with a less-than-perfect finish.
The good news is, with the right guidance, you can achieve beautiful, professional-looking results without the stress.
To restain your kitchen cabinets in 10 easy steps, first gather all your tools and remove the doors and hardware. Clean and degrease every surface thoroughly.
Choose a stain color that suits your kitchen’s style, then sand the cabinets to prep them. Apply the stain evenly, let it dry, and seal with a protective topcoat.
Reinstall the doors and hardware carefully, then maintain your cabinets to keep them looking great. Follow these steps to achieve a professional, lasting finish.
Key Takeaways
- Remove cabinet doors and hardware, labeling each piece for easy reassembly.
- Clean and degrease all cabinet surfaces thoroughly before sanding.
- Sand cabinets smoothly. Then apply wood conditioner, and stain evenly along the wood grain.
- Apply 2-3 coats of protective finish like polyurethane or lacquer. Sand lightly between coats.
- Reinstall doors and hardware carefully. Check alignment and secure all components properly.
Gather Your Tools and Materials
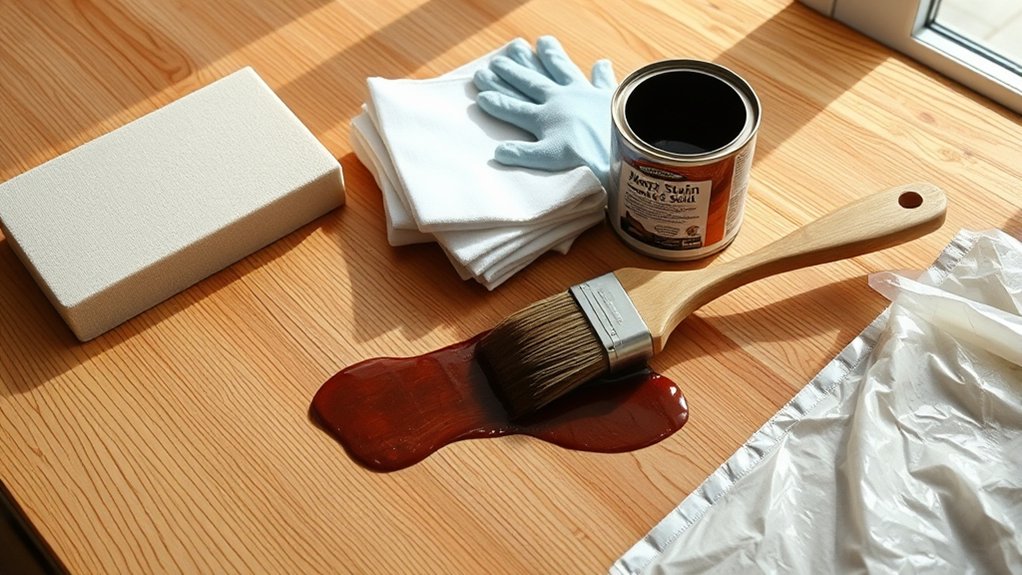
Before you begin restaining your kitchen cabinets, gather all the essential tools and materials to guarantee a smooth process. Start by focusing on tool organization. Lay out your sandpaper, brushes, rags, screwdrivers, and safety gear in a designated workspace. This keeps everything within reach and prevents unnecessary interruptions.
Next, prioritize material selection carefully. Choose a high-quality stain that matches your desired finish and the wood type of your cabinets. Don’t forget to include primer and clear sealant for protection and durability. Having the right brushes or foam applicators tailored to your stain type will also make a noticeable difference.
Remove Kitchen Cabinet Doors and Hardware
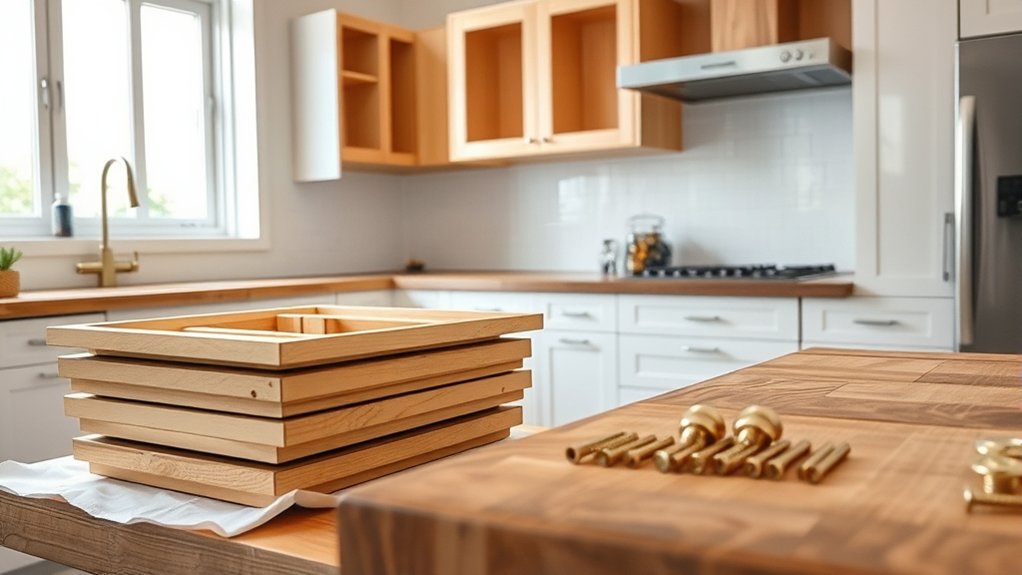
Once you’ve gathered all your tools and materials, the next step is to remove the cabinet doors and hardware. Start by carefully unscrewing the hinges to detach each door from the cabinet frame. Lay the doors flat on a protected surface to avoid damage during the restaining process.
Begin by unscrewing hinges and laying cabinet doors flat on a protected surface for safe restaining.
Next, focus on removing all hardware, including knobs, handles, and any decorative elements. Keep each piece organized, especially if you plan to reuse or replace them.
This cabinet removal stage is essential because it guarantees you can work on each component thoroughly and evenly. If you’re considering new hardware selection, removing the old pieces now makes it easier to measure and plan for replacements.
Label each door and corresponding hardware to keep track of where everything belongs. By completing this step methodically, you’ll set a strong foundation for a smooth restaining process and future hardware updates.
Clean and Degrease Cabinets Thoroughly
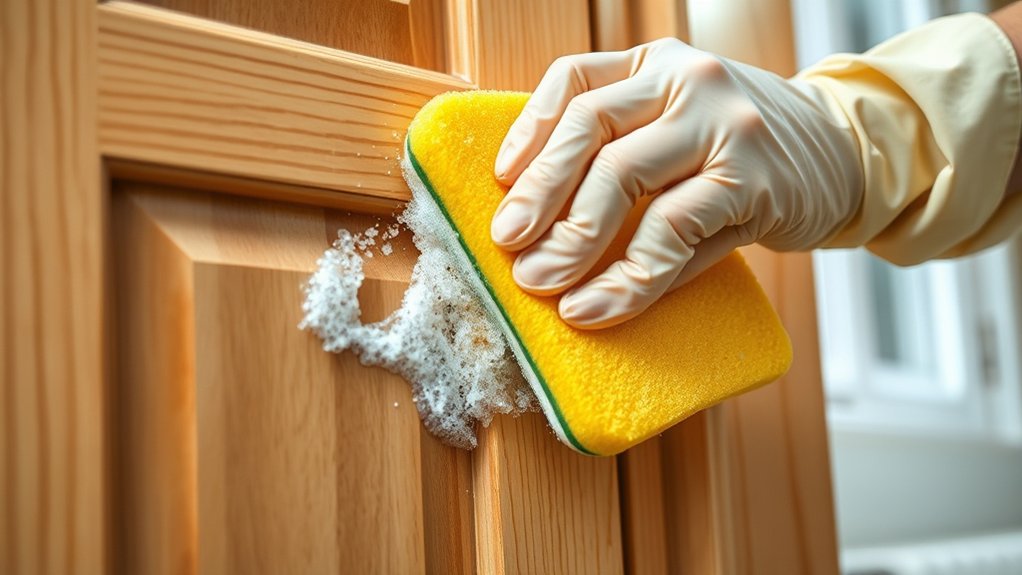
How do you guarantee your cabinets are ready for a fresh coat of stain? Start with thorough cabinet cleaning. After removing doors and hardware, wipe down every surface using a mild detergent mixed with warm water. This removes surface dirt and grime, setting the stage for the degreasing process.
Grease buildup can prevent stain from adhering properly, so tackle it head-on. Use a degreaser formulated for kitchen use or a mixture of vinegar and water to break down oils and residues. Apply it with a sponge or cloth, scrubbing stubborn spots gently but firmly.
Rinse with clean water and dry completely to avoid moisture interfering with staining. Skipping this step can lead to uneven stain absorption and a patchy finish. Taking time now ensures your cabinets look smooth and professional after restaining.
Thorough cabinet cleaning combined with a proper degreasing process lays the essential groundwork for a flawless transformation.
Choose the Right Stain Color for Your Kitchen
When you’re picking a stain color, it’s a good idea to consider how your kitchen’s lighting will change the look throughout the day. Natural light in the morning might make a color appear brighter, while evening lighting can soften it up.
Also, try to choose a shade that works well with the decor you already have. This way, everything feels connected and flows nicely together.
Thinking about these things ahead of time helps you avoid any unexpected outcomes and makes sure your cabinets really enhance the whole space.
Consider Kitchen Lighting
Three key lighting elements, natural, ambient, and task, shape how your kitchen cabinets’ stain color appears. When you consider kitchen lighting, you’ll better choose a stain that complements the space. Lighting ambiance influences the warmth and tone of your cabinets, while fixture placement affects shadows and highlights.
To guarantee your stain looks its best, keep these points in mind:
- Evaluate natural light during different times of the day.
- Assess ambient lighting’s color temperature and brightness.
- Check task lighting directly over work areas for color accuracy.
- Adjust fixture placement to avoid unwanted glare or dark spots.
Match Existing Decor
Although selecting a stain color might seem straightforward, matching it to your existing decor guarantees a cohesive and inviting kitchen atmosphere. Start by analyzing your kitchen’s color palette, including walls, countertops, and flooring.
Choose a stain that complements these elements to ensure proper color coordination. For example, if your countertops are dark granite, a rich, warm stain can create aesthetic harmony. Conversely, lighter stains work well with pale surfaces for a fresh, airy look.
Don’t forget to contemplate your kitchen’s overall style, whether rustic, modern, or traditional, as it influences the best stain choice. Testing stain samples on a cabinet scrap is essential before making a final decision. This way, you’ll achieve a seamless blend that elevates your kitchen’s character and charm.
Sand Cabinets to Remove Old Finish and Smooth Surfaces
Before applying a new finish, you need to sand your kitchen cabinets thoroughly to remove the old finish and create a smooth surface. Proper surface preparation is essential for the stain to penetrate evenly and highlight the wood’s natural grain pattern.
Follow these steps:
- Remove all cabinet doors and hardware to access every surface.
- Use medium-grit sandpaper (120-150 grit) to strip away the old finish, sanding in the direction of the grain pattern.
- Switch to fine-grit sandpaper (220 grit) to smooth the wood and eliminate scratches.
- Wipe down the cabinets with a damp cloth to remove dust and debris.
Apply Wood Conditioner for Even Staining
Since wood can absorb stain unevenly, applying a wood conditioner helps you achieve a uniform finish. When you work with cabinets, the wood grain often soaks up stain inconsistently, leaving blotchy spots. A wood conditioner penetrates the surface, sealing the softer areas and promoting even absorption.
Wood conditioner ensures even stain absorption, preventing blotchy spots and creating a smooth, uniform finish on cabinets.
This step is vital for color consistency, especially if your cabinets have varying grain patterns or are made from softer woods like pine.
To apply, use a clean cloth or brush, working along the wood grain. Make sure to cover every surface evenly without over-applying. Let the conditioner sit for 10 to 15 minutes, but don’t let it dry completely before staining.
This preparation guarantees the stain accentuates the natural beauty of the wood grain, giving your cabinets a smooth, professional look. Skipping this step can lead to patchy color and a less polished finish.
Stain Your Cabinets With Proper Technique
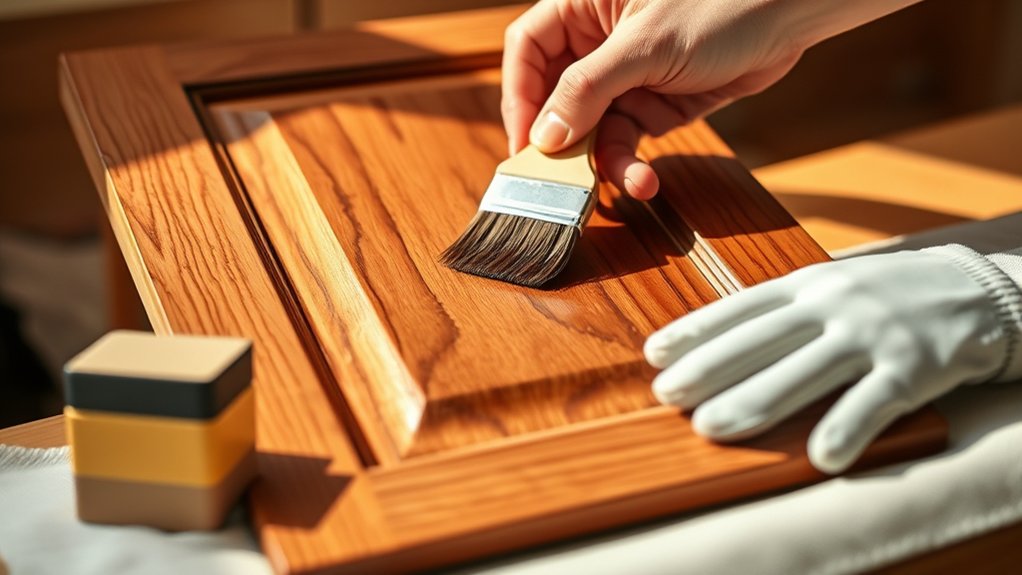
Once the wood conditioner has soaked in, you’re ready to apply the stain. Choosing the right stain selection is essential. It sets the tone for your kitchen’s look. Use a clean, lint-free cloth or a high-quality brush for smooth application.
Follow these technique tips to achieve a flawless finish:
- Work in small sections, applying the stain evenly along the wood grain.
- Wipe off excess stain within 5-10 minutes to avoid blotchy spots.
- Apply multiple thin coats rather than one thick coat for better control.
- Allow each coat to dry completely before deciding if another is needed.
Seal Restained Cabinets With Protective Topcoat
How do you protect your newly stained cabinets from wear and tear? Applying a protective finish is vital for durability improvement. This topcoat seals the stain, preventing moisture, scratches, and daily use damage.
Choose between polyurethane, lacquer, or water-based finishes depending on your preference for gloss and drying time.
Apply the topcoat with a fine brush or foam applicator in thin, even layers. Let each coat dry completely before lightly sanding with fine-grit sandpaper to guarantee smoothness.
Usually, two to three coats provide ideal protection.
| Protective Finish Type | Benefits |
|---|---|
| Polyurethane | Durable, water-resistant |
| Lacquer | Fast-drying, glossy finish |
| Water-based | Low odor, easy cleanup |
| Oil-based | Rich finish, long-lasting |
Sealing your cabinets with the right protective finish guarantees long-lasting beauty and function. Don’t skip this essential step for maximum durability improvement.
Reinstall Cabinet Doors and Hardware Carefully
After you’ve let the protective topcoat dry thoroughly, you can start reinstalling your cabinet doors and hardware. Pay close attention to cabinet door alignment to guarantee a professional finish and smooth operation.
Follow these steps for a successful hardware installation:
- Position the Doors: Hold each door in place, aligning it with the cabinet frame.
- Attach Hinges: Secure the hinges carefully, tightening screws without overdoing it to avoid stripping.
- Check Alignment: Open and close doors to confirm proper alignment; adjust hinge screws as needed.
- Install Hardware: Reattach knobs or handles firmly, making sure they’re level and secure.
Taking your time during cabinet door alignment and hardware installation helps avoid uneven gaps and loose fixtures. This careful approach assures your restained cabinets look polished and function perfectly, completing your kitchen makeover with a flawless finish.
Maintain Your Restained Cabinets for Long-Lasting Beauty
To keep your restained cabinets looking fresh and vibrant, you’ll need to adopt a regular maintenance routine. Start by following simple cleaning tips: use a soft cloth with mild soap and water to wipe down surfaces weekly. Avoid harsh chemicals or abrasive scrubbers that can dull the finish.
Quickly clean spills to prevent stains or damage. If you notice small scratches or wear spots, keep a small amount of the original stain or paint on hand for color matching. This lets you touch up imperfections seamlessly without stripping or refinishing the entire cabinet.
Also, avoid placing hot pans or wet items directly on the wood to protect the finish. Periodically check for loose hardware and tighten as needed to prevent damage from shifting doors or drawers. By staying consistent with these easy steps, you’ll extend the life of your restained cabinets and keep your kitchen looking beautiful for years to come.
Frequently Asked Questions
Can I Restain Cabinets Without Removing the Doors?
Yes, you can recondition cabinets without removing the doors, but it takes more patience and careful prep. You’ll want to remove cabinet hardware to avoid getting stain on handles or hinges.
Tape off surrounding areas to protect walls and countertops. When choosing your stain color selection, test a small spot first to ensure you like the look. Working with doors on can save time but demands extra attention to detail.
What Type of Wood Is Best for Staining?
You know what they say: “You can’t judge a book by its cover,” and the same goes for wood. Maple, oak, and cherry are best for staining because their wood grain takes color matching beautifully.
Oak’s pronounced grain adds character, while maple’s smooth surface offers a sleek finish. Cherry darkens over time, giving a rich look.
Choose wood with a grain that complements your stain to get the best, lasting results.
How Long Should I Wait Between Stain Coats?
You should wait about 4 to 6 hours between stain coats to guarantee proper drying and color consistency. This waiting time lets the stain absorb evenly, preventing blotches.
Before applying the next coat, lightly sand the surface using fine-grit sandpaper to smooth out any raised grain or imperfections. These sanding techniques help the stain adhere better and keep your cabinets looking flawless and uniform in color throughout the entire staining process.
Can I Use a Paint Sprayer for Staining Cabinets?
Yes, you can use a paint sprayer for staining cabinets. Paint sprayer advantages include faster application and smooth, even coverage, which helps avoid brush marks.
Before you start, focus on staining preparation tips like thoroughly cleaning and sanding the cabinets, and masking off areas you don’t want stained. Make sure to test the sprayer on scrap wood to adjust the spray pattern and avoid drips.
This method makes your project quicker and neater.
What Should I Do if the Stain Looks Blotchy?
If your stain looks blotchy, don’t panic. It’s often due to uneven application or wood absorption. You can fix this by sanding the blotchy areas lightly and applying a wood conditioner before restaining to guarantee better color consistency.
Adjust your application techniques by using a clean, soft cloth or brush in smooth, even strokes. This helps the stain penetrate uniformly, giving your cabinets a professional, consistent finish you’ll be proud of.
Conclusion
Restaining your kitchen cabinets can transform your space without the cost of a full remodel. Did you know that updating cabinet finishes can boost your kitchen’s appeal by up to 80%?
By following these 10 easy steps, you’ll save money and add lasting beauty to your home. Just take your time, work carefully, and enjoy the satisfying process of bringing new life to your cabinets.
Your refreshed kitchen will thank you for learning how to restain kitchen cabinets!