How to Install Kitchen Sink Plumbing in 5 Easy Steps
Installing kitchen sink plumbing can feel overwhelming, especially if you’ve never tackled it before. You’re not alone—many people struggle with finding the right steps and tools to get it done without leaks or headaches.
But with a clear, simple guide, you can handle the job confidently and enjoy a flawless setup.
To install kitchen sink plumbing in five easy steps, start by gathering your tools like a wrench, plumber’s tape, and supply lines, then turn off the water supply.
Next, clean and prep the sink basin, applying sealant and securing mounting hardware.
Install the faucet and drain using gaskets and plumber’s putty to prevent leaks.
Connect water supply lines and drain pipes, ensuring tight, aligned fittings.
Finally, test for leaks and tighten as needed.
Keep going to uncover useful tips for a flawless setup.
Key Takeaways
- Turn off the water supply and gather necessary tools and plumbing parts before starting the installation.
- Clean and prepare the sink basin, then apply sealant and secure mounting hardware evenly.
- Install the faucet and assemble the drain, sealing connections to prevent leaks.
- Connect flexible water supply lines and drain pipes, using plumber’s tape and ensuring proper alignment.
- Turn on water, check for leaks, tighten fittings gently, and confirm the system operates leak-free.
Gather Your Tools and Materials

Before you begin the installation, make sure you’ve gathered all the necessary tools and materials. Having everything at hand saves time and prevents frustration. Vital tools include a pipe wrench, adjustable pliers, plumber’s tape, a basin wrench, and a hacksaw. Don’t forget to get new plumbing parts like supply lines, a drain assembly, and sealant.
Pay attention to tool maintenance before starting. Clean your tools and check for damage to ensure they work efficiently and safely. Well-maintained tools reduce the risk of accidents and help you complete the job smoothly.
Plumbing safety is essential throughout the process. Wear gloves to protect your hands from sharp edges and use eye protection to guard against debris. Also, turn off the water supply before you start working to avoid leaks or flooding. By preparing properly and prioritizing safety, you set yourself up for a successful kitchen sink plumbing installation.
Prepare the Sink Basin and Mounting Hardware

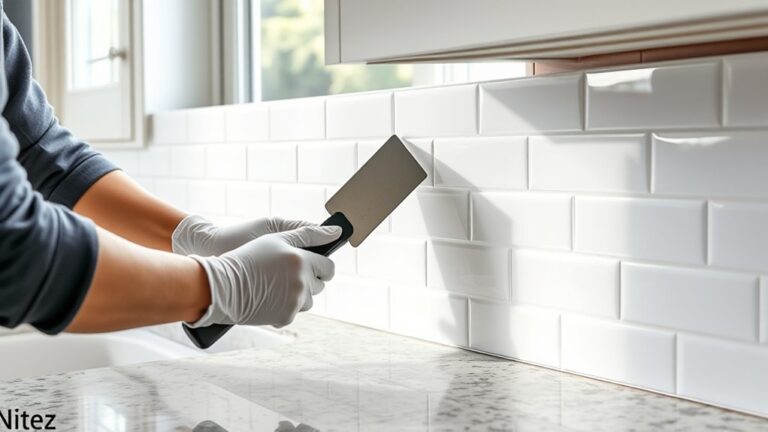
Once you’ve gathered your tools and materials, you’ll want to clean the sink basin thoroughly to guarantee a secure installation. Removing dust, debris, and old sealant ensures the mounting hardware sits flush, preventing leaks or movement.
Thoroughly clean the sink basin to ensure secure installation and prevent leaks or movement.
Next, check your fixtures compatibility. Confirm the sink matches your faucet and drain specifications to avoid surprises later.
Follow these steps to prepare:
- Inspect the sink’s mounting surface for smoothness and damage.
- Apply a bead of plumber’s putty or silicone sealant around the basin edge.
- Position the mounting clips or brackets according to your sink’s instructions.
- Tighten mounting hardware evenly, using proper mounting techniques to avoid warping.
These steps give your sink a stable base and peace of mind. Taking time here means fewer issues down the line and a kitchen sink that feels solid and secure.
Install the Faucet and Assemble the Drain

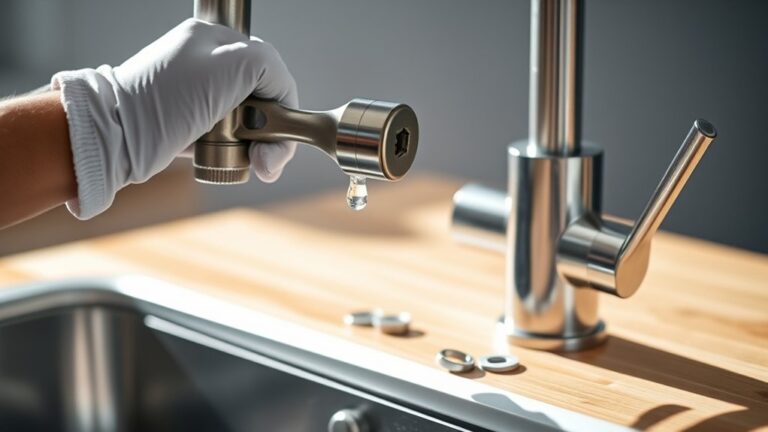
Although installing the faucet and assembling the drain can seem complex, following clear steps will make the process straightforward. Begin your faucet installation by placing the faucet into the mounting holes on the sink. Secure it from underneath with the provided nuts and washers, tightening them to guarantee stability.
Don’t forget to attach the gasket or plumber’s putty to prevent leaks. Next, move on to the drain assembly. Insert the drain body into the sink’s drain hole, applying plumber’s putty around the flange for a watertight seal.
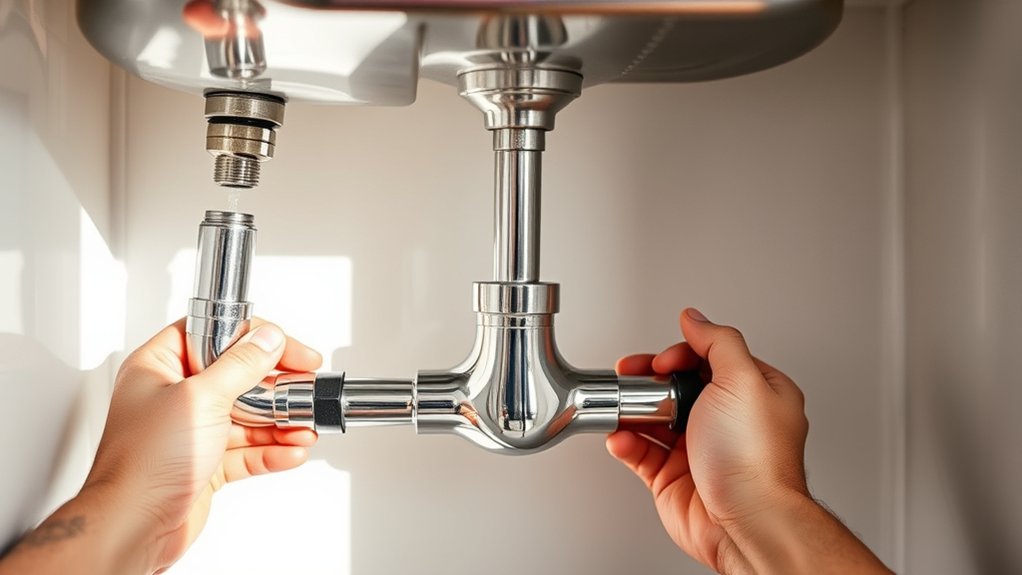
From below, screw on the rubber gasket and mounting nut tightly. Attach the tailpiece to the drain body, ensuring a snug fit. Double-check all connections for proper alignment and tightness.
With these steps, your faucet installation and drain assembly will be solid, leak-free, and ready for the next phase of your kitchen sink plumbing project.
Connect Water Supply Lines and Drain Pipes
As you prepare to connect the water supply lines and drain pipes, make certain all previous components are secure and leak-free to guarantee a smooth installation. Begin by attaching the flexible water supply lines to the faucet and shutoff valves. Tighten connections by hand, then use a wrench to ensure they’re snug, but avoid overtightening to prevent damage.
Next, connect the drain pipes, aligning the trap and tailpiece carefully to avoid strain.
Keep these tips in mind for a successful connection:
- Confirm water pressure is off before starting to avoid surprises.
- Use pipe insulation around supply lines to prevent condensation and maintain temperature.
- Apply plumber’s tape on threaded connections for a watertight seal.
- Position drain pipes so they slope slightly downward for proper drainage.
Following these steps will help you create a durable, efficient plumbing setup that performs reliably.
Check for Leaks and Finish Installation
Before you finalize the installation, turn the water supply back on and carefully inspect all connections for leaks. Use a flashlight to check under the sink and around each joint, paying close attention to areas where pipes meet fittings. Run both hot and cold water to verify every connection holds steady under pressure.
For effective leak prevention, gently tighten any loose fittings without over-tightening, which can damage seals.
Next, employ inspection techniques like wiping down pipes with a dry cloth to spot moisture easily. Keep an eye out for drips, puddles, or dampness that might indicate a hidden leak.
If you find any, turn off the water, fix the issue, and repeat the inspection. Once satisfied, secure all components and clean the workspace.
Your kitchen sink plumbing is now properly installed and leak-free, ensuring reliable performance for years to come.
Frequently Asked Questions
What Type of Sink Is Best for Small Kitchens?
For small kitchens, a single-bowl sink is your best bet since it saves space and offers more counter area. Make sure the sink you choose has faucet compatibility with your existing fixtures to avoid extra costs.
Also, check the drain assembly size and design to fit your plumbing setup smoothly. Compact, shallow sinks with integrated drainboards can maximize functionality without crowding your workspace. This way, you’ll keep your kitchen efficient and stylish.
How Do I Choose the Right Faucet Style?
Choosing the right faucet style is obviously a simple task—you just pick whatever matches your mood, right? But seriously, you’ll want to take into account faucet material first. Stainless steel offers durability, while brass adds a classic touch.
Next, focus on handle design. Single handles save space and look sleek, while double handles provide precise temperature control. Match these choices to your kitchen’s style, and you’ll have a faucet that’s both functional and fabulous.
Can I Install Plumbing Without Professional Help?
Yes, you can tackle DIY plumbing if you feel confident and have basic tools. Many people successfully install kitchen sink plumbing by following clear guides and videos.
However, if you’re unsure about local codes or complex connections, professional installation is safer and can save time. Remember, mistakes might lead to leaks or costly repairs, so weigh your skills carefully before deciding between DIY plumbing and hiring a pro.
What Maintenance Keeps Kitchen Plumbing in Good Condition?
To keep your kitchen plumbing in good condition, you should regularly perform drain cleaning to prevent clogs and buildup. Use a drain strainer to catch debris and avoid harmful chemicals that can damage pipes.
Also, practice leak detection by checking under the sink and around connections for drips or moisture. Fix leaks promptly to prevent water damage and mold.
Routine maintenance like this keeps your plumbing working smoothly and extends its lifespan.
Are There Eco-Friendly Options for Kitchen Plumbing Fixtures?
Yes, you can choose eco-friendly fixtures to make your kitchen plumbing more sustainable. Look for faucets and aerators with water-saving technologies that reduce water flow without sacrificing performance. These fixtures help you save water and lower your utility bills.
You’ll find options made from recycled or sustainable materials too. By upgrading to eco-friendly fixtures, you not only protect the environment but also add efficiency and style to your kitchen plumbing setup.
Conclusion
Now that you’ve danced through these simple steps, your kitchen sink plumbing is ready to flow like a gentle stream. With your tools resting and connections secure, you’re set to enjoy a kitchen that hums with quiet efficiency.
Just a quick check for leaks will confirm everything whispers harmony, turning your sink into a reliable partner in your daily rhythm. Congratulations, you’ve crafted a smooth, steady flow that makes every splash a breeze.
Your kitchen sink plumbing is now installed perfectly, ready to support all your cooking and cleaning needs with ease.