How to Unclog the Kitchen Sink in 7 Easy Steps
Dealing with a clogged kitchen sink can be super frustrating, and if you’ve ever stood there watching the water slowly drain or smelled something unpleasant, you’re not alone. Many people struggle with this common household issue and wish there was a simple fix that didn’t require calling a plumber.
Luckily, there are easy steps you can take to get your sink flowing freely again.
To unclog your kitchen sink, first identify the blockage by checking for slow drainage or odors. Gather tools like a plunger, gloves, bucket, and a drain snake. Clear any visible debris by hand, then use a plunger with steady pressure to dislodge the clog.
Follow up by pouring baking soda and vinegar down the drain to break down grime. If needed, remove and clean the P-trap.
Adopting simple daily habits helps prevent future clogs. Keep going to find out how.
Key Takeaways
- Inspect the drain for visible debris, odors, or slow drainage to identify where the clog is.
- Wear gloves and carefully remove any visible debris without pushing it further down the drain.
- Use a plunger with a tight seal and strong, steady strokes to dislodge the clog effectively.
- Pour baking soda and vinegar into the drain, let it sit for 15 minutes, then flush with boiling water.
- Remove and clean the P-trap by loosening the slip nuts, clearing buildup, rinsing, and reassembling it tightly.
Figure Out What’s Blocking Your Kitchen Sink
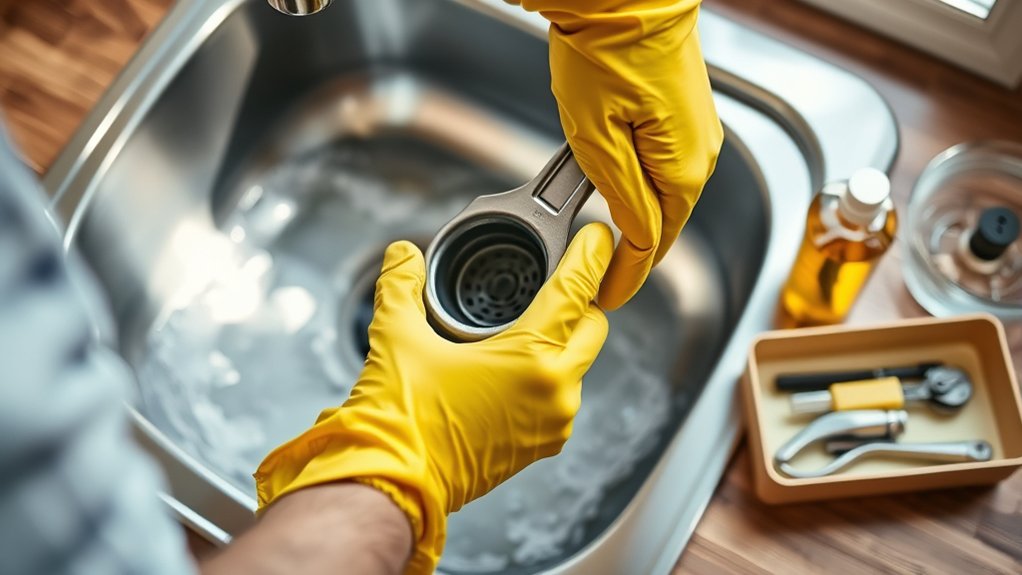
Before you can fix your clogged kitchen sink, you need to identify what’s causing the blockage. Start by performing a thorough drain inspection. Look for visible signs like standing water or slow drainage, which often indicate where the problem lies.
Pay attention to any unusual kitchen odor, as it can signal trapped food particles or grease buildup within the pipes. Sometimes, the smell points you directly to the clog’s location. Use a flashlight to peek inside the drain opening if possible, spotting debris or buildup.
Get These Easy Tools and Items Ready
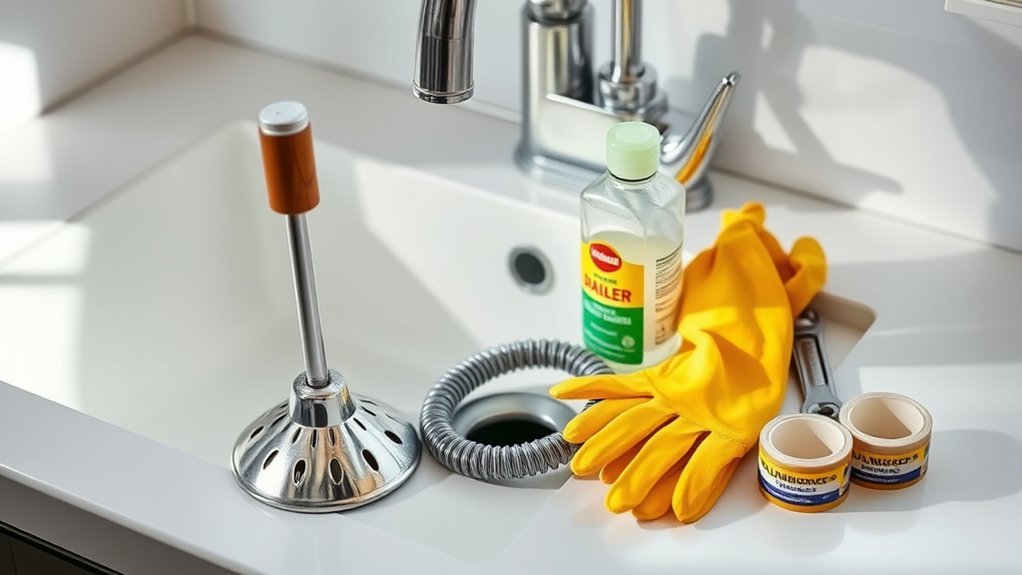
Once you’ve identified the clog, gather a few simple tools and items to tackle the job efficiently. Start with a basic tools checklist that includes a plunger, a bucket, a pair of rubber gloves, a wrench, and a drain snake or auger. These items will cover most common clogs and help you work without unnecessary hassle.
Don’t forget safety precautions. Wear your gloves to protect your hands from grime and potential chemical residues. If you plan to use any chemical drain cleaners, guarantee the area is well-ventilated and avoid mixing chemicals. Keep a towel or rag nearby to clean up any spills or leaks quickly.
Having everything ready before you start prevents interruptions and keeps the job smooth. With your tools checklist complete and safety precautions in place, you’re set to move forward confidently and clear that clog with ease.
Clear Visible Debris From Your Kitchen Sink Drain
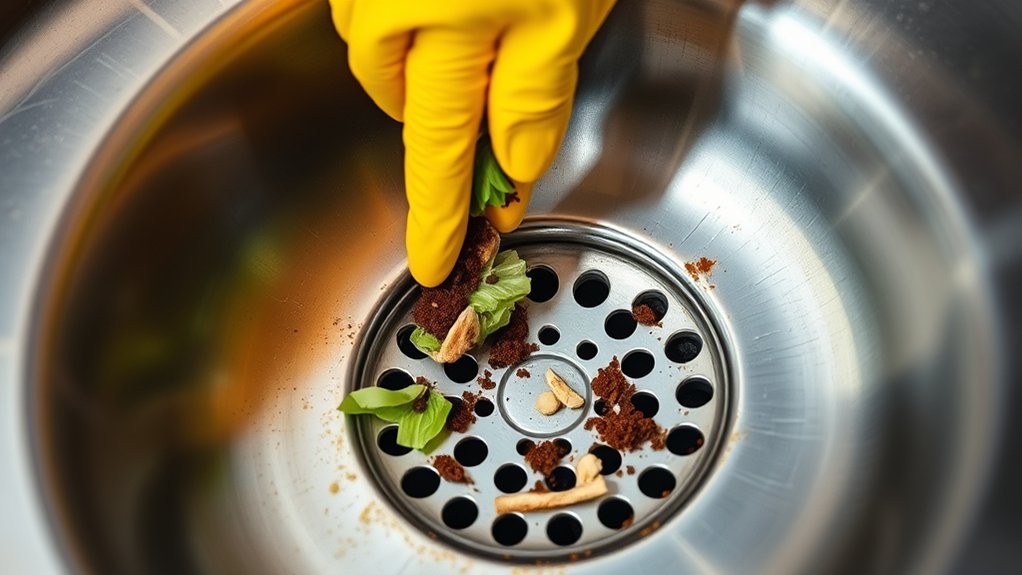
Although it might seem simple, clearing visible debris from your kitchen sink drain is a crucial first step to unclogging it effectively. Removing food scraps and gunk you can see helps reduce drain odors and prevents future buildup. This improves pipe maintenance.
Start by putting on gloves, then carefully pull out any debris using your fingers or a pair of tongs. Avoid pushing the debris further down, or you’ll worsen the clog.
Here’s a quick guide to clearing visible debris:
| Step | Tool Needed | Tip |
|---|---|---|
| Remove debris | Gloves, tongs | Pull gently to avoid damage |
| Check the drain | Flashlight | Spot hidden buildup |
| Clean the drain | Warm water | Flush to reduce odors |
Use a Plunger to Dislodge Your Kitchen Sink Clog
You’ll want to pick the right plunger—usually, a cup-shaped sink plunger works best. Then, make sure to create a tight seal over the drain before you start plunging. Just use steady, controlled pressure to push and pull until the clog loosens. It might take a few tries, but keep at it, and you should see results.
Choosing The Right Plunger
How do you pick the right plunger for your kitchen sink clog? Start by knowing the different plunger types. A cup plunger, with a simple rubber cup, works well for flat surfaces like sinks.
However, a flange plunger, which has an extended rubber flap, creates a better proper seal in drains with a flange, like your kitchen sink, making it more effective. Avoid toilet plungers; they’re designed differently and won’t form a tight seal on a sink.
The key is ensuring the plunger you choose can create a proper seal around the drain opening to generate enough pressure to dislodge the clog. Choosing the right plunger saves you effort and improves your chances of quickly clearing the blockage.
Proper Plunging Technique
When you’re ready to tackle the clog, position the plunger firmly over the drain to create a tight seal. Apply steady plunger pressure, then push and pull using a consistent suction technique. Avoid lifting the plunger entirely off the drain, as breaking the seal reduces effectiveness.
Instead, focus on strong, controlled strokes to generate the suction needed to dislodge the blockage. Keep your movements deliberate. Too much force can splash dirty water, while too little won’t clear the clog.
After about 10 to 15 plunges, quickly pull the plunger away to see if the water drains. If not, repeat the process. Mastering this proper plunging technique maximizes your chances of clearing your kitchen sink clog without harsh chemicals or a plumber’s visit.
Clean Your Drain With Baking Soda and Vinegar
Although chemical drain cleaners can be harsh and damaging, cleaning your drain with baking soda and vinegar offers a safe and effective alternative. Start by pouring half a cup of baking soda down the drain, followed by half a cup of vinegar. You’ll notice fizzing as the two react. This helps break down grime and neutralize drain odors. Let the mixture sit for about 15 minutes to work its magic.
Next, flush the drain with boiling water to wash away loosened debris. If you’re out of baking soda, baking soda substitutes like washing soda or borax can work similarly. But stick to plain baking soda whenever possible for safety and eco-friendliness.
This natural method not only clears minor clogs but also keeps your drain fresh without harsh chemicals. Repeat monthly for maintenance and you’ll keep your kitchen sink flowing smoothly without risking damage from chemical cleaners.
Take Apart and Clean the P-Trap to Clear Tough Clogs
If your kitchen sink remains clogged despite using natural cleaners, you’ll need to take apart and clean the P-trap. This curved pipe often traps debris causing tough clogs. Here’s how to do it efficiently:
- Place a bucket underneath the P-trap to catch water. Loosen the slip nuts by hand or with pliers.
- Remove the P-trap carefully, then perform a thorough P-trap inspection to spot any buildup or damage.
- Clear out all debris using a brush or a flexible wire. Rinse the trap with hot water to remove grease and grime.
- Reassemble the pipe by tightening the slip nuts securely, ensuring proper pipe reassembly to prevent leaks.
Prevent Kitchen Sink Clogs With Simple Daily Habits
To keep your kitchen sink flowing smoothly, you should adopt simple daily habits that prevent clogs from forming. Practicing good kitchen maintenance not only saves you time but also guarantees drain safety.
Avoid pouring grease or coffee grounds down the drain, and always use a drain strainer to catch food particles. Rinse your sink with hot water after use to help dissolve minor buildup. These easy steps protect your pipes and reduce the chance of blockages.
| Habit | Why It Matters |
|---|---|
| Use drain strainers | Catches debris before clogs |
| Avoid grease disposal | Prevents buildup and blockages |
| Rinse with hot water | Dissolves grease and residue |
| Scrape plates first | Limits food waste in the drain |
| Regularly check pipes | Early detection of issues |
Frequently Asked Questions
Can Chemical Drain Cleaners Harm My Kitchen Pipes?
Yes, chemical drain cleaners can harm your kitchen pipes. You should be cautious because the chemical dangers include corrosion and weakening of your pipes, especially if they’re old or made of certain materials like PVC or metal.
Over time, these cleaners can cause pipe damage that leads to leaks or costly repairs. Instead, try safer alternatives like a plunger or a drain snake to avoid risking your plumbing’s health.
How Often Should I Professionally Inspect My Kitchen Plumbing?
Think of your kitchen plumbing inspection as a regular tune-up for your car. It keeps everything running smoothly. You should schedule a professional plumbing inspection at least once a year to catch minor issues before they become costly repairs.
Sticking to a maintenance schedule guarantees your pipes stay clear and your sink drains efficiently, saving you time and money. Don’t wait for a clog to call in the pros; stay proactive!
Is It Safe to Use a Wire Hanger to Unclog Drains?
Using a wire hanger to unclog drains can work as a quick DIY remedy, but it’s not always safe. You risk scratching your pipes or pushing the clog deeper.
Instead, consider using proper plumbing tools like a plunger or a drain snake designed for the job. These tools are safer and more effective.
If you’re unsure, it’s better to call a professional to avoid damaging your plumbing system.
What Should I Do if My Garbage Disposal Is Leaking?
If your garbage disposal is leaking, start by unplugging it and inspecting the unit for visible cracks or loose connections. Tighten any mounting bolts and check the dishwasher hose clamp.
For effective garbage disposal maintenance, regularly clean and avoid grinding fibrous or hard materials. Use leak repair tips like applying plumber’s putty to seals or replacing worn parts.
If the leak persists, consider calling a professional to prevent water damage.
Can Tree Roots Cause Kitchen Sink Clogs?
Yes, tree roots can cause kitchen sink clogs, even though it might sound unlikely. Those roots can infiltrate your pipes searching for water, causing significant pipe damage.
When they grow inside the pipes, they block water flow, leading to slow drainage or complete clogs. You’ll want to inspect your sewer lines if you notice persistent issues, as ignoring tree root intrusion can lead to costly repairs and ongoing plumbing problems.
Conclusion
By following these simple steps, you’ll soon have your kitchen sink flowing smoothly again, free from those stubborn blockades that slow things down. Tackling the issue head-on not only saves you from a watery mess but also keeps your kitchen running like a well-oiled machine.
With a little care and attention, you’ll dodge future hiccups and enjoy a sink that’s always ready for whatever cooking adventure you throw its way. Keeping your kitchen sink unclogged means less stress and more time doing what you love.