How to Change a Kitchen Faucet in 7 Easy Steps
If you’ve ever tried to change a kitchen faucet, you know it can feel overwhelming. You’re not alone—many people struggle with the process or worry about making costly mistakes. Whether your old faucet is leaking or you just want a fresh look, finding the right guidance can make all the difference.
Start by turning off your water supply and gathering tools like wrenches and plumber’s tape. Carefully disconnect and remove your old faucet, catching any leftover water.
Clean and inspect your sink for damage or leaks before putting in the new faucet, securing it tightly in place.
Reattach water lines, check for leaks, and test both hot and cold water flow. Finish by cleaning your workspace and ensuring everything functions properly.
Keep going to get all the detailed tips for a flawless installation.
Key Takeaways
- Turn off the water supply and relieve pressure by opening the faucet before removing the old faucet.
- Disconnect water lines and remove mounting nuts using appropriate wrenches. Be sure to catch any residual water.
- Clean the sink area and inspect mounting holes for damage before installing the new faucet.
- Install the new faucet, secure the mounting nuts, and attach water supply lines. Make sure to connect the hot and cold lines correctly.
- Turn on the water supply slowly. Check for leaks, test the faucet’s functionality, and tighten fittings as needed.
Turn Off the Water Supply and Prepare Your Kitchen
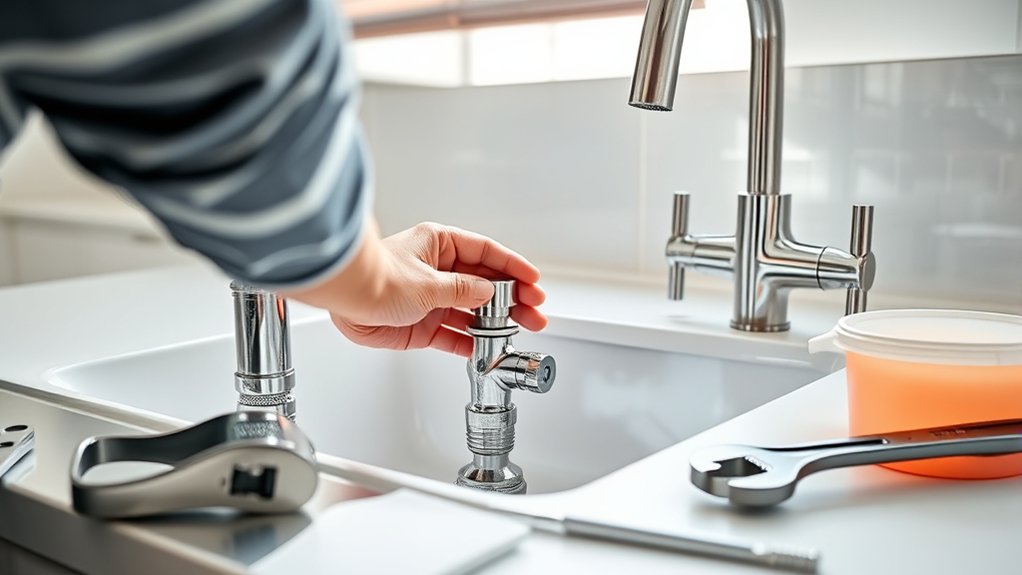
Before you begin, make sure to turn off the water supply to prevent any leaks or spills while you work. Locate the shut-off valves under your sink and turn them clockwise to stop the water flow. If you can’t find individual valves, shut off the main water supply to your home.
Relieve any remaining water pressure by opening the faucet and letting the water drain out completely.
Next, clear the area around your sink to give yourself plenty of room to work. Different faucet types, like single-handle, double-handle, or pull-out sprayers, require slightly different approaches. So identifying your kitchen faucet type beforehand will help you prepare mentally for the task.
Gather the Kitchen Faucet Tools and Materials You’ll Need
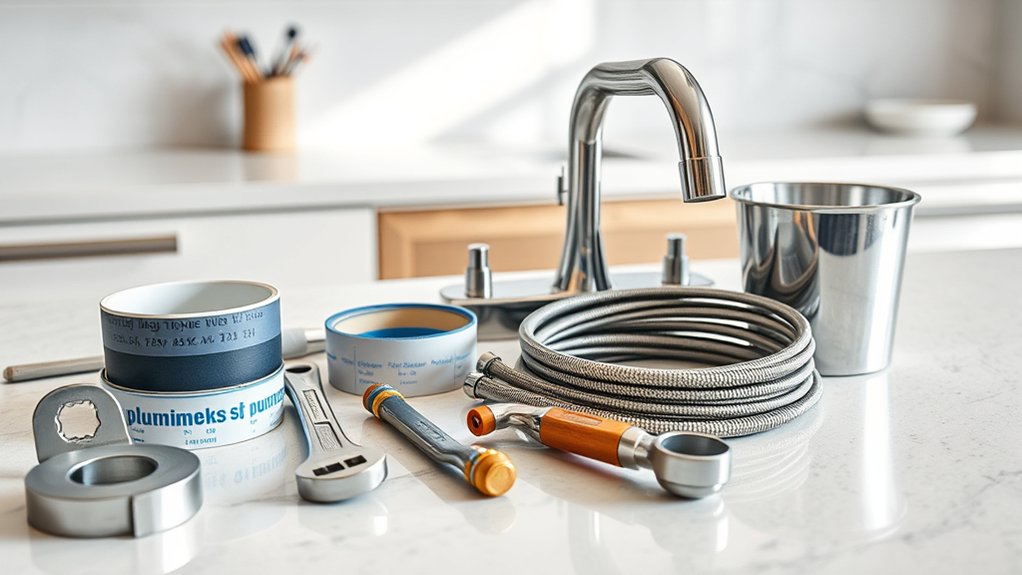
With the water off and your workspace cleared, you’re ready to gather the tools and materials needed for the job. Start with a basin wrench, adjustable wrench, and a screwdriver. These are essential for loosening and tightening connections during faucet maintenance.
Turn off the water, clear your workspace, and gather essential wrenches and a screwdriver for faucet maintenance.
Have plumber’s tape on hand to guarantee a watertight seal on threaded fittings. You’ll also need a bucket or towel to catch any residual water.
Next, pick up your new kitchen faucet, matching it to your kitchen decor for a seamless upgrade. Consider the faucet’s finish and style to complement your space. Don’t forget replacement supply lines if your old ones look worn or don’t fit the new faucet.
Finally, keep a flashlight nearby to see under the sink and gloves to protect your hands. By assembling these tools and materials before you start, you’ll make the faucet replacement smoother and more efficient.
How to Remove Your Old Kitchen Faucet Safely
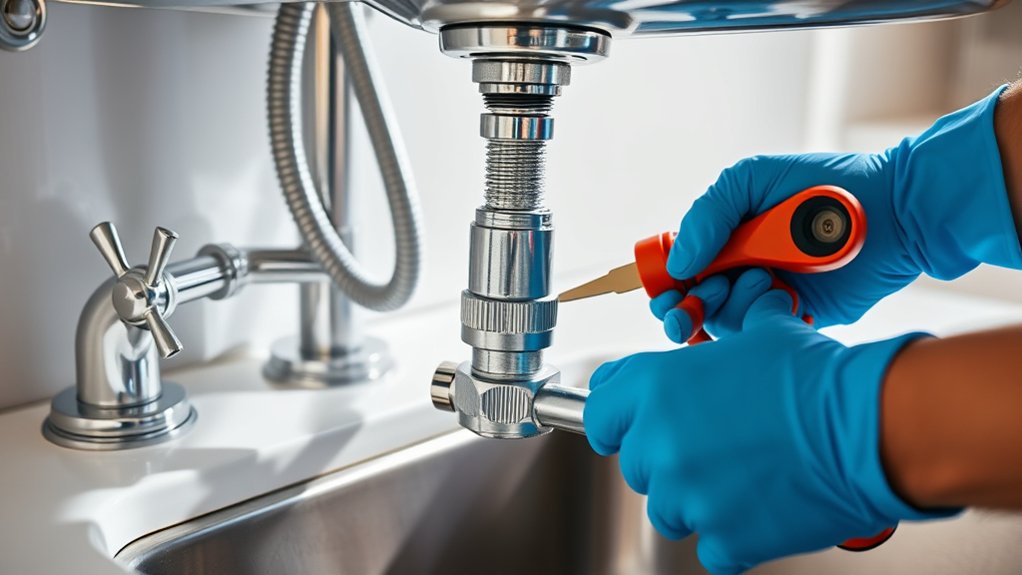
Before you start, go ahead and turn off the water supply to avoid any leaks. Once that’s done, carefully disconnect the water lines—take your time here so you don’t cause any damage. After that, you can remove the mounting nuts that hold the faucet in place. Then, you’ll be able to lift the faucet out safely and easily.
Turn Off Water Supply
How do you guarantee a smooth and safe faucet removal? First, you need to turn off the water supply to avoid any unexpected leaks or water pressure bursts. Locate the shutoff valves under the sink. These control the cold and hot water lines.
If your faucet types vary or you don’t find individual valves, turn off the main water supply for the house. After shutting off the valves, open the faucet to relieve any remaining water pressure in the lines. This step prevents water from spraying once you disconnect the faucet.
Taking these precautions assures you won’t face water damage or a messy cleanup, setting you up for a hassle-free faucet replacement. Always double-check the water is completely off before proceeding.
Disconnect Water Lines
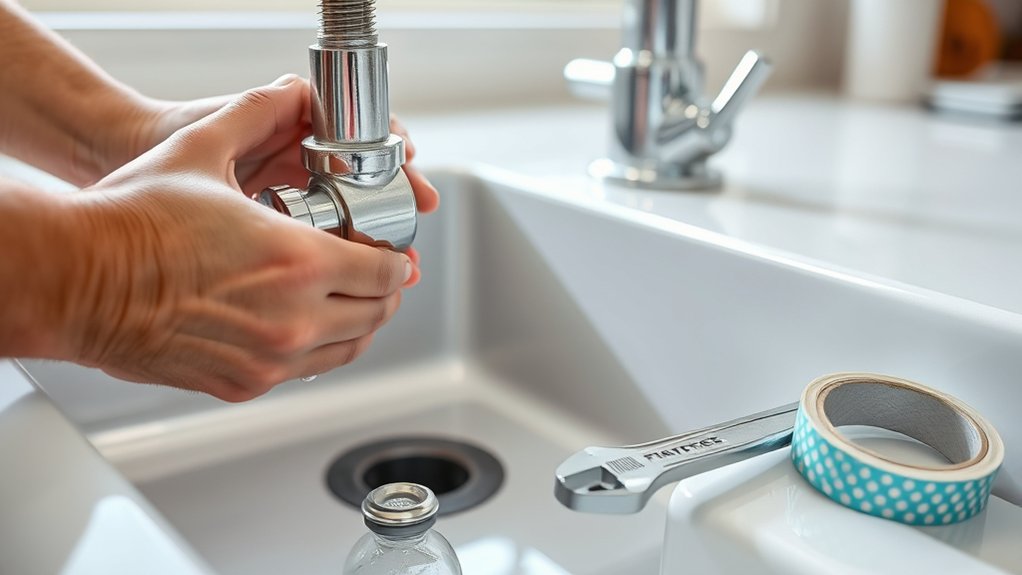
Once the water supply is securely shut off, you can disconnect the water lines from your old faucet. Begin by placing a bucket or towel underneath to catch any residual water from the lines.
Carefully loosen the nuts connecting the water lines to the faucet using an adjustable wrench. Keep in mind that water pressure might still cause some water to drip, so proceed cautiously.
As you disconnect, check the condition of the lines for any wear or damage. This is also a good time to verify faucet compatibility with your new model, especially the type and size of connectors. Ensuring compatibility now will save headaches during installation.
After disconnecting, cap or plug the supply lines temporarily to prevent leaks before you remove the faucet entirely.
Remove Mounting Nuts
Although the water lines are disconnected, the faucet still won’t budge until you remove the mounting nuts securing it to the sink. These mounting nuts are usually located underneath the sink and hold the faucet firmly in place to maintain faucet stability.
Use a basin wrench or an adjustable wrench to loosen these nuts, turning them counterclockwise. Be careful not to apply excessive force, as the nuts or sink surface could get damaged.
If the nuts are corroded or stuck, try spraying them with a penetrating lubricant to ease removal. Once the mounting nuts are fully loosened and removed, you can lift the old faucet out easily.
Removing these nuts is essential for safely detaching the faucet without compromising your sink’s integrity or faucet stability.
Clean Your Sink and Inspect for Damage Before Installing
Before installing your new kitchen faucet, you should thoroughly clean your sink to remove any grime or residue that could interfere with the installation. This step is essential for proper sink maintenance and guarantees a smooth fit for your faucet. Use a non-abrasive cleaner and scrub all surfaces, paying special attention to mounting holes and edges.
After cleaning, perform a careful damage inspection. Look for cracks, rust, or worn-out seals that could affect the faucet’s stability or cause leaks.
Here’s a quick guide to help you with sink maintenance and damage inspection:
| Area to Check | What to Look For | Recommended Action |
|---|---|---|
| Mounting Holes | Debris or corrosion | Clean thoroughly |
| Sink Basin | Cracks or chips | Repair or replace if needed |
| Sealant Area | Old or missing sealant | Reapply sealant |
| Faucet Base Area | Rust or water damage | Clean or treat rust |
| Underside of Sink | Water stains or leaks | Tighten or replace parts |
Completing these steps helps prevent future issues and keeps your kitchen in top shape.
Step-by-Step Installation of Your New Kitchen Faucet
As you prepare to install your new kitchen faucet, gather all necessary tools and parts to guarantee a smooth process. Begin by placing the faucet through the mounting holes on your sink, ensuring the faucet finish aligns with your kitchen’s style. Secure the faucet underneath with mounting nuts, tightening them to hold it firmly in place.
Follow these steps for a streamlined installation:
- Insert the faucet base into the sink holes
- Align the faucet finish properly with the sink
- Thread and tighten mounting nuts from below
- Attach any included deck plates if your sink requires them
- Position the handle(s) for optimal water flow control
Pay attention to the faucet finish to avoid scratches during installation. This setup prepares you for connecting water lines and testing water flow next.
Connect Water Lines and Check Your Kitchen Faucet for Leaks
Once you’ve secured the faucet, connect the water supply lines to the corresponding hot and cold valves under your sink. Make certain you match the lines correctly to avoid mixing hot and cold water. Tighten the connections by hand first, then use a wrench to snug them up. Don’t overtighten, as this can damage the faucet materials or fittings. Before turning the water back on, double-check that all connections are secure.
Slowly open the water valves and watch for leaks around the supply lines and faucet base. Pay attention to water pressure; it should be steady and strong. If you notice dripping or pooling water, tighten the connections slightly or replace worn washers. Faucet materials like brass or stainless steel fittings often resist corrosion better, so inspect these for any signs of wear that might cause leaks. By carefully connecting and testing your water lines, you’ll ensure your new kitchen faucet works efficiently without leaks.
Final Checks and Cleaning Up After Your Kitchen Faucet Installation
Although most of the work is done, you still need to perform final checks to guarantee everything functions properly and clean up your workspace. Start by testing the faucet thoroughly. Turn the water on and off, check both hot and cold lines, and watch for any leaks.
Inspect the decorative finishes to ensure they’re intact and free from scratches or water spots. Remember to tighten any loose fittings, but avoid overtightening to protect the faucet warranties. Finally, clean the area around the sink and dispose of any debris or old parts.
Here’s a quick checklist for your final steps:
- Test water flow and temperature
- Inspect for leaks at all connections
- Check decorative finishes for damage
- Review warranty terms for proper care
- Clean the workspace and remove old hardware
Completing these steps ensures your new kitchen faucet works perfectly and stays looking great for years.
Frequently Asked Questions
Can I Install a Kitchen Faucet Without Professional Plumbing Experience?
Yes, you can install a kitchen faucet without professional plumbing experience by following DIY plumbing guides carefully. Start by turning off the water supply and gathering the necessary tools.
Faucet maintenance knowledge helps you avoid common mistakes like leaks or loose fittings. Take your time, watch tutorial videos, and double-check connections.
If you run into trouble, don’t hesitate to consult a plumber, but many find DIY plumbing both doable and rewarding.
What Types of Kitchen Faucets Are Best for Hard Water Areas?
For hard water areas, you’ll want faucets made from corrosion-resistant materials like stainless steel or brass to withstand mineral buildup. Look for models with water softening features or compatible with water softening systems to reduce scale.
Faucet aerators designed to minimize clogging are also a smart choice since they help maintain steady water flow despite hard water deposits. These features keep your faucet working smoothly and lasting longer in tough water conditions.
How Do I Choose the Right Faucet Finish for My Kitchen Decor?
Imagine your kitchen glowing with warm brass or sleek chrome reflecting morning light. To choose the right faucet finish, consider faucet material durability and how it blends with your existing decor.
If your kitchen has rustic charm, bronze complements it perfectly. For modern spaces, polished nickel or stainless steel adds shine. Prioritize design compatibility to guarantee your faucet not only lasts but enhances your kitchen’s style seamlessly.
Are There Tools I Can Rent Instead of Buying for Faucet Installation?
Yes, you can find faucet rental options for specialized tools like basin wrenches or pipe wrenches, which saves you money. When doing a tool comparison, renting often makes sense if you’re only tackling one project.
It’s cost-effective and you don’t have to store bulky equipment afterward. Check local hardware stores or tool rental shops to see what faucet installation tools they offer, so you pick what fits your needs best.
How Often Should I Replace My Kitchen Faucet to Avoid Leaks?
You should replace your kitchen faucet every 10 to 15 years to guarantee leak prevention and maintain peak function. Over time, the faucet lifespan naturally declines due to wear and mineral buildup, which can cause drips or leaks.
If you notice persistent leaks or reduced water flow before that timeframe, it’s a good idea to replace it sooner. Staying proactive helps you avoid water damage and costly repairs down the line.
Conclusion
Now that you’ve tackled changing your kitchen faucet like a plumbing pro, your kitchen feels like the heart of a five-star restaurant. No more drips driving you crazy or awkward handles slowing you down!
You’ve turned a challenging task into a breezy DIY win, proving you could probably rewire the whole house next. Enjoy your sleek, leak-free faucet and the bragging rights that come with mastering this essential kitchen-saving skill.
Changing a kitchen faucet has never been easier or more rewarding!