How to Change Kitchen Faucet in 10 Easy Steps
If you’ve ever dealt with a leaky or outdated kitchen faucet, you know how frustrating it can be trying to fix or replace it. You’re not alone—many people struggle with finding the right solution that’s both effective and straightforward.
Whether you want to upgrade your kitchen’s look or stop that annoying drip, changing a faucet might seem daunting at first. But don’t worry, we’ve got you covered with simple steps that anyone can follow.
To change your kitchen faucet in 10 easy steps, first gather all the necessary tools and compatible materials. Turn off the water supply, then disconnect and remove the old faucet carefully.
Clean the sink area before positioning the new faucet with proper seals. Secure mounting hardware, connect water lines using plumber’s tape, and turn the water back on to check for leaks.
Test hot and cold flow to ensure proper operation. Follow along to *investigate* troubleshooting and maintenance tips for lasting faucet performance.
Key Takeaways
- Turn off water supply valves under the sink and open the faucet to release pressure before starting removal.
- Use a basin wrench to loosen mounting nuts and disconnect supply lines carefully to remove the old faucet.
- Position the new faucet with gasket or putty, hand-tighten mounting hardware, and secure with a basin wrench without overtightening.
- Attach supply lines with plumber’s tape on threaded fittings, ensure no kinks, then turn on water and check for leaks.
- Test hot and cold water flow, clean aerator if needed, and wipe excess putty for a clean, stable installation.
What To Expect When Changing Your Kitchen Faucet
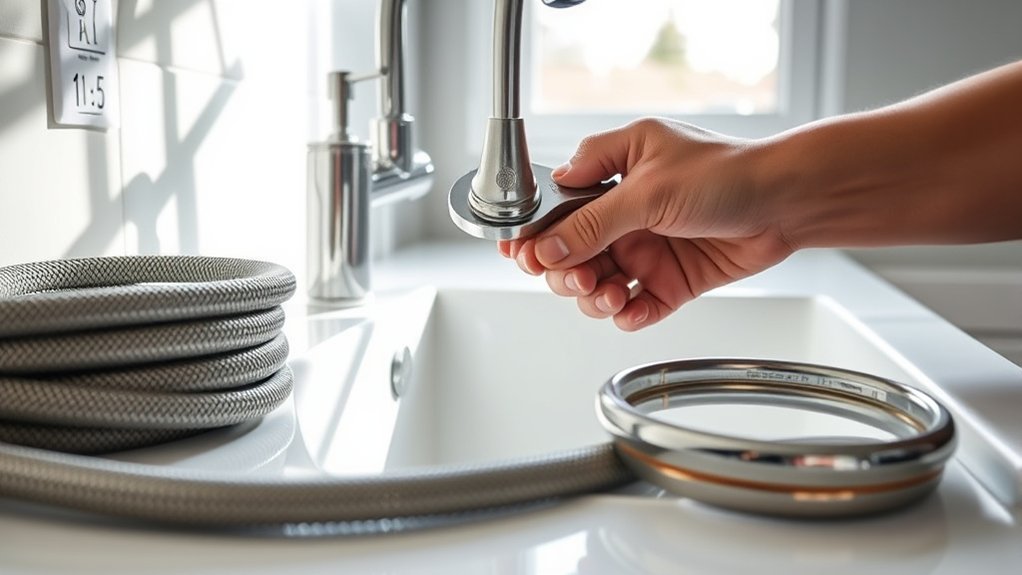
Before you start changing your kitchen faucet, know that the process usually takes about an hour and requires some basic tools like a wrench and plumber’s tape. You’ll begin by turning off the water supply and disconnecting the old faucet.
Expect to work in a tight space under your sink, which can be a bit tricky. As you install the new faucet, you’ll notice how much faucet aesthetics play a role in updating your kitchen’s look. Choosing a design that matches your style can instantly refresh the space.
Besides appearance, pay attention to water efficiency. Many modern faucets come with features that reduce water waste without sacrificing performance. Installing one helps save on utility bills and supports environmental efforts.
Gather Your Tools And Materials
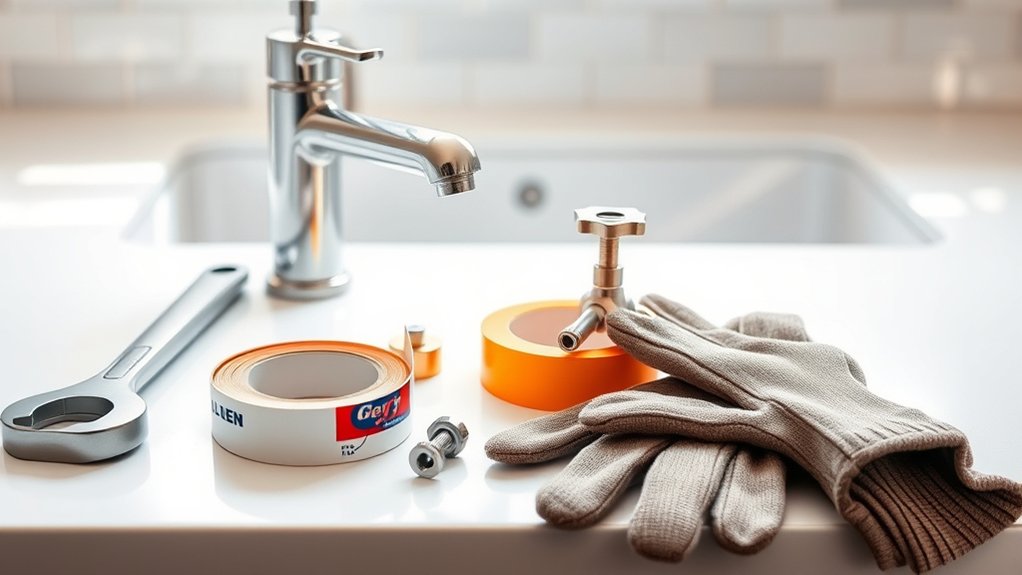
Preparing to change your kitchen faucet means having the right tools and materials on hand to keep the process efficient and hassle-free. Start by choosing the right tools: a basin wrench, adjustable wrench, screwdriver set, plumber’s tape, and a bucket will cover most tasks. These tools help you remove old components and install the new faucet smoothly.
Next, focus on selecting compatible materials. Make sure the new faucet fits your sink’s configuration and matches existing plumbing connections. Check the faucet’s mounting hardware and supply lines to avoid compatibility issues. It’s also wise to have replacement washers or gaskets on hand, just in case.
Turn Off Your Kitchen Water Supply
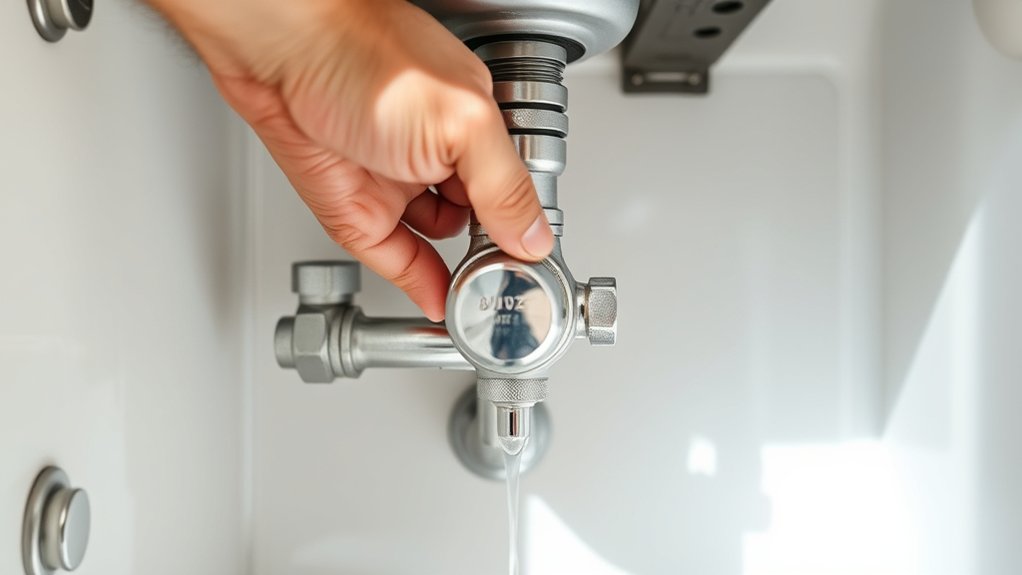
Since water flow can cause leaks and damage during installation, you’ll need to turn off your kitchen water supply before starting. This step helps prevent unexpected water bursts that might damage your cabinets or flooring. It also protects your faucet accessories from water pressure mishaps. Here’s how to do it efficiently:
Locate the shutoff valves under the sink; these control the hot and cold water lines. Turn both valves clockwise firmly but gently until they stop, cutting off water flow. Then, open the faucet to release any remaining water and relieve water pressure. Check that water flow has completely stopped by trying the faucet again.
If your valves are stuck or absent, you may need to turn off the main water supply for your home. Taking these precautions guarantees a safe, dry workspace and prevents damage to your new faucet accessories while you complete the installation.
Remove The Old Kitchen Faucet
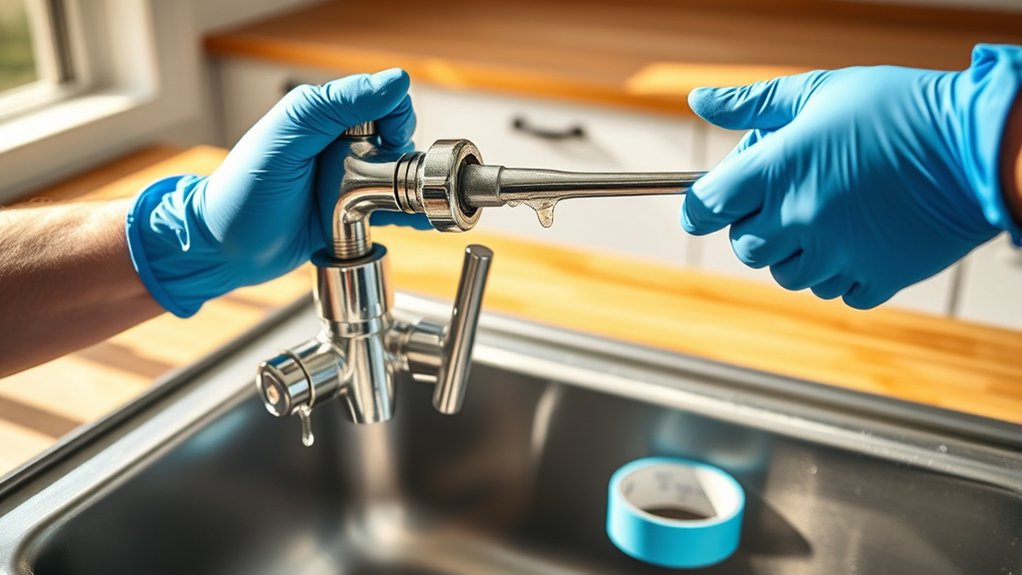
Once you’ve confirmed the water supply is off, you can start removing the old kitchen faucet. First, disconnect the water supply lines using an adjustable wrench. Be prepared for some residual water to drip out.
Next, examine the faucet material. Metal faucets may require more effort to loosen than plastic ones. Pay attention to the mounting techniques used. Some faucets are secured with nuts underneath the sink, while others might have quick-connect clips.
Use a basin wrench to reach tight spaces and loosen the mounting nuts. If your faucet has a deck plate, remove it carefully to avoid damaging the sink surface.
Once all nuts and connectors are loosened, lift the faucet straight up to detach it. Inspect the mounting area to ensure no parts or debris remain. Removing the old faucet carefully facilitates a smooth installation of your new kitchen fixture.
Clean And Prepare Your Sink Area
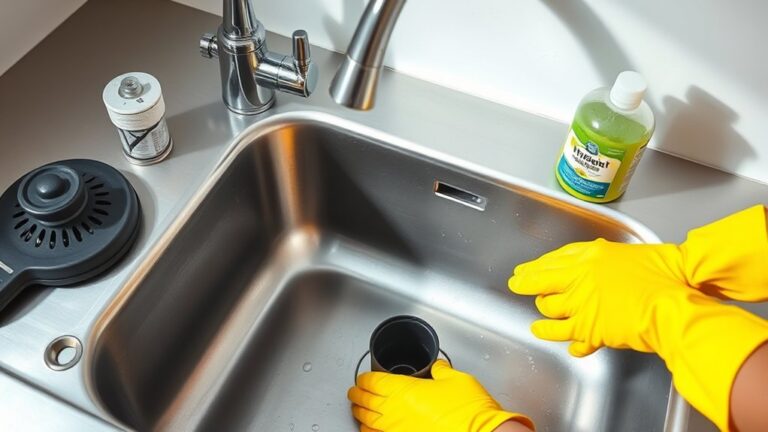
Before installing your new faucet, make sure to thoroughly clean the sink area to remove any grime, old putty, or mineral deposits. This step guarantees a smooth installation and prevents leaks.
Focus on improving sink organization by clearing out any clutter around the sink, giving you enough workspace.
Follow these cleaning tips to prepare your sink area effectively:
Use a gentle scrubber and mild cleaner to remove mineral buildup and soap scum. Scrape off any leftover plumber’s putty or sealant from the sink surface.
Wipe the area dry with a clean cloth to avoid moisture interfering with the new faucet’s seal. Check the sink holes and surrounding surface for damage or debris that could affect mounting.
Install The New Kitchen Faucet And Mounting Hardware
With your sink area clean and ready, you can now focus on installing the new kitchen faucet and its mounting hardware. Begin by positioning the faucet into the sink holes, ensuring the faucet mounting gasket or putty is properly placed to prevent leaks.
Hold the faucet steady while you work underneath the sink. Next, slide the mounting hardware components, usually a rubber gasket, metal washer, and mounting nut, onto the faucet tailpieces. Tighten the mounting nuts by hand first, then use a basin wrench to secure them firmly, but avoid overtightening to prevent damage.
Proper hardware installation is essential to keep the faucet stable and leak-free. Double-check that the faucet sits straight and doesn’t wobble. Once the faucet mounting is secure, wipe away any excess plumber’s putty or sealant from the sink surface.
At this point, your new kitchen faucet and mounting hardware are installed and ready for the next step: connecting the water supply lines.
Connect The Water Supply Lines
As you prepare to connect the water supply lines, make sure the shut-off valves under the sink are turned off to prevent water flow. Next, attach the supply lines to the faucet’s threaded tailpieces, ensuring a snug fit to avoid leaks.
Pay attention to the valve types, compression or ball valves are common, and match your connectors accordingly. Properly tightening these connections is key, but don’t overtighten, as it can damage the fittings.
Keep these tips in mind:
- Use flexible supply lines to accommodate different faucet models.
- Check that the water pressure is adequate for your new faucet.
- Apply plumber’s tape on threaded connections to guarantee a watertight seal.
- Align supply lines without kinks to maintain steady water flow.
Test For Leaks And Proper Water Flow
How can you be sure your new kitchen faucet is installed correctly? Start by turning on the water supply and checking for any drip or moisture around the connections. This is vital for leak detection.
Next, run both hot and cold water to test for proper water flow and to confirm water efficiency. Make certain the water pressure feels steady and sufficient without sputtering or slow flow. Inspect all joints and hoses carefully during this test.
Here’s a quick guide to what you should look for:
| Checkpoint | What to Expect |
|---|---|
| Connections | No leaks or moisture |
| Water Flow | Steady and strong |
| Hot Water | Proper temperature & flow |
| Cold Water | Proper temperature & flow |
| Faucet Operation | Smooth handle movement |
Performing these tests guarantees your faucet works well and conserves water, preventing costly repairs down the line.
Troubleshoot Common Kitchen Faucet Problems
If your faucet is leaking or the water flow feels sluggish, you’ll want to figure out what’s causing it as soon as possible. Leaks usually happen because of worn-out washers or loose connections. On the other hand, if the water flow is slow, it’s often due to clogged aerators. So, let’s take a look at how you can spot these problems and fix them yourself.
Leaky Faucet Causes
Though a leaky kitchen faucet might seem like a minor annoyance, it can waste a surprising amount of water and increase your utility bills. Performing a leaky faucet cause analysis helps you identify the root problem before deciding whether to repair or replace the faucet.
Common causes include:
- Worn-out washers or O-rings that fail to seal properly
- Corroded valve seats causing water to leak around the spout
- Loose or damaged parts due to regular wear and tear
- High water pressure stressing faucet components
Slow Water Flow
Why is your kitchen faucet suddenly delivering a trickle instead of a steady stream? Slow water flow usually points to an issue with water pressure or a flow restriction somewhere in the faucet system.
First, check if the main water supply valve is fully open. Partially closed valves can reduce water pressure. Next, inspect the aerator at the faucet tip. Mineral buildup often causes flow restriction, so removing and cleaning it can restore proper flow.
Also, debris trapped inside the cartridge or valves might be limiting water movement. If your home’s overall water pressure seems low, it could be a plumbing issue outside the faucet.
Maintain Your Kitchen Faucet For Long-Lasting Use
Keeping your kitchen faucet in top shape guarantees it works smoothly and lasts for years. Regular maintenance not only preserves faucet finishes but also prevents costly repairs. You can keep your faucet looking new and functioning well by following a few simple steps.
Clean faucet finishes gently using a mild soap and soft cloth to avoid scratches and discoloration. Check and replace water filtration cartridges regularly to ensure clean water and protect internal parts from mineral buildup.
Inspect for leaks and tighten any loose connections to prevent water damage and wasted water. Remove and clean aerators periodically to maintain steady water flow and prevent clogging.
Frequently Asked Questions
What Is the Average Cost of a Kitchen Faucet Replacement?
The average cost of a kitchen faucet replacement usually ranges from $150 to $500, depending on the faucet style and complexity of faucet installation.
If you handle it yourself, you’ll just need to invest in plumbing tools, which can save you labor fees. Hiring a professional might cost more but guarantees proper installation.
Can I Change a Kitchen Faucet Without Professional Help?
You absolutely can change a kitchen faucet without professional help. It’s as doable as climbing Mount Everest with the right gear! With some basic DIY plumbing knowledge and careful attention to faucet compatibility, you’ll save money and gain confidence.
Just make sure your new faucet matches your sink’s holes and water lines. Follow clear instructions, turn off the water, and you’ll have a brand-new faucet in no time, hassle-free!
How Do I Choose the Right Faucet Style for My Kitchen?
You’ll want to pick a faucet style that matches your kitchen’s look and your daily needs. Consider faucet material first. Stainless steel is durable and easy to clean, while brass offers a classic touch.
Next, think about handle types. Single-handle faucets provide quick temperature control, whereas double handles offer precise adjustments. Match these features with your sink setup and design preferences to find a faucet that’s both functional and stylish.
Are There Eco-Friendly Kitchen Faucet Options Available?
Yes, you can choose eco-friendly kitchen faucets that help save water and protect the environment. Did you know that a typical faucet wastes over 3,000 gallons of water per year?
What Warranty Should I Expect With a New Kitchen Faucet?
You should expect warranty coverage that typically ranges from one year to a lifetime, depending on the manufacturer reputation. Trusted brands often offer longer warranties covering defects in materials and workmanship.
Make sure to check the fine print for what’s included, like parts or finishes. A solid warranty gives you peace of mind, ensuring your new kitchen faucet lasts without unexpected repair costs.
Always choose a reputable manufacturer for better coverage.
Conclusion
Changing your kitchen faucet might sound like rocket science, but once you’ve tackled these 10 easy steps, you’ll feel like a plumbing superhero! You’ll save gallons of water, banish leaks for good, and give your kitchen a fresh new look without breaking a sweat.
So go ahead, roll up your sleeves. This simple upgrade will make you wonder why you didn’t do it sooner. Trust me, your kitchen will thank you for changing your kitchen faucet!