How to Hang Kitchen Cabinets in 10 Easy Steps
Hanging kitchen cabinets can feel overwhelming, especially if you’ve never done it before. You’re not alone—many people struggle with getting everything level, secure, and perfectly aligned. But with the right approach and clear steps, you can achieve a professional-looking installation without the stress.
To hang kitchen cabinets in 10 easy steps, first gather your tools and mark your cabinet layout on the wall. Locate and mark the wall studs, then install a temporary ledger board to support the cabinets.
Hang the first cabinet securely and level it.
Next, attach and clamp additional cabinets, shim for even gaps, and secure the doors while adjusting hinges for a perfect fit.
Finish by adding trim, caulking, and cleaning up your workspace. Keep going to master every detail for a flawless installation.
Key Takeaways
- Gather essential tools and materials, and organize your workspace to protect surfaces and ensure efficient installation.
- Measure and mark cabinet layout and wall studs accurately for proper alignment and secure anchoring.
- Install a temporary ledger board leveled on wall studs to support cabinets during mounting.
- Hang the first cabinet, level and shim it as needed, then clamp and fasten adjacent cabinets securely.
- Adjust doors and hinges carefully. Install trim, apply caulk, and clean up for a polished final appearance.
Gather Tools and Materials

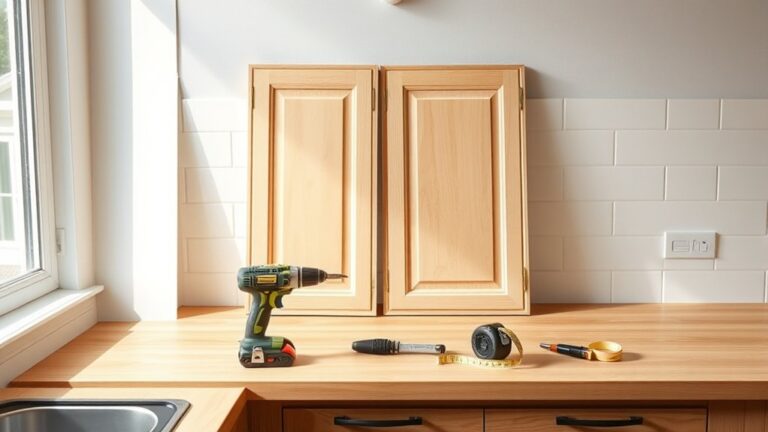
Before you begin hanging your kitchen cabinets, make sure you gather all the necessary tools and materials. Having everything at hand saves time and keeps the process smooth. Essential tools include a drill, level, stud finder, measuring tape, screwdriver, and clamps. You’ll also need screws, cabinet brackets, shims, and safety gear like gloves and goggles.
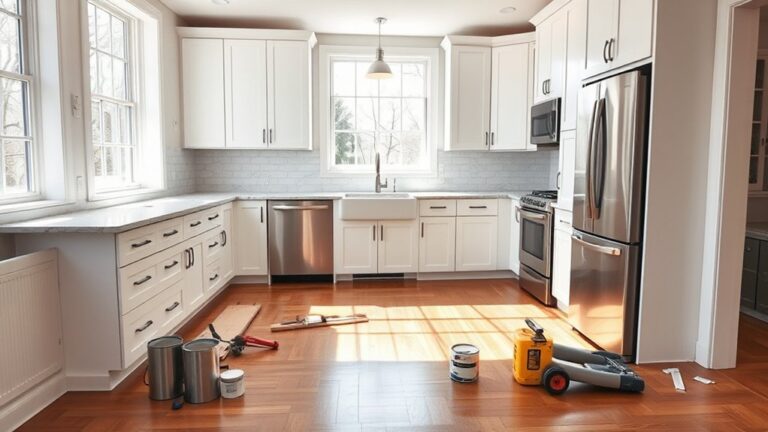
As you organize your workspace, consider incorporating cooking tips and cleaning hacks to keep your kitchen functional during installation. For example, place a temporary cutting board on your counter to maintain meal prep space. Use plastic sheets or painters’ tape to protect surfaces from dust and scratches. These small steps help you stay efficient and maintain cleanliness, so you won’t have to interrupt your cooking routine.
Being prepared with the right tools and a clean, organized area makes hanging cabinets easier and sets you up for success in the next steps.
Mark Cabinet Layout on the Wall
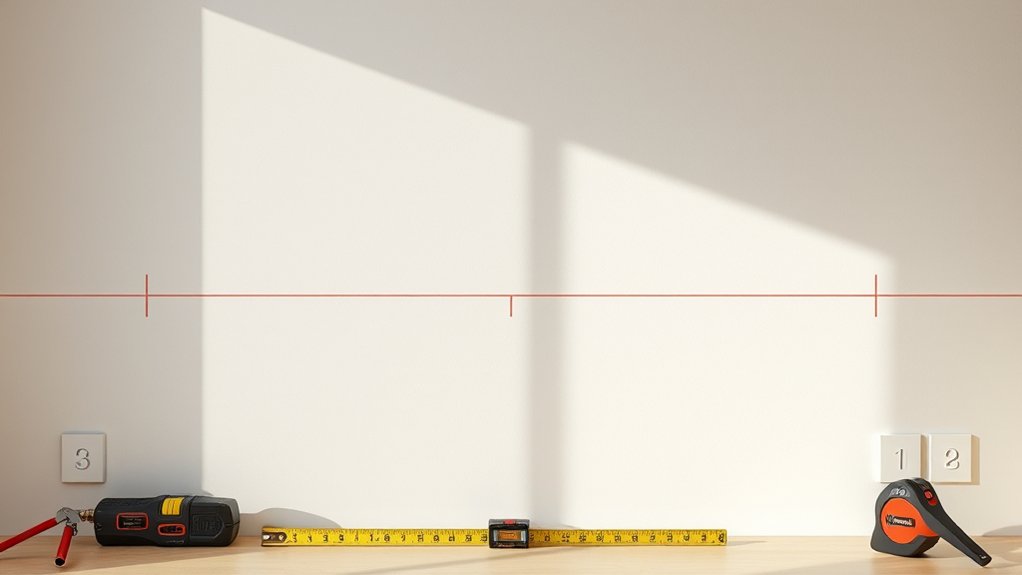
Once you have your tools ready and workspace organized, you’ll want to mark the cabinet layout on the wall accurately. Begin by measuring your cabinet dimensions precisely, including height, width, and depth. Transfer these measurements onto the wall using a pencil, making certain each cabinet’s position is clearly outlined.
Start by measuring your cabinets carefully, then accurately outline their positions on the wall with a pencil.
Use a level to draw straight horizontal and vertical lines that represent the cabinet edges and bottom. This step helps you visualize the final setup and prevents mistakes during installation.
Utilize reliable wall marking techniques, like drawing faint guide lines you can erase later or using painter’s tape to outline cabinet edges without damaging the wall. Mark all cabinet locations before starting to hang anything, so you maintain proper spacing and alignment.
This careful planning ensures your cabinets fit perfectly and look professional once installed. Accurate layout marking sets the foundation for a smooth installation process.
Locate and Mark Wall Studs

After marking your cabinet layout, the next step is to locate and mark the wall studs that will support your cabinets. Proper wall anchoring is essential to guarantee your cabinets are secure and can hold weight safely. Use a stud finder to make this task easier and more accurate.
Here’s how to locate and mark the studs:
- Turn on your stud finder and slowly move it across the wall along your cabinet layout.
- Mark each stud’s center with a pencil as soon as the stud finder indicates one.
- Double-check your marks by measuring 16 or 24 inches apart, which is the common spacing for studs.
- Confirm all marks align with your cabinet layout for proper anchoring points.
Install Temporary Ledger Board
One crucial step to simplify hanging your kitchen cabinets is installing a temporary ledger board. This temporary support holds the cabinets in place, making the process easier and safer.
Start by measuring and marking a level line on the wall where the bottom of the cabinets will rest. Next, cut a 1×4 board to the length of your cabinet run. Secure the board to the wall studs along the marked line using screws.
This ledger installation acts as a sturdy shelf, supporting the cabinets’ weight during mounting.
Here’s a quick overview of the ledger installation steps:
| Step Number | Task | Tip |
|---|---|---|
| 1 | Measure cabinet height | Use a level for accuracy |
| 2 | Mark level line | Mark studs for screw placement |
| 3 | Cut ledger board | Straight cuts are essential |
| 4 | Attach board to wall | Use screws into studs |
| 5 | Check stability | Verify board is level and secure |
With the ledger board in place, you’re ready to hang your cabinets confidently.
Hang the First Kitchen Cabinet
Now that your ledger board is in place, the next step is to locate the wall studs. This is important because you want to securely anchor the first cabinet. Make sure the cabinet is perfectly level before you fasten it—this will help you avoid any alignment issues down the road. By taking these steps, you’re setting yourself up for a strong, stable start for the rest of your kitchen cabinets.
Locate Wall Studs
Where exactly should you hang your first kitchen cabinet? You need to locate the wall studs first for secure wall anchoring. Cabinets are heavy, so fastening them into studs ensures stability and safety. Use a stud detector to make this process easier and more accurate.
Follow these steps for effective stud detection:
- Scan the wall horizontally with a stud finder to identify stud edges.
- Mark the center of each stud with a pencil for precise cabinet placement.
- Measure 16 or 24 inches from one stud to locate others, as these are standard spacings.
- Double-check your markings by tapping the wall to feel for solid wood behind drywall.
Accurately locating studs guarantees your cabinet will stay firmly mounted without risk of falling.
Level The Cabinet
Start by positioning the first kitchen cabinet carefully on the wall, ensuring it aligns with the stud marks you made earlier. Use a level to check the cabinet’s alignment both horizontally and vertically.
If the cabinet materials include solid wood or plywood, slight adjustments might be needed due to natural warping. Design styles like shaker or modern frameless cabinets often require precise leveling for a clean look.
Shim under the cabinet where necessary to achieve a perfectly level surface. Once level, secure the cabinet temporarily with clamps or a helper holding it in place.
Double-check the level before driving screws into the studs through the cabinet’s mounting rail. Getting this first cabinet perfectly aligned sets the foundation for hanging the rest, ensuring your kitchen’s design style and materials look flawless.
Level and Align Cabinets Before Tightening
Before you tighten the screws, grab a carpenter’s level to make sure your cabinet is perfectly straight. Take a good look at how this cabinet lines up with any that are already hung, and adjust as needed. Getting the alignment right now will save you headaches later. It’s worth taking a little extra time here to get things just right.
Use a Carpenter’s Level
Although securing your cabinets in place might seem straightforward, using a carpenter’s level guarantees they’re perfectly aligned and prevents issues down the line. This step assures your cabinet finishes look flawless and your wall decor hangs straight, avoiding costly adjustments later.
Follow these steps to use your level effectively:
- Place the level on the top edge of the cabinet to check horizontal alignment.
- Adjust the cabinet until the bubble is centered, indicating a level surface.
- Check vertical edges to ensure the cabinet isn’t leaning forward or backward.
- Recheck after tightening screws to confirm nothing shifted during installation.
Taking time here assures your kitchen cabinets look professional and blend seamlessly with your wall decor.
Check Cabinet Alignment
While you’re positioning the cabinet, double-check its alignment by placing the level again and visually inspecting the edges to guarantee everything lines up perfectly. Pay close attention to cabinet spacing between units to assure uniform gaps, which is essential for a professional look.
Also, examine door alignment carefully; doors should sit evenly without rubbing or uneven gaps. If you notice any misalignment, make small adjustments now before tightening the screws.
Proper alignment at this stage prevents issues later and makes your kitchen look polished. Remember, the goal is consistent cabinet spacing and straight door lines across all installed cabinets.
Taking this time to verify everything is level and aligned will save you from having to fix problems after the cabinets are fully secured.
Adjust Before Securing
Since even a slight misalignment can cause problems down the line, you’ll want to carefully adjust the cabinets for level and alignment before tightening any screws. This step is essential to make sure your cabinet materials sit flush and the cabinet paint won’t crack or chip due to stress.
Follow these steps:
- Use a level on the cabinet top and sides to check for evenness.
- Adjust shims behind the cabinet to correct any tilt or gaps.
- Align adjacent cabinets for consistent spacing and a seamless look.
- Double-check all adjustments before securing to avoid damage to cabinet paint and materials.
Taking your time here guarantees a professional finish and prevents costly fixes later.
Attach and Clamp Additional Kitchen Cabinets
As you position the next cabinet beside the first, make sure their edges align perfectly for a seamless look. Hold them tightly together, then use clamps to secure both cabinets in place. This prevents any shifting while you work.
Before attaching, check that the cabinet reinforcement areas line up, ensuring structural stability between units. Drill pilot holes through the face frames where the cabinets meet, then fasten them with screws to lock the cabinets together firmly.
Don’t forget to confirm shelf reinforcement is consistent across the connected cabinets. This keeps your shelves sturdy and able to handle stored weight without sagging.
Once clamped and fastened, double-check the alignment and adjust quickly if needed. Repeat this process for each additional cabinet, gradually building your kitchen setup with secure, well-supported units that look professionally installed.
Shim Kitchen Cabinets for Even Gaps
Once you’ve securely clamped and fastened your cabinets together, it’s time to guarantee they sit perfectly level and leave even gaps. Shimming is essential for cabinet reinforcement and gap filling, ensuring your kitchen cabinets look professional and function smoothly.
Follow these steps to shim your cabinets effectively:
Follow these simple steps to shim your cabinets for a seamless, level, and professional finish.
- Use a level to check the cabinet faces and bottoms for any unevenness.
- Insert thin wooden or composite shims behind the cabinet where gaps appear between it and the wall.
- Adjust shims gradually until the cabinets align evenly, creating consistent spacing.
- Once level, trim any excess shim material flush with the cabinet edges for a clean finish.
Proper shimming not only reinforces your cabinets but also prevents future warping or misalignment. Taking the time to fill gaps correctly guarantees a sturdy installation and a polished, seamless kitchen look.
Secure Kitchen Cabinet Doors and Adjust Hinges
After mounting your cabinets securely, you’ll want to attach the doors carefully to guarantee they open smoothly and align perfectly. Begin by screwing the hinges onto the doors, then mount them onto the cabinet frames.
If you notice gaps or misalignment, adjust the hinges to fine-tune the door alignment. Sometimes, hinge replacement might be necessary if the existing hinges are worn or damaged, assuring your doors function properly.
Use the table below to guide your hinge adjustment and door alignment process:
| Step | Action | Tip |
|---|---|---|
| 1. Attach Hinges | Screw hinges onto doors | Use a drill for secure fit |
| 2. Mount Doors | Align and fix doors to frames | Have a helper for support |
| 3. Adjust Hinges | Tighten or loosen hinge screws | Adjust for even gaps |
| 4. Replace Hinges | Swap old hinges if needed | Match hinge type and size |
This method ensures your cabinet doors operate flawlessly and look professional.
Finish With Trim, Caulk, and Cleanup
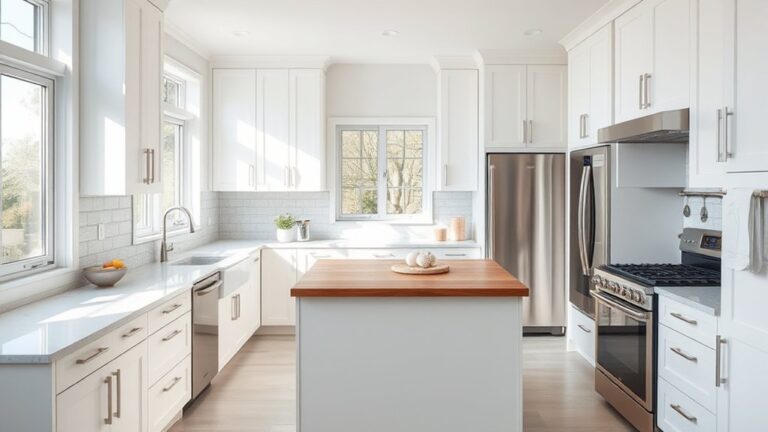
Although your cabinets are securely mounted and doors aligned, you still need to add the finishing touches with trim, caulk, and cleanup to achieve a polished look. Cabinet finishing is essential to hide gaps and give your kitchen a professional appearance. Start with trim installation to cover any seams between the cabinets and walls or ceiling.
Follow these steps for a flawless finish:
- Cut and attach trim pieces precisely to frame the cabinets and fill gaps.
- Apply caulk along trim edges and seams to seal joints and create a seamless connection.
- Smooth the caulk with a damp finger or tool for a clean line.
- Thoroughly clean dust, debris, and excess materials to reveal your work’s true quality.
Frequently Asked Questions
What Is the Best Type of Wood for Kitchen Cabinets?
The best type of wood for kitchen cabinets is maple because it offers a smooth wood grain that’s perfect for a sleek look. You’ll appreciate its excellent cabinet durability, which stands up well to everyday use and moisture.
If you want something with more character, oak’s pronounced wood grain adds charm and durability. Cherry is another great choice, giving rich color and strong cabinet durability, making your kitchen both stylish and long-lasting.
How Do I Choose the Right Cabinet Style for My Kitchen?
You choose the right cabinet style by considering your kitchen’s overall design and your personal taste. Think about whether you want a modern, traditional, or farmhouse look.
Don’t forget to factor in cabinet hardware, as it can dramatically change the style’s vibe. Also, plan for interior lighting to improve both functionality and ambiance.
Matching these elements guarantees your cabinets complement the space while meeting your practical needs perfectly.
Can I Install Kitchen Cabinets Without Studs?
Think of your wall as a puzzle. Without studs, the pieces won’t hold firmly. You generally can’t install kitchen cabinets without finding studs because they provide essential support.
If you skip them, you’ll need wall reinforcement like plywood or anchors designed for drywall. This extra step guarantees your cabinets stay secure and safe.
How Do I Protect Cabinets From Moisture and Heat Damage?
You protect cabinets from moisture and heat damage by installing moisture barriers behind and beneath them to block water and humidity. Use heat-resistant finishes on cabinet surfaces near stoves or ovens to prevent warping and discoloration.
Make sure to seal edges and joints properly so steam and heat don’t seep in. Regularly check for leaks or spills, and wipe them up quickly to keep your cabinets looking great and lasting longer.
What Is the Average Cost of Installing Kitchen Cabinets?
You can expect to pay between $4,000 and $9,000 on average for installing kitchen cabinets, depending on size and materials. If you include cabinet hardware and cabinet painting, costs might rise a bit.
Choosing high-end hardware or custom painting finishes can add to the total. Be sure to budget for both labor and materials so you don’t get caught off guard by extra expenses during your cabinet installation project.
Conclusion
Now that you’ve hung your kitchen cabinets with confidence, you might wonder if such a big job could really be done by yourself. The truth? It absolutely can. Taking it step by step proves that with patience and the right tools, you’re capable of transforming your kitchen.
Trust yourself. You’re not just installing cabinets; you’re building a space where memories will be made. So hang in there and enjoy the rewarding results of your hard work hanging kitchen cabinets.