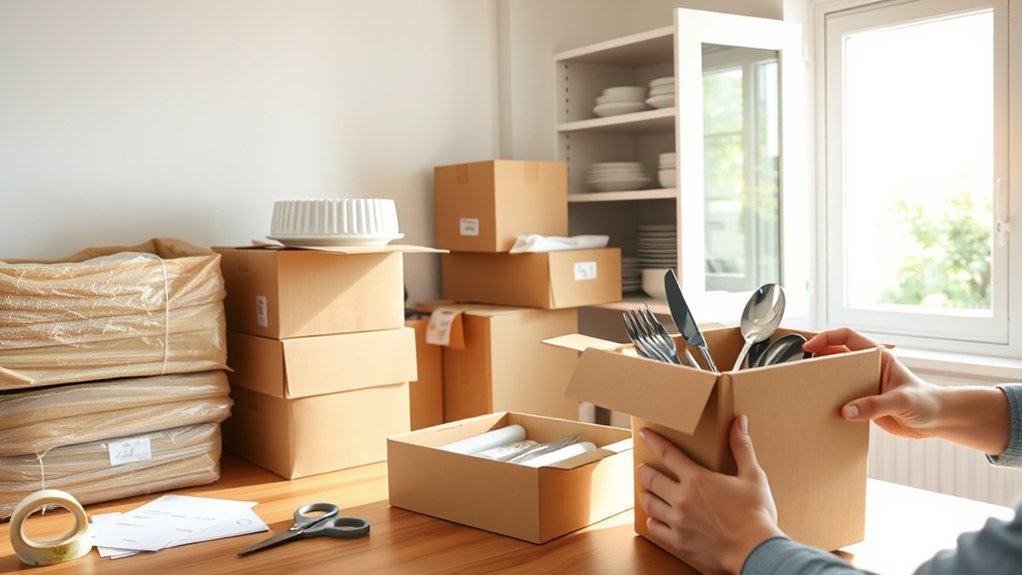
How Do You Pack Your Kitchen for Moving in 7 Simple Steps?
Packing your kitchen for a move can feel overwhelming. You’re not alone—many people struggle with how to organize and protect all those fragile dishes, appliances, and pantry items. The good news is, with the right approach, you can make the process smoother and less stressful.
To pack your kitchen for moving in 7 simple steps, start by decluttering and sorting similar items, tossing or donating what you don’t need. Gather various box sizes and packing materials like tape and bubble wrap.
Wrap fragile dishes carefully and pack small appliances with cords separated. Dispose of expired food, use airtight containers for pantry staples, and label boxes clearly by contents and fragility.
Load boxes wisely, placing heavier ones below. Follow these basics, and you’ll be set to uncover even smarter packing tips.
Key Takeaways
- Declutter kitchen items by sorting and donating unused things. Group similar cookware and utensils together for efficient packing.
- Gather appropriate packing materials like various box sizes, bubble wrap, packing paper, and plastic bins. These help with protection and organization.
- Wrap fragile dishes and glassware individually with paper and bubble wrap. Stack plates vertically and label boxes as “Fragile.”
- Pack small appliances by cleaning and unplugging them. Secure cords separately, and use original or sturdy boxes with cushioning.
- Label boxes clearly with contents, fragility, destination room, and unpacking priority. This makes identification and unpacking easier.
Declutter and Sort Your Kitchen Items
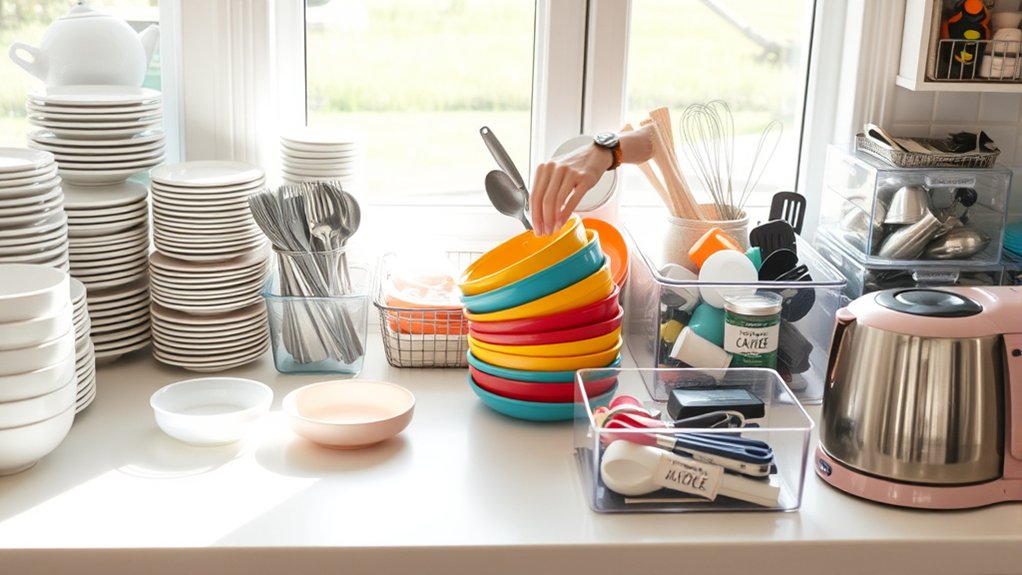
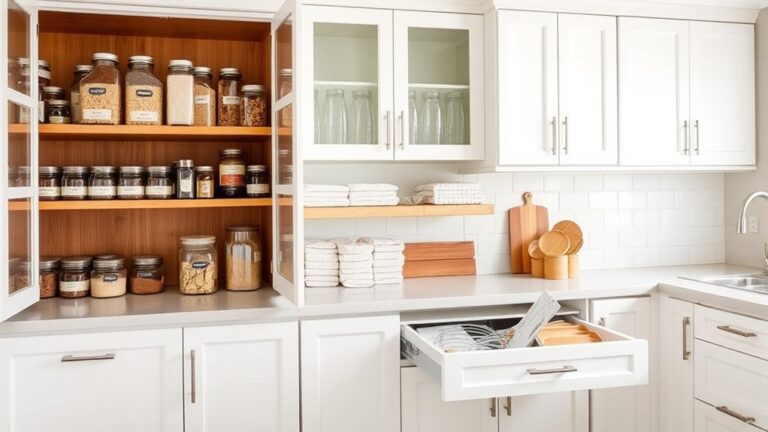
Before you start packing, take the time to declutter and sort your kitchen items. You’ll save space and reduce moving stress by organizing utensils and sorting cookware efficiently.
Begin by grouping similar items together, like knives, forks, spoons, and cooking tools all in one spot. Toss or donate anything you haven’t used in months, like chipped mugs or duplicate gadgets.
When sorting cookware, separate pots, pans, lids, and bakeware. Stack items carefully to avoid damage and make unpacking easier. Don’t forget to check for broken or outdated pieces and get rid of them.
Organizing utensils into small containers or bags keeps them tidy and prevents loss. By decluttering now, you’ll streamline packing and unpacking, making your move smoother.
Taking these steps upfront means you’ll only pack what you truly need, saving time and effort later. So, tackle this task first to set a solid foundation for your kitchen move.
Gather Packing Materials to Pack Your Kitchen
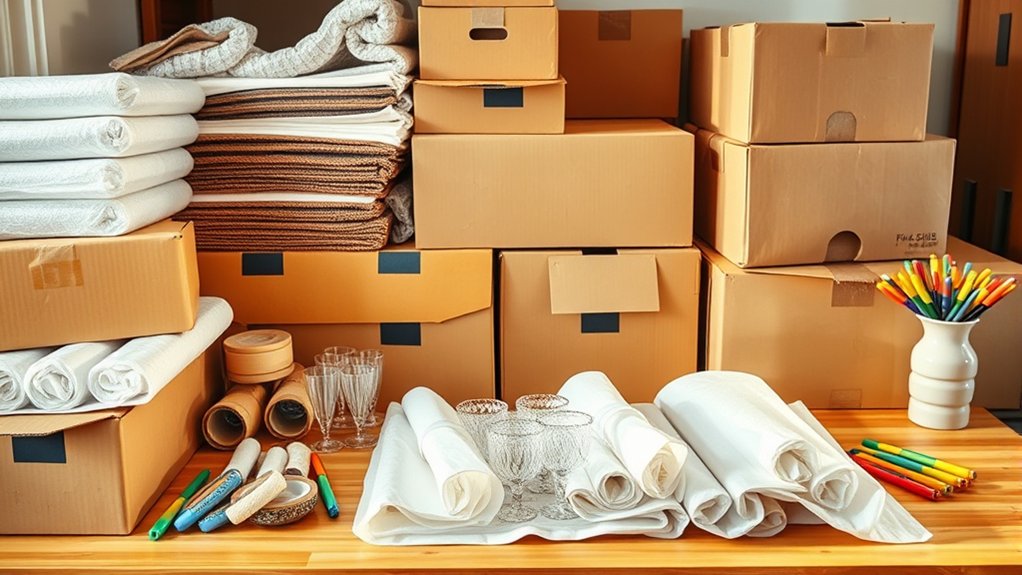
Once you’ve decluttered your kitchen, gather all the packing materials you’ll need to protect your items during the move. Start with sturdy boxes in various sizes. Small ones work best for cooking utensils, while larger ones can hold pots or pantry goods.
Don’t forget packing tape, bubble wrap, and packing paper to cushion your items and prevent damage. You’ll also want markers to label each box clearly, making unpacking easier.
For appliances and items like your refrigerator organization tools, use plastic bins or containers with secure lids to keep everything together and prevent spills. Packing materials like dish packs or dividers can help keep things organized and safe.
Wrap Fragile Kitchen Dishes and Glassware Safely
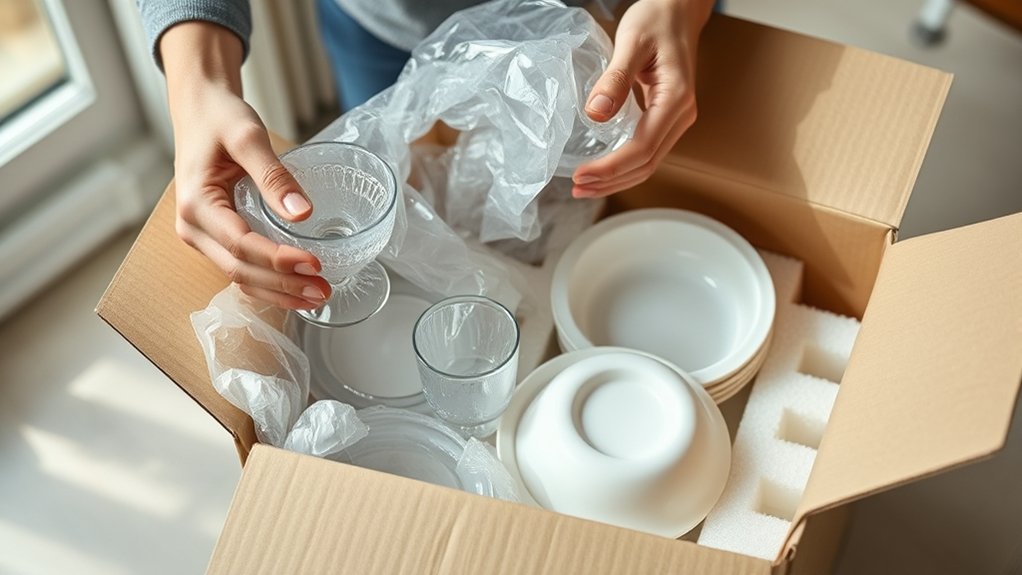
Although packing fragile kitchen items can feel intimidating, wrapping your dishes and glassware carefully prevents damage during the move. Start by wrapping each dish individually with packing paper to cushion it and avoid scratches.
For extra protection, especially with glassware, use bubble wrap to cover the entire item. Secure the bubble wrap with tape, but avoid taping directly onto delicate surfaces.
Stack plates vertically rather than flat, padding layers with packing paper. Place wrapped glasses upright in sturdy boxes lined with more packing paper or bubble wrap at the bottom for shock absorption.
Fill any gaps inside the box with crumpled packing paper to prevent shifting. Label the boxes as “Fragile” and “This Side Up” to guarantee careful handling.
Taking these steps helps keep your dishes and glassware intact, making unpacking stress-free and safe.
Pack Small Kitchen Appliances and Electronics Carefully
Since small kitchen appliances and electronics are often delicate and costly, you’ll want to pack them with extra care to avoid damage during your move. Start by unplugging each device and cleaning it thoroughly. This supports good appliance maintenance and prevents residue buildup.
Wrap cords separately using twist ties or rubber bands to avoid tangling and protect their connectors. Use original boxes if you have them, as they offer the best fit and cushioning. If not, choose sturdy boxes and line them with bubble wrap or packing paper for electronic safety.
Place appliances snugly to prevent shifting, filling gaps with packing peanuts or crumpled paper. Label boxes clearly as “Fragile” and note which side should stay up. Avoid stacking heavy items on top.
Finally, keep your appliances and electronics together to streamline unpacking and ensure nothing gets misplaced. Following these steps preserves your investment and keeps your kitchen gear in top shape during the move.
Prepare, Dispose, and Pack Pantry Items and Food
First, go through your pantry and get rid of anything that’s expired or that you won’t be able to use before the move. After that, pack the food you’re keeping into airtight containers. This will help keep everything fresh and stop any spills from happening. It’s an easy way to stay organized and make sure your items stay safe while you’re moving.
Sort Expired And Perishables
How do you tackle the challenge of sorting expired and perishable items before moving? Start by reviewing your grocery inventory to identify what’s still good and what’s past its prime. Check expiration dates carefully and toss anything expired to avoid unnecessary clutter.
For perishable items, prioritize food preservation by planning meals that use them up before your move. If you can’t consume them in time, consider donating unopened goods or disposing of them responsibly. This step not only lightens your load but also prevents food waste.
Being methodical during this process ensures you only pack fresh, usable items, making your kitchen move smoother and more organized. Sorting expired and perishable foods early helps maintain order and saves time during packing.
Use Airtight Storage
After sorting out expired and perishable items, focus on preserving the pantry staples you plan to keep. Use airtight storage containers to maintain freshness and prevent moisture from spoiling your food.
Airtight storage also protects against pests and keeps odors from mixing. Make certain each container seals tightly to ensure proper moisture control. Label containers with contents and expiration dates for easy unpacking.
| Pantry Item | Recommended Airtight Storage |
|---|---|
| Rice | Sealed plastic or glass jars |
| Flour | Resealable bags or canisters |
| Coffee | Vacuum-sealed containers |
| Snacks | Zip-lock bags or airtight tins |
| Spices | Small airtight jars |
Using the right airtight storage helps safeguard your food and makes the moving process simpler.
Label Your Boxes So Unpacking’s a Breeze
Because unpacking can quickly become overwhelming, labeling your boxes clearly will save you time and frustration. Using solid organizational strategies and labeling techniques helps you find what you need without tearing through every box.
Here’s how to label your kitchen boxes effectively:
- Be Specific – Instead of just “Kitchen,” write “Pots & Pans” or “Coffee Supplies” to pinpoint contents.
- Use Color Codes – Assign a color for each category (e.g., red for utensils, blue for appliances) to identify boxes at a glance.
- Mark Fragile Items – Clearly label boxes with breakables to remind yourself to unpack them carefully.
- Note Room and Priority – Add the destination room and unpack priority on the label, like “Kitchen High Priority.”
These labeling techniques streamline unpacking and keep your kitchen organized from the moment you arrive at your new home.
Load and Transport Kitchen Boxes to Prevent Damage
When you load your kitchen boxes carefully, you’ll minimize the risk of damage during transport. Start by placing heavier boxes on the bottom and lighter ones on top to maintain stability. Use organizational strategies like grouping similar items together and filling empty spaces with packing paper or bubble wrap to prevent shifting. Secure each box with strong tape to keep it closed throughout the move.
During loading, make sure boxes fit snugly in the vehicle without excess gaps, which can cause boxes to slide. Use straps or ropes to keep boxes from moving, prioritizing transportation safety. Avoid stacking fragile boxes under heavy ones. If possible, load fragile items last so they’re unloaded first. Keep a clear pathway to avoid tripping hazards and make unloading easier.
Frequently Asked Questions
When Is the Best Time to Start Packing Your Kitchen for a Move?
The best time to start packing your kitchen is about three to four weeks before your move. Use a timing strategy that breaks tasks into manageable steps, so you’re not overwhelmed.
Create a packing schedule focusing first on non-essential items like specialty appliances and extra dishware. Leave daily-use items for last. This way, you stay organized and efficient, minimizing stress while ensuring everything’s ready well before moving day.
How Do You Handle Packing Kitchen Knives Safely?
You handle packing kitchen knives safely by prioritizing knife safety and packing fragile items carefully. Wrap each knife blade in bubble wrap or thick paper to protect the edge and your hands.
Secure the wrapped knives with tape, then place them blade-down in a sturdy box lined with soft padding. Label the box clearly as “Fragile” and “Knives” so movers know to handle it with care, ensuring safety and preventing damage.
Should You Clean Appliances Before Packing Them?
You shouldn’t put the cart before the horse. Clean your appliances before packing them. Keeping up with appliance maintenance and sticking to cleaning schedules guarantees everything’s fresh and ready for the move.
Wiping down surfaces, removing food debris, and unplugging properly prevents odors and damage during transit. Taking this extra step not only protects your appliances but also makes unpacking smoother, letting you settle into your new kitchen without a hitch.
Can You Pack Liquids Like Oils and Sauces for Moving?
Yes, you can pack liquids like oils and sauces for moving, but you need to prioritize liquid container safety. Make sure each sauce bottle is sealed tightly and consider wrapping bottles in plastic wrap to prevent leaks.
Use sturdy boxes and line them with absorbent materials like paper towels or bubble wrap for extra protection. Pack sauce bottles upright and avoid overpacking to minimize breakage during transport.
This careful sauce bottle packing keeps your liquids secure.
How Do You Protect Wooden Cutting Boards During a Move?
To protect wooden cutting boards during a move, you should wrap them in protective wrapping like bubble wrap or thick towels to cushion against bumps. If you have custom cases or wooden board sleeves, use those for extra security.
Make sure to seal the wrapping with tape to keep it from shifting. Always pack them flat between sturdy items to prevent warping or cracking. This way, your boards stay safe and ready to use in your new kitchen.
Conclusion
Packing your kitchen doesn’t have to be overwhelming. By decluttering, wrapping fragile items carefully, and labeling boxes clearly, you’ll make moving smoother and unpacking easier.
Remember, “a stitch in time saves nine.” Taking these small, organized steps now will save you lots of hassle later.
So, gather your materials, pack smartly, and protect your kitchen treasures. You’ll feel ready and confident to start fresh in your new home without the stress of packing your kitchen for moving.