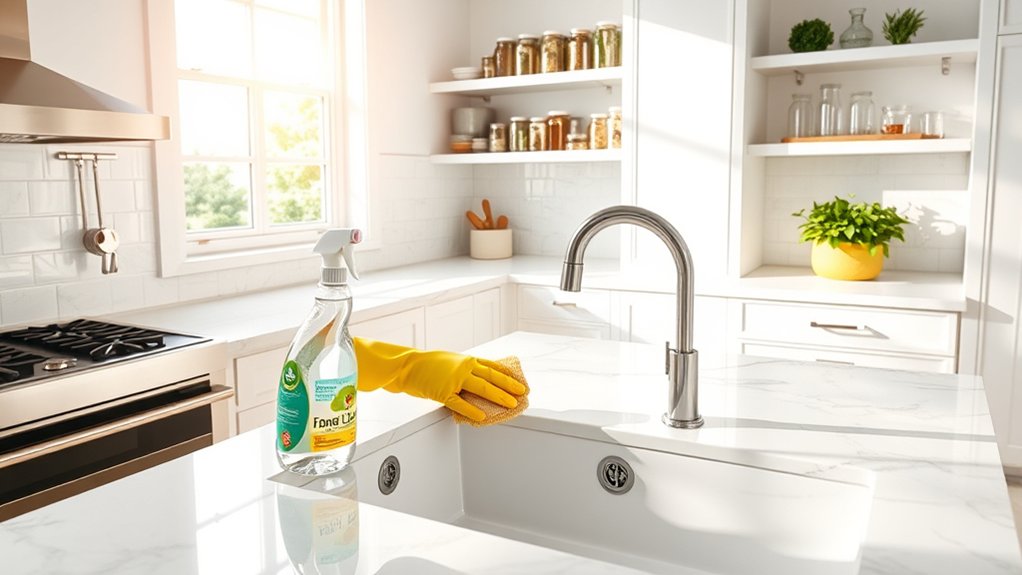
How to Deep Clean Your Kitchen in 10 Easy Steps
If you’ve ever felt overwhelmed by the thought of deep cleaning your kitchen, you’re not alone. Many people struggle with knowing where to start or how to get their kitchen truly spotless without spending all day on it. The good news? Deep cleaning your kitchen can be simple and manageable with the right approach.
To deep clean your kitchen in 10 easy steps, start by clearing out and decluttering all surfaces and the pantry, tossing expired items. Gather your essential cleaning supplies like microfiber cloths and eco-friendly cleaners. Beat grease off countertops and appliances, then deep clean your fridge, oven, and dishwasher. Scrub and disinfect the sink and faucets. Wash walls and light fixtures, then mop and disinfect floors thoroughly.
Stick to simple daily habits to keep your kitchen spotless and efficient. Following these steps will help you master every cleaning task.
Key Takeaways
- Clear countertops and declutter cabinets by removing expired food and unused items. This helps create a more organized kitchen space.
- Gather essential cleaning supplies like microfiber cloths, eco-friendly cleaners, and gloves. These make your cleaning safer and more efficient.
- Deep clean appliances by unplugging them first. Then scrub the interiors with baking soda or vinegar, and don’t forget to maintain seals and filters regularly.
- Clean sinks, faucets, walls, backsplashes, and light fixtures using gentle detergents and disinfectants. This will help remove grease and grime effectively.
- Sweep and mop floors with EPA-approved disinfectants. Use thorough techniques to ensure your kitchen is spotless and hygienic.
Clear Out and Declutter Your Kitchen

Before you plunge into scrubbing and polishing, take a moment to clear out and declutter your kitchen. Start by removing everything from your countertops, cabinets, and drawers. This gives you a clean slate and makes it easier to spot areas needing attention.
Focus on kitchen organization by grouping similar items together. Pots with pots, utensils with utensils. This helps you see what you have and what you really need.
Clutter management is key here; toss expired food, broken gadgets, and anything you haven’t used in months. Donate or recycle items that still work but don’t serve you anymore.
When you put things back, arrange them thoughtfully to maximize space and accessibility. Clear surfaces and well-organized storage not only make cleaning simpler but also keep your kitchen functional.
Taking these steps now sets a solid foundation for the deeper cleaning ahead.
Gather Your Essential Cleaning Supplies

Once you’ve cleared and organized your kitchen, it’s time to gather the essential cleaning supplies that will make your deep clean efficient and effective. Start by assembling basics like microfiber cloths, sponges, a sturdy scrub brush, and a mop. Don’t forget gloves to protect your hands.
Choose eco friendly products whenever possible. They’re safer for your family and better for the environment. Look for all-purpose cleaners, degreasers, and disinfectants labeled as non-toxic or biodegradable.
Having a well-stocked cleaning kit ready supports sticking to cleaning schedules, making it easier to maintain your kitchen regularly. You won’t waste time hunting for supplies mid-clean, which keeps you focused and efficient.
Consider adding a spray bottle with diluted vinegar or baking soda for natural cleaning solutions. By preparing your supplies thoughtfully, you’ll set yourself up for a thorough, effective deep clean that refreshes your entire kitchen space.
Beat Grease and Grime on Kitchen Surfaces
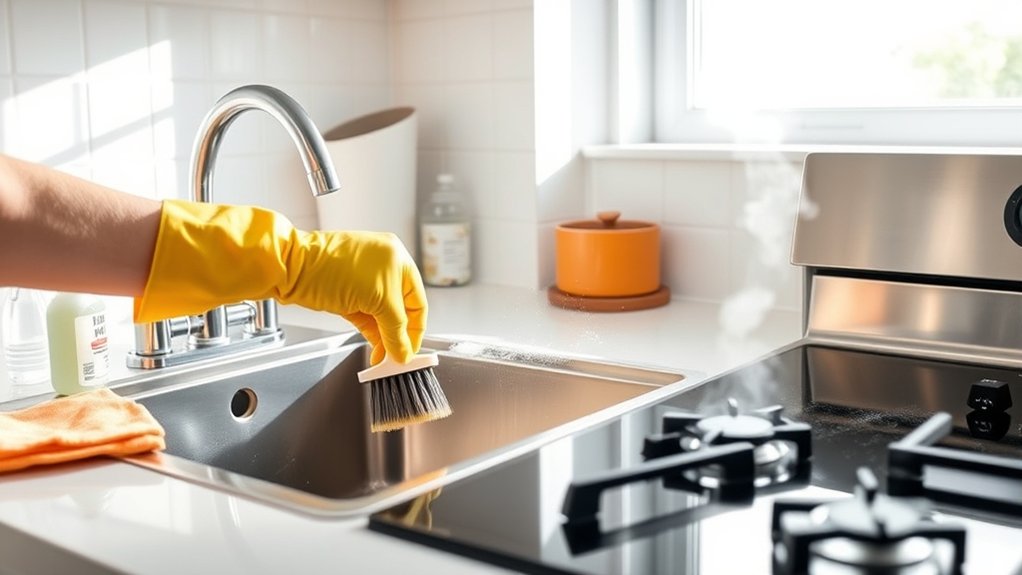
How do you tackle stubborn grease and grime that cling to your kitchen surfaces? Start by mixing a powerful yet gentle cleaner using equal parts white vinegar and warm water. This solution breaks down grease effectively without damaging surfaces.
Spray it generously on countertops, backsplashes, and cabinet fronts, then let it sit for a few minutes to loosen buildup. Use a microfiber cloth or a soft scrub brush to wipe away grime. For tougher spots, sprinkle baking soda on a damp cloth for extra scrubbing power.
To maintain cleanliness, focus on grime prevention. Wipe spills immediately and regularly clean surfaces to stop grease from setting in. Using a degreasing spray after cooking can make future grease removal easier.
Deep Clean Your Kitchen Appliances
Keeping your kitchen surfaces free of grease and grime sets the stage for tackling your appliances, which often harbor hidden dirt and buildup. For effective kitchen appliance maintenance, start by unplugging appliances to guarantee safety.
Use mild detergents or specialized cleaners to avoid damage. Remember to clean both the exterior and interior parts, like drip trays or vents, where grime accumulates.
Here are quick appliance cleaning tips to keep your kitchen fresh:
| Appliance | Cleaning Tip |
|---|---|
| Refrigerator | Wipe shelves; clean door seals |
| Oven | Use a baking soda paste inside |
| Microwave | Steam clean with lemon water |
| Dishwasher | Run with vinegar for freshening |
Follow these steps regularly to extend your appliance’s lifespan and keep your kitchen hygienic. Consistent kitchen appliance maintenance ensures your cooking space stays efficient and safe.
Scrub and Sanitize Kitchen Sink and Faucets
You’ll want to choose cleaning agents that can handle tough stains but won’t harm your sink’s surface. It’s all about getting rid of buildup and residue so everything stays looking fresh. And hey, don’t forget to give your faucets a good disinfecting—this helps kill germs and keeps your kitchen nice and hygienic.
Choosing Effective Cleaning Agents
Although many cleaning products promise sparkling results, selecting the right agents for scrubbing and sanitizing your kitchen sink and faucets makes all the difference. Choosing effective cleaning agents means balancing power and safety. You want something that cuts through grime without harming surfaces or your health. Eco friendly solutions are a smart choice because they protect your family and the environment.
Look for these qualities in your cleaning agents:
- Non-toxic ingredients that keep your kitchen safe for everyone.
- Natural antibacterial properties to effectively sanitize.
- Biodegradable formulas that minimize environmental impact.
Removing Stains and Residue
Choosing the right cleaning agents sets you up for success when removing stains and residue from your kitchen sink and faucets. Start by rinsing the sink to loosen debris, then apply a gentle but effective cleaner designed for your sink’s material.
Use a soft scrub brush or sponge to tackle stubborn stains without scratching surfaces. Focus on areas where residue tends to build up, like around the faucet base and drain.
For stain removal, baking soda mixed with water creates a mild abrasive paste that lifts grime without harsh chemicals. After scrubbing, rinse thoroughly to remove all residue. This residue cleaning step guarantees no cleaner remains to cause buildup or discoloration.
Following these simple actions will restore your sink and faucets to a fresh, spotless condition.
Disinfecting Faucets Properly
How often do you think about the germs lurking on your kitchen faucets? These high-touch areas can harbor bacteria and grime, especially around the faucet aerators where water flow can trap dirt.
To disinfect faucets properly, start by removing and soaking the aerators in vinegar to break down mineral deposits. Then, scrub the entire faucet with a disinfectant cleaner, paying close attention to crevices and handles. Finally, rinse thoroughly and wipe dry to avoid water spots and guarantee cleanliness.
Remember, neglecting faucet hygiene can lead to unseen bacteria buildup affecting your health, reduced water flow from clogged aerators, and a grimy, unpleasant kitchen environment.
Regularly disinfecting your faucets keeps your kitchen safer and more inviting.
Clean Cabinets Inside and Out
Since cabinets tend to collect grease, dust, and food particles over time, you’ll want to tackle both the inside and outside surfaces thoroughly. Start by removing everything from the cabinets to access the interior shelving.
Cabinets attract grease and dust, so clean inside and out by emptying shelves first for a thorough refresh.
Wipe down these shelves with a mild soap solution or a mixture of vinegar and water to break down grime. Don’t forget to clean the cabinet hardware like knobs and handles. These spots often harbor dirt and bacteria.
Use a toothbrush or a small brush to scrub the hardware gently, then dry them completely to prevent rust. Next, focus on the cabinet doors and exteriors. Use a damp cloth with a gentle cleaner to remove fingerprints, spills, and sticky residues.
For stubborn grease, a baking soda paste works well without damaging finishes. Finally, dry all surfaces thoroughly before replacing items. Regularly cleaning both the cabinet hardware and interior shelving keeps your kitchen fresh and extends the life of your cabinetry.
Organize Pantry and Toss Expired Food
Start by pulling everything out of your pantry so you can see what you have. Take a good look at the expiration dates and toss anything that’s past its prime. Once you’ve done that, group similar items together. This way, your pantry stays organized and it’s easier to find what you need.
Pantry Sorting Tips
Before you reorganize your pantry, take a moment to toss any expired or stale items. This clears the way for a fresh start and guarantees everything you keep is safe to use.
Next, consider how you arrange your pantry by adjusting shelf height to accommodate taller items or create more space for smaller containers. Use pantry labeling to make finding ingredients effortless, reducing stress during cooking.
Try these tips:
- Group similar items together to save time and reduce frustration.
- Place frequently used items at eye level for quick access.
- Store heavy or bulky items on lower shelves to prevent accidents.
Identifying Expired Items
When you organize your pantry, you’ll want to carefully check expiration dates to avoid keeping spoiled or unsafe food. Start by pulling out each item and examining the expiration labels closely.
Pay special attention to canned goods, spices, and baking ingredients, as these often get overlooked in food storage. If an item’s date has passed or the packaging looks damaged, toss it immediately.
Don’t forget to check for any unusual odors or changes in texture that can signal spoilage even before the date. Once you identify expired items, discard them properly and wipe down the shelves.
Maintaining your pantry free of expired products not only ensures food safety but also makes your kitchen more efficient and pleasant to use.
Wash Kitchen Walls, Backsplashes, and Light Fixtures
How often do you think about cleaning the walls, backsplashes, and light fixtures in your kitchen? These surfaces silently collect grease, dust, and splatters, dulling the look of your kitchen’s wall paint and fixtures. Taking time to clean them brightens the whole space and lifts your mood.
Start by gently wiping down your walls and backsplashes with a mild detergent solution. This removes grime without damaging your wall paint. Then focus on the light fixtures. Dust them off and use a soft cloth for fixture polishing to restore their shine.
Imagine how invigorating it feels to see spotless walls that reflect more light, enjoy a kitchen that smells fresh and looks inviting, and have sparkling light fixtures that brighten every corner.
Regularly washing these surfaces keeps your kitchen welcoming and clean, making every cooking session more enjoyable.
Mop and Disinfect Kitchen Floors Thoroughly
Since your kitchen floor endures constant spills, crumbs, and foot traffic, mopping and disinfecting it thoroughly is essential to maintain a healthy and spotless environment. Start by sweeping or vacuuming to remove loose dirt and debris. When mopping, use effective mop techniques like the figure-eight motion to cover every inch without spreading dirt around. Choose a mop suitable for your floor type. Microfiber mops work well on most surfaces.
Next, select the right disinfectant types to kill germs efficiently. Look for EPA-approved products designed for kitchen floors, or use diluted bleach solutions for strong disinfection. Apply the disinfectant evenly and allow it to sit for the recommended time before wiping or rinsing. Avoid harsh chemicals if you have sensitive flooring, opting instead for natural disinfectants like vinegar mixed with essential oils. By mastering mop techniques and choosing proper disinfectant types, you’ll keep your kitchen floor hygienic and gleaming.
Simple Habits to Keep Your Kitchen Sparkling Daily
You can keep your kitchen sparkling by wiping down surfaces daily to prevent buildup. Try to make it a habit to organize your countertops regularly so clutter doesn’t pile up. And don’t forget—a quick check and wipe of your appliances each day will help keep them running smoothly and looking clean.
Daily Wipe Down
A quick daily wipe down can make a huge difference in keeping your kitchen spotless. By adding this simple habit to your daily cleaning routine, you’ll keep your space fresh and inviting without the stress of deep cleaning all at once.
Focus on high-touch spots to boost your kitchen organization and overall hygiene.
Here’s what you should wipe down daily:
- Countertops and stove surfaces to prevent buildup
- Sink and faucet areas to avoid water spots and germs
- Handles, knobs, and switches to minimize dirt and bacteria
Doing these tasks daily not only keeps your kitchen sparkling but also saves you time during more intensive cleanings. Stick to this habit, and your kitchen will always feel welcoming and well-kept.
Organize Countertops Regularly
Keeping your countertops organized plays a crucial role in maintaining a clean and inviting kitchen. You can easily improve countertop organization by dedicating a few minutes each day to declutter.
Start by removing items you don’t use daily and store them in cabinets or drawers. Use trays or small containers to group frequently used items like spices or utensils. This simplifies clutter management and keeps surfaces tidy.
Make it a habit to clear crumbs, spills, and stray dishes immediately after cooking or eating. This prevents buildup and keeps your kitchen sparkling daily.
Quick Appliance Maintenance
Three simple habits can make a big difference in maintaining your kitchen appliances and keeping your space sparkling daily. By staying consistent, you’ll avoid costly appliance malfunctions and improve energy efficiency.
First, wipe down your appliances after each use to prevent grime buildup. Second, check seals on refrigerators and ovens regularly to keep them running efficiently. Third, clean appliance filters and vents monthly to prevent overheating and breakdowns.
These small actions not only extend appliance life but also save money on energy bills and repairs. Incorporate these habits into your routine:
- Quick daily wipe-downs to keep surfaces spotless
- Routine seal inspections for peak performance
- Monthly filter and vent cleaning to avoid malfunction
Stick to these steps, and your kitchen appliances will stay reliable and your kitchen sparkling every day.
Frequently Asked Questions
How Often Should I Deep Clean My Kitchen Appliances?
You should deep clean your kitchen appliances every three to six months to keep them in top shape. Regular appliance maintenance not only extends their lifespan but also improves kitchen organization by preventing grime buildup and odors.
If you use appliances frequently, consider cleaning them more often. Staying consistent with this routine helps you avoid tough stains and guarantees your kitchen runs smoothly, making your cooking experience more enjoyable and efficient.
What Natural Cleaners Are Safe for Kitchen Surfaces?
You might think natural cleaners aren’t powerful enough, but eco-friendly solutions prove otherwise. For kitchen surfaces, vinegar and baking soda are your chemical-free options that cut grease and grime effectively.
Lemon juice adds a fresh scent while disinfecting. You can mix these ingredients to create safe, non-toxic sprays that won’t harm your surfaces or your health.
Using these natural cleaners keeps your kitchen spotless without harsh chemicals.
Can I Use Bleach to Sanitize My Kitchen Sink?
Yes, you can use bleach to sanitize your kitchen sink, but you need to follow bleach safety guidelines carefully. Dilute bleach properly, usually one tablespoon per gallon of water, to avoid damaging surfaces or harming yourself.
Make sure the area is well-ventilated, and never mix bleach with other cleaners. After applying, rinse the sink thoroughly with water to remove any residue. This guarantees effective sink sanitization while keeping you safe.
How Do I Prevent Mold in Pantry Corners?
To prevent mold in pantry corners, you need to focus on pantry organization and mold prevention by keeping the area dry and well-ventilated. Regularly check for spills or leaks, wipe down corners with a vinegar solution, and avoid overcrowding shelves to allow air circulation.
Use airtight containers for food storage to minimize moisture buildup. By staying consistent with these steps, you’ll keep your pantry mold-free and organized without much hassle.
What Is the Best Way to Clean Wooden Cutting Boards?
When it comes to cleaning wooden cutting boards, don’t beat around the bush. Use warm, soapy water right after use and dry them thoroughly.
For wood maintenance, sprinkle coarse salt and rub with a lemon half to lift stains and odors. After drying, apply cutting board oils regularly to keep the wood from cracking and drying out.
This routine keeps your boards safe, clean, and looking great for years to come.
Conclusion
By following these steps, you’ll transform your kitchen into a sparkling, inviting space. Remember, “a clean kitchen is a happy kitchen,” and keeping up with simple daily habits makes deep cleaning a breeze.
Stay consistent, tackle messes as they come, and enjoy the fresh, organized feel every time you step in. With a little effort, your kitchen will always be ready for cooking, entertaining, and making memories.
Keep your kitchen deep clean, and it’ll keep you inspired to create delicious meals and enjoy your time at home!