How to Unclog a Kitchen Sink in 10 Easy Steps
Dealing with a clogged kitchen sink can be incredibly frustrating. You’re not alone—many people struggle with slow drains and stubborn blockages that disrupt daily routines. Whether it’s grease buildup or food particles causing the problem, finding a reliable fix is a top priority.
To unclog your kitchen sink in 10 easy steps, first identify the clog cause and clear visible debris using gloves. Pour boiling water to melt grease, then add baking soda and vinegar to fizz away buildup. Use a plunger for stubborn blockages and a drain snake for deeper ones. Flush thoroughly with hot water, then prevent future clogs with regular maintenance.
If problems persist, knowing when to call a professional is key. You’ll find detailed tips to handle each step smoothly.
Key Takeaways
- Identify the clog cause by checking water flow, pressure, and inspecting for leaks or visible debris under the sink.
- Remove visible food scraps and debris from the drain using gloves, tweezers, and a flashlight for thorough cleaning.
- Pour boiling water slowly down the drain to soften grease and soap buildup. This helps improve flow and keeps things hygienic.
- Use a baking soda and vinegar mixture, let it fizz for 15 minutes, then flush with hot water to break up minor clogs.
- Employ a plunger or remove and clean the P-trap to dislodge and clear deeper blockages manually.
Find the Cause of Your Kitchen Sink Clog
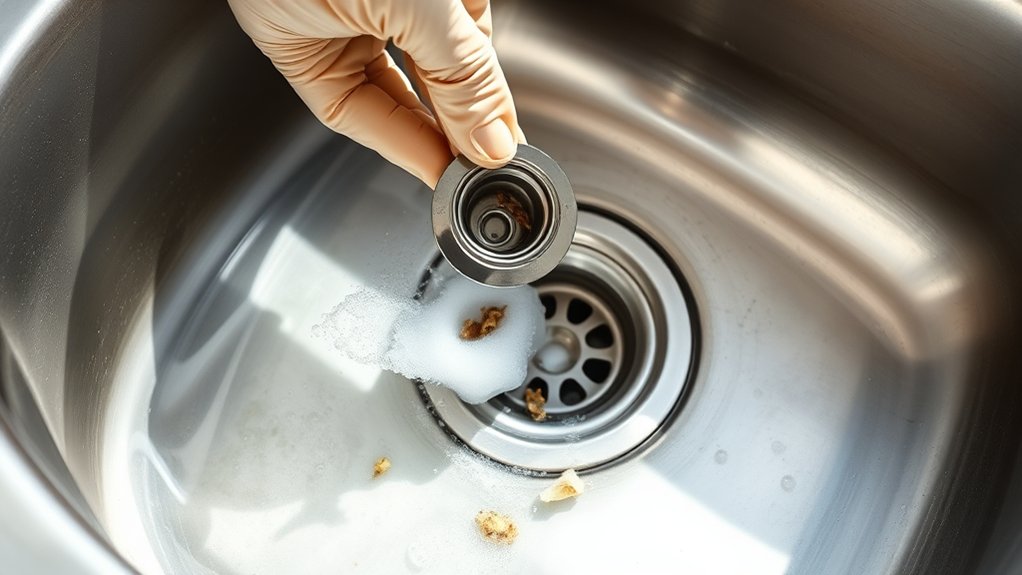
Before you can fix your clogged kitchen sink, you need to identify what’s causing the blockage. Start by checking if water drains slowly or not at all. Poor water pressure could signal a deeper issue, like pipe corrosion inside the drain pipes.
Corroded pipes narrow over time, restricting flow and causing clogs to form more easily. You might notice rust-colored water or a metallic smell, which are signs of corrosion. If water pressure is normal but the sink still clogs, the cause might be a buildup of grease, soap, or debris, but don’t jump to that assumption yet.
Inspect under your sink for visible signs of leaks or damaged pipes that could worsen corrosion. Pinpointing the exact problem helps you choose the right method to clear the clog effectively and avoid damaging your plumbing further. Take your time with this step to save effort and prevent recurring issues.
Clear Out Visible Food Scraps and Debris
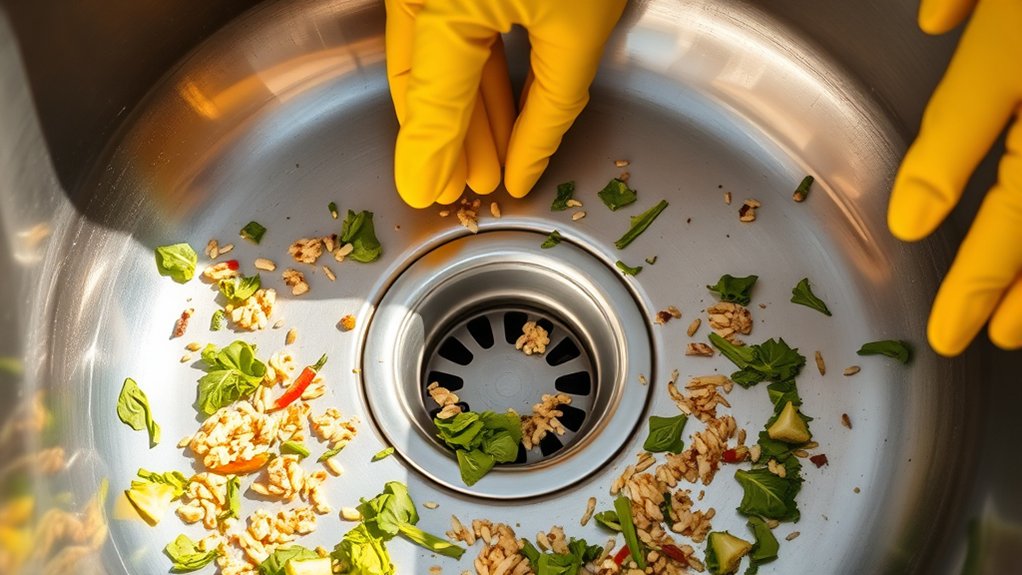
Once you’ve identified the cause of the clog, start by removing any visible food scraps and debris from the sink and drain area. Clearing out this food waste is essential for effective debris removal and helps prevent further blockages. Here’s how to do it efficiently:
Begin by clearing visible food scraps and debris from the sink to ensure effective clog removal and prevent future blockages.
- Put on gloves to protect your hands from bacteria and sharp objects.
- Use a paper towel or disposable cloth to scoop out food waste from the sink basin.
- Remove the drain stopper carefully and clear away any debris caught around it.
- Use a flashlight to inspect inside the drain opening and pull out any accessible scraps with tweezers or pliers.
Use Boiling Water to Break Down Grease
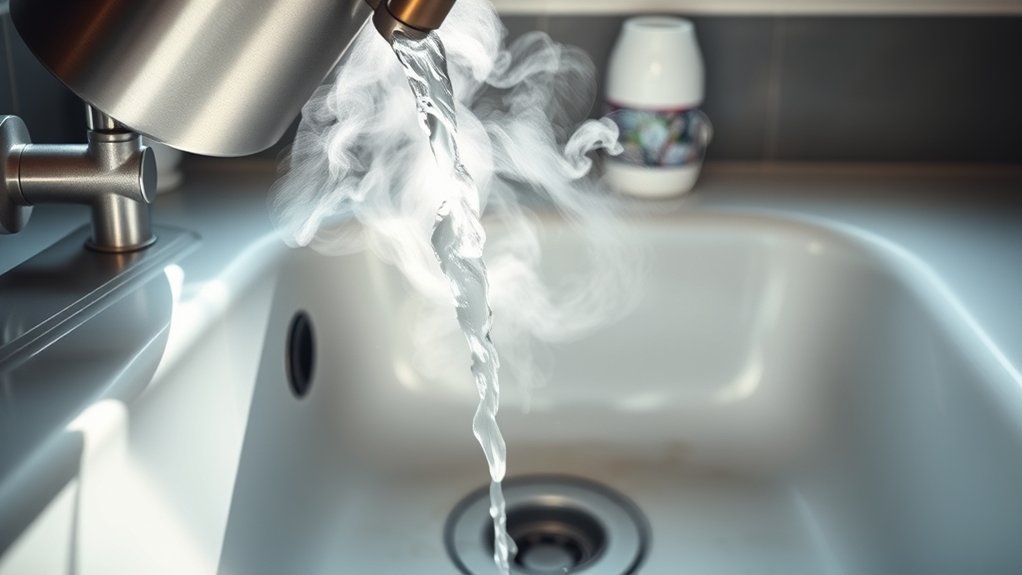
You can use boiling water to help break down grease that’s clogging your sink. The heat melts the grease, making it easier to flush away. Just be careful when handling boiling water to avoid burns or damage to your pipes.
Benefits of Boiling Water
Though it may seem simple, pouring boiling water down your kitchen sink can effectively break down grease buildup that causes clogs. Using boiling water regularly supports kitchen hygiene by preventing grease from solidifying and sticking to pipes.
This easy step keeps your drainage system clear and reduces the need for harsh chemicals. Here are four key benefits of using boiling water:
- Dissolves grease quickly, reducing buildup that leads to blockages.
- Improves kitchen hygiene by flushing out residues that attract bacteria.
- Saves money by minimizing expensive plumber visits.
- Eco-friendly method compared to chemical drain cleaners.
Incorporate boiling water into your routine to maintain a clean, clog-free sink effortlessly.
How Grease Reacts
Because grease solidifies as it cools, it easily clings to your sink’s pipes and creates stubborn blockages. When grease accumulation mixes with soap residue, it forms a sticky buildup that water alone can’t flush away.
Using boiling water helps break down this combination, melting the grease so it can flow freely through the pipes.
Here’s a quick look at how boiling water interacts with common sink blockages:
| Substance | Effect on Grease Accumulation | Role of Boiling Water |
|---|---|---|
| Grease | Hardens when cool | Melts and loosens buildup |
| Soap Residue | Binds with grease | Dissolves residue |
| Food Particles | Combine to form clogs | Helps flush away debris |
Pour boiling water slowly to avoid splashes, and watch grease blockages clear up efficiently.
Safety Tips for Use
Melting grease with boiling water can clear stubborn blockages, but handling boiling water requires care to avoid burns or damage. When using this method, you should always prioritize safety gear and be aware of chemical hazards if you combine boiling water with drain cleaners.
Follow these safety tips:
- Wear heat-resistant gloves and eye protection to shield against splashes.
- Avoid mixing boiling water with harsh chemicals to prevent dangerous reactions.
- Pour boiling water slowly and directly into the drain to minimize splashing.
- Keep children and pets away from the area during use.
Use Baking Soda and Vinegar to Break Up Clogs
When you combine baking soda and vinegar, they create a fizzy reaction that can help break up minor clogs in your kitchen sink. This natural remedy offers an effective alternative to harsh chemical solutions, making it safe for your pipes and the environment.
Start by pouring half a cup of baking soda directly into the drain, then slowly add half a cup of white vinegar. You’ll notice bubbling and fizzing. This reaction loosens grime and breaks down buildup causing the clog.
Pour baking soda into the drain, add vinegar slowly, and watch the fizz break down grime.
Let the mixture sit for about 15 minutes without running water. Afterward, flush the drain with hot water to clear away loosened debris. If you don’t see immediate results, repeat the process once more before trying other methods.
Using baking soda and vinegar is a simple, inexpensive way to tackle minor blockages and maintain your kitchen sink’s smooth drainage without relying on strong chemicals.
Use a Plunger to Clear Kitchen Sink Clogs
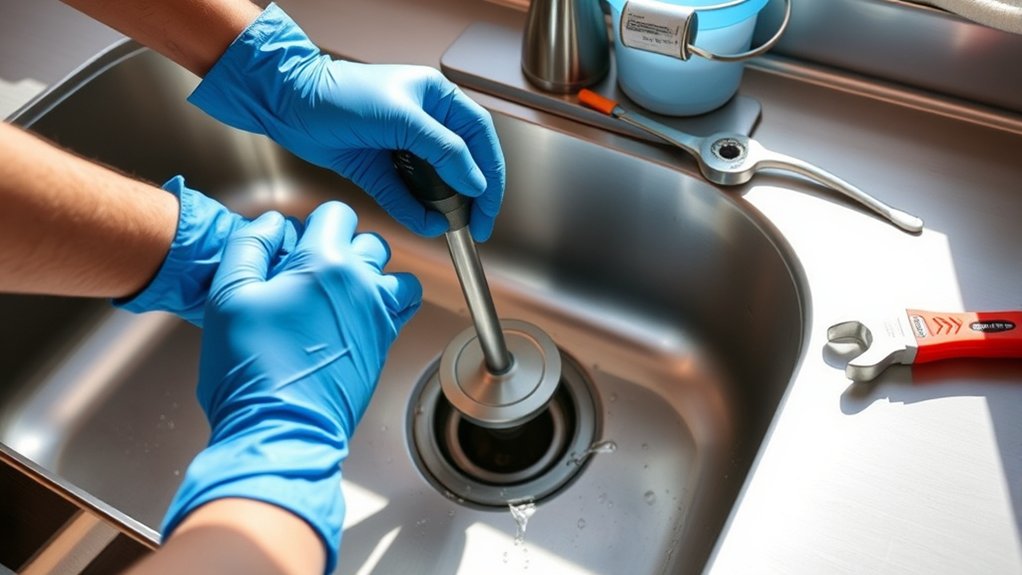
You’ll want to pick the right plunger—usually, a cup plunger works best for sinks. Just make sure to create a tight seal around the drain. Then, plunge with steady, firm strokes to build up pressure.
If you use the right technique, you can often clear the clog pretty quickly and get your sink draining smoothly again. It’s a simple trick that saves a lot of hassle!
Choosing The Right Plunger
How do you know which plunger works best for your kitchen sink? Choosing tools carefully is key to unclogging efficiently. Not all plungers are designed for the same purpose. So, understanding plunger types helps you pick the right one.
Consider these four points:
- Cup Plungers – Best for flat surfaces like kitchen sinks; they create a tight seal.
- Flange Plungers – Designed for toilets but less effective on sinks.
- Size – Choose a plunger that fits your sink drain opening to maximize pressure.
- Material – Rubber plungers offer flexibility and durability for repeated use.
Effective Plunging Techniques
Although plunging may seem straightforward, using the right technique can make all the difference in clearing your kitchen sink clog quickly. First, verify there’s enough water in the sink to cover the plunger’s cup. This helps create the necessary foam formation for a tight seal.
Position the plunger over the drain, pressing down gently to expel air without breaking the seal. Then, use firm, consistent plunges. Push down and pull up sharply but avoid lifting the plunger off the drain to maintain suction. This repeated action builds pressure and vacuum, increasing plunger effectiveness in dislodging debris.
After several plunges, quickly pull the plunger away and check if the water drains properly. If not, repeat the process until the clog clears.
Take Apart and Clean the Sink’s P-Trap
Before you start, place a bucket underneath the P-trap to catch any water or debris that may spill out when you loosen the connections. P trap removal is straightforward but requires care to avoid leaks or damage. Follow these steps:
- Use pliers or your hands to loosen the slip nuts on both ends of the P-trap.
- Carefully remove the P-trap and empty its contents into the bucket.
- Perform a thorough pipe inspection, checking for clogs, buildup, or damage inside the trap and adjoining pipes.
- Clean the P-trap with a brush and warm soapy water to remove grease and debris.
Once cleaned and inspected, reassemble the P-trap securely. This simple maintenance step often clears blockages caused by trapped food or grease, restoring your kitchen sink’s flow without harsh chemicals or professional help.
Use a Drain Snake to Clear Kitchen Sink Blockages
When you’ve cleared the P-trap but your sink still drains slowly, it’s time to use a drain snake to tackle deeper blockages. Start by feeding the snake’s flexible cable into the drain opening, turning the handle clockwise as you go. This action helps the snake navigate the pipes and break up or hook onto debris causing the clog.
Keep pushing gently until you feel resistance, then continue turning to dislodge the blockage. Slowly pull the snake out, removing any debris caught on the cable.
Using a drain snake is an effective part of drain maintenance because it lets you perform a thorough pipe inspection and clear clogs beyond the P-trap. It’s a simple, hands-on way to restore proper flow without harsh chemicals.
Remember to clean the snake after use to keep it in good condition for future jobs. This method saves time and prevents minor blockages from escalating.
Flush the Drain Thoroughly With Hot Water
Once you’ve used the drain snake to clear stubborn debris, flushing the drain with hot water helps wash away any remaining particles and buildup. This step is essential for effective drain maintenance, ensuring your sink stays clear and functional. Hot water loosens grease and soap scum, which cold water can’t dissolve as well. When you flush, use steady water pressure to push debris through the pipes without causing damage.
Follow these steps:
- Boil a kettle or heat water until it’s very hot but not boiling.
- Slowly pour the hot water down the drain in stages, allowing it to work through buildup.
- Let the water sit for a few minutes to dissolve grease and residue.
- Flush again with hot water using steady water pressure to clear the loosened debris.
This thorough flushing prevents future blockages and supports long-term drain maintenance.
Prevent Kitchen Sink Clogs With Regular Maintenance
Although occasional clogs are common, you can prevent most kitchen sink blockages by sticking to a regular maintenance routine. This not only keeps your plumbing clear but also complements your kitchen décor by avoiding unsightly leaks or drips.
By integrating simple habits into your cooking tips, you’ll maintain a smooth-running sink effortlessly.
Here’s a quick maintenance checklist to follow:
| Maintenance Task | Frequency |
|---|---|
| Run hot water after use | Daily |
| Use a drain strainer | Every use |
| Clean with baking soda/vinegar | Weekly |
Running hot water helps wash away grease, while a strainer catches food scraps that cause clogs. Weekly cleaning with baking soda and vinegar breaks down buildup before it becomes a problem.
Keep these steps consistent, and your kitchen sink will stay clog-free, preserving both function and style in your kitchen décor.
Call a Professional Plumber When Needed
If your kitchen sink clog persists despite regular maintenance and DIY efforts, it’s time to call a professional plumber. They have the tools and expertise to handle tough blockages and ensure your plumbing system works properly. Ignoring persistent clogs can lead to bigger issues, including leaks and water damage.
Here’s when you should contact a plumber:
- The clog won’t clear after multiple attempts.
- You notice foul odors or slow drainage across multiple drains.
- Signs of water leaks or damage appear under the sink.
- You need to ensure compliance with plumbing regulations, especially during renovations.
Professional plumbers also offer emergency services if your clog causes flooding or severe backups. Don’t hesitate to call for help. Timely intervention can save you money and prevent damage. Trusting a licensed plumber guarantees the job is done safely and meets local plumbing codes, protecting your home and health.
Frequently Asked Questions
Can Harsh Chemicals Damage My Kitchen Sink Pipes?
Yes, harsh chemicals can damage your kitchen sink pipes. They often cause chemical reactions that lead to pipe corrosion, especially if your pipes are older or made of metal.
Over time, this corrosion can weaken the pipes, causing leaks or bursts. To protect your plumbing, you’ll want to avoid strong drain cleaners and opt for gentler, eco-friendly solutions or mechanical methods like plungers or drain snakes instead.
How Often Should I Replace My Kitchen Sink Drain Parts?
You should replace your kitchen sink drain parts every 3 to 5 years, depending on wear and tear. Regular drain maintenance helps prevent buildup and corrosion, which extends their lifespan.
Make sure you perform a pipe inspection at least once a year to catch leaks or damage early. If you notice persistent clogs or rust, it’s a good sign you need new parts.
Staying proactive saves you from costly repairs later on.
Are There Eco-Friendly Alternatives to Baking Soda and Vinegar?
Yes, you can use eco-friendly alternatives to baking soda and vinegar. Look for biodegradable cleaners and natural drain openers made from plant-based ingredients. These products break down waste without harming the environment or your plumbing.
You’ll find options with enzymes or citrus extracts that safely clear clogs while being gentle on pipes. Using these greener choices helps you maintain a clean sink and protect the planet at the same time.
Can a Clogged Kitchen Sink Cause Bad Odors?
Oh, absolutely. Nothing like a clogged kitchen sink to gift you that not-so-pleasant surprise of bad odors! When debris sits trapped, it creates the perfect breeding ground for bacteria, causing stinky smells to sneak up.
If you want odor prevention and smell elimination, you’ve got to tackle the clog promptly. Ignoring it only lets the smell worsen, so act fast to keep your kitchen fresh and inviting.
What Tools Are Essential for DIY Plumbing Repairs?
You’ll need a few essential tools for DIY plumbing repairs: a pipe wrench, adjustable pliers, plumber’s tape, a basin wrench, and a plunger. Don’t forget a bucket to catch water.
Always prioritize plumbing safety by turning off the water supply before starting. Keep your tools clean and well-maintained to guarantee they work effectively and last longer.
Regular tool maintenance prevents accidents and helps you tackle repairs smoothly and confidently.
Conclusion
Unclogging your kitchen sink is like tuning a musical instrument; each step helps restore harmony to your plumbing. By spotting the cause and clearing debris with simple tools like boiling water, baking soda, and a plunger, you’ll get the water flowing smoothly again.
Keep up with regular maintenance to avoid future jams, and don’t hesitate to call a pro if things get too tangled. With these steps, your kitchen sink will sing in no time!