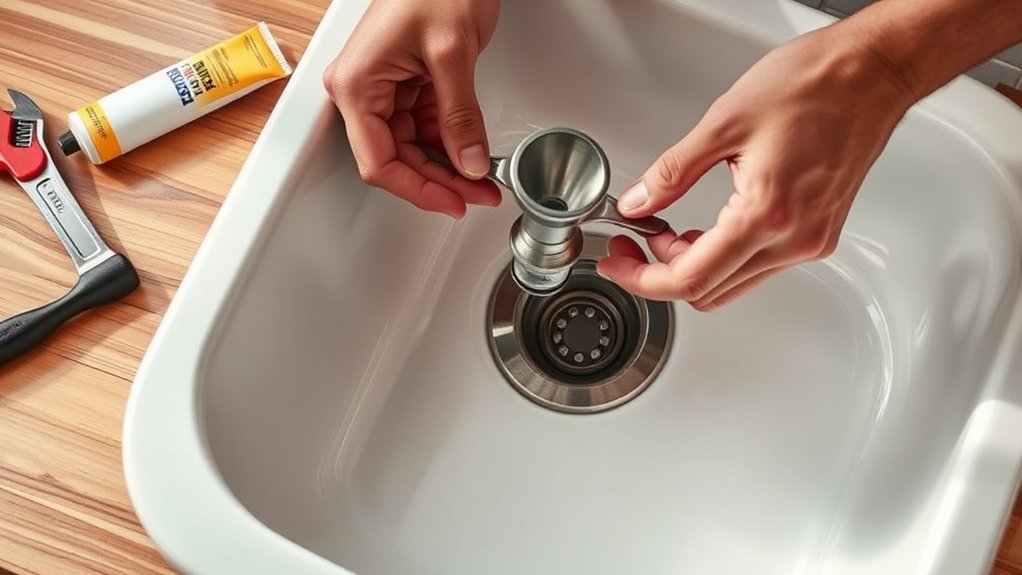
How to Install a Kitchen Sink Drain in 10 Easy Steps
If you’ve ever tried installing a kitchen sink drain, you know it can quickly become frustrating. Many people struggle with leaks, misaligned parts, or just figuring out where to start. You’re not alone—getting the drain setup right is key to avoiding future headaches and keeping your kitchen running smoothly.
To install a kitchen sink drain, start by gathering tools and clearing your workspace. Remove the old drain, then clean the drain opening thoroughly.
Roll plumber’s putty and press the drain flange into place, securing it tightly.
Attach and align the tailpiece with washers, then install the P-trap, ensuring all connections fit snugly. Tighten everything carefully and test for leaks by running water. Follow these easy steps, and you’ll soon master every detail for a perfect drain setup.
Key Takeaways
- Remove the old drain by loosening slip nuts and cleaning the drain opening thoroughly for a proper seal.
- Apply plumber’s putty around the new drain flange and secure it tightly under the sink.
- Align and attach the tailpiece to the drain flange, using washers and tightening the locknut without overtightening.
- Install the P-trap by connecting it to the tailpiece and wall pipe, ensuring slip nuts and washers are hand-tightened securely.
- Test the drain by running water, checking all connections for leaks, and tightening fittings as needed for a leak-free system.
Gather Tools and Materials
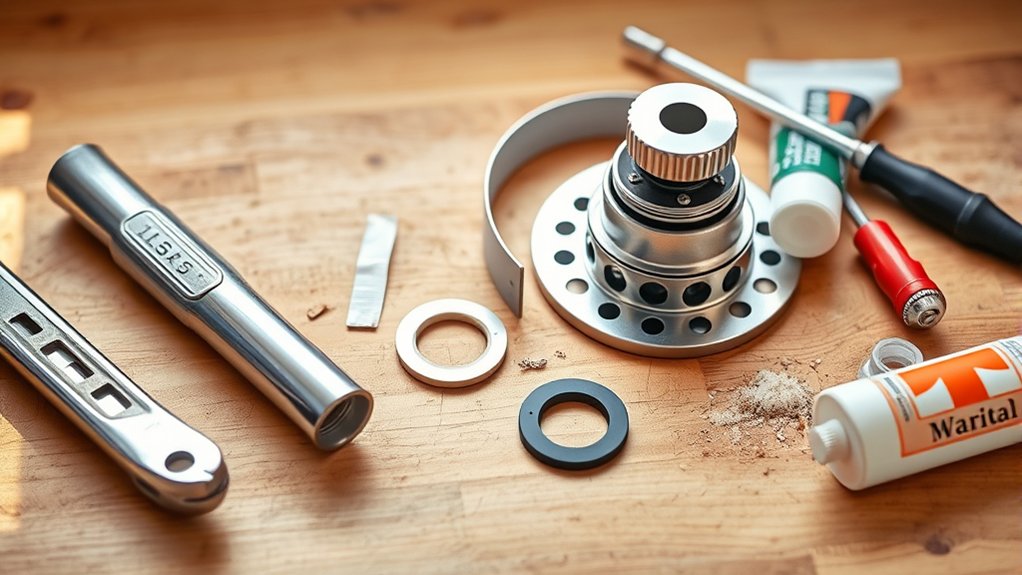
Before you begin installing your kitchen sink drain, you’ll need to gather all the necessary tools and materials. Start by collecting basic plumbing tools like a pipe wrench, adjustable pliers, plumber’s putty, and a screwdriver. Don’t forget the drain assembly parts, including the drain flange, gasket, and tailpiece. Having these ready will save you from interruptions during installation.
Make sure you also have cleaning supplies on hand, such as a scrub brush, rags, and a mild cleaner to prep the sink area before installation. Keeping the workspace clean prevents debris from interfering with the drain’s seal.
Equally important is your safety equipment. Grab gloves to protect your hands from sharp edges and chemicals, and safety glasses to shield your eyes from splashes. Wearing the right safety gear helps you work confidently and reduces the risk of injury throughout the project.
Prepare Your Sink and Work Area
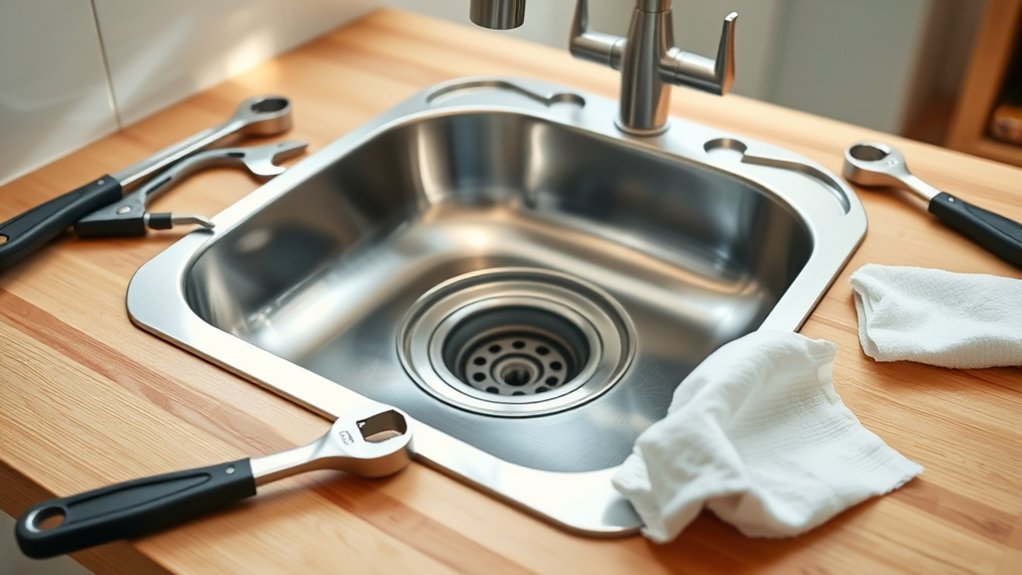
Since a clean, organized workspace makes installation smoother, start by clearing the area around your sink and removing any old plumbing parts. Wipe down the sink surface and the cabinet space underneath to remove dust and grime. This guarantees a tidy environment and helps you spot any damage or leaks before installation.
Next, inspect your sink’s decorative fixtures. If you plan on updating or reusing them, set them aside carefully to prevent scratches or dents. Pay attention to your sink aesthetics. Choosing fixtures that complement your kitchen’s style will improve the overall look once the drain is installed.
Finally, gather all your tools and materials within easy reach to avoid interruptions. Good lighting is essential, so position a portable lamp if needed. Taking these steps prepares you for a smooth, efficient installation, helping you maintain both function and style in your kitchen.
Remove the Old Drain
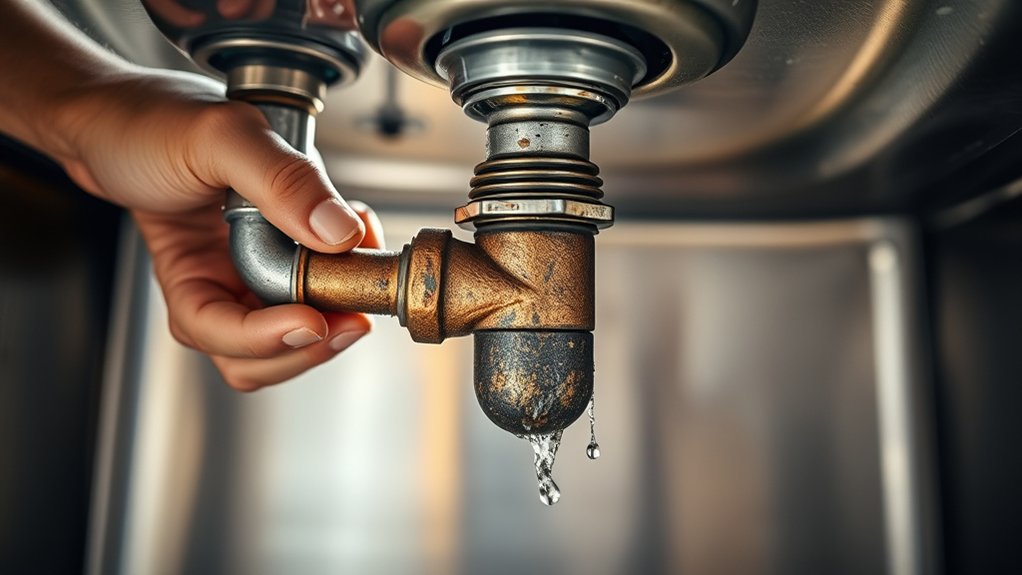
Now that your workspace is ready, it’s time to remove the old drain. Start by loosening and detaching the drain components carefully so you don’t cause any damage.
Be sure to have a bucket handy to catch any leftover water—it can get a bit messy otherwise.
Preparing the Workspace
When you’re ready to install your new kitchen sink drain, start by clearing the area beneath the sink to give yourself plenty of room to work. Remove any cleaning supplies, trash bins, or stored items to prevent obstruction.
Wipe down the space to eliminate dust and grime, creating a clean environment for your project. This step helps you focus and avoid mistakes.
As you prepare, consider design inspiration for your new drain, opting for eco-friendly materials that reduce environmental impact. Choosing sustainable components not only benefits the planet but also improves your kitchen’s overall look and function.
A well-prepared workspace sets the stage for a smooth installation, so take your time to organize and plan before moving on.
Detaching Drain Components
Before installing your new kitchen sink drain, you’ll need to carefully detach the old drain components. Start by placing a bucket underneath to catch any water. Identify the drain material, whether PVC, metal, or rubber, as this affects how you remove it.
Use an adjustable wrench or pliers to loosen the slip nuts and connections. If parts are stuck, apply a penetrating lubricant, but avoid forcing tools to prevent damage. Proper tool maintenance is vital; clean and inspect your tools before use to guarantee they work smoothly and avoid slipping.
Once the drain assembly is loose, carefully remove each component, noting their arrangement for reassembly. Dispose of old parts responsibly. This step sets a solid foundation for installing your new kitchen sink drain efficiently.
Clean the Drain Opening Thoroughly
Although it might seem like a small step, cleaning the drain opening thoroughly guarantees a secure and leak-free installation. Before you proceed, make sure you have the right plumber’s tools handy to make the process efficient and effective.
Proper drain cleaning removes debris, old sealant, and grime that could compromise your installation.
Follow these steps to clean the drain opening:
- Use a putty knife or scraper to gently remove any old putty or residue.
- Clean the area with a damp cloth to wipe away loosened debris.
- Inspect the opening for any damage or rough edges and smooth them with sandpaper if needed.
- Dry the drain opening completely to assure no moisture interferes with the seal.
Use Plumber’s Putty to Seal the Drain Flange
Before you set the drain flange in place, roll plumber’s putty into a rope and apply it around the underside of the flange. This putty creates a watertight seal that prevents leaks under your sink. Just make sure the putty is evenly applied so you don’t end up with any gaps once you press the flange down.
Applying Plumber’s Putty
When you apply plumber’s putty, you create a watertight seal that prevents leaks around the drain flange. This step is essential for maintaining proper kitchen organization and ensuring that your sink functions smoothly during cooking techniques that require quick cleanup.
Here’s how to apply it effectively:
- Roll a small amount of plumber’s putty into a rope about 1/4 inch thick.
- Press the putty rope evenly around the underside of the drain flange.
- Carefully place the flange into the sink’s drain hole, pressing firmly.
- Wipe away any excess putty that squeezes out to keep the area neat.
This process helps maintain a clean, efficient kitchen setup, letting you focus on your cooking techniques without worrying about leaks.
Ensuring a Watertight Seal
How do you guarantee your kitchen sink drain stays leak-free? Start by applying plumber’s putty around the drain flange to create a waterproof membrane between the sink and the drain assembly. This seal prevents water from seeping under the flange, protecting your cabinet from damage.
After spreading a generous bead of putty, press the drain flange firmly into place. Next, tighten the drain assembly from underneath, making sure the flange stays snug and the putty squeezes out slightly. This confirms a solid seal.
Finally, wipe away any excess putty that oozes out. By carefully sealing the drain flange with plumber’s putty, you create a reliable waterproof membrane that keeps your kitchen sink drain watertight and prevents leaks for years to come.
Insert and Fasten the Drain Flange
Where do you start securing the drain flange to guarantee a tight, leak-free fit? Begin by inserting the flange into the sink’s drain hole, making sure the plumber’s putty or gasket beneath it creates a solid seal. This step is crucial for effective drain installation and ongoing plumbing maintenance.
Start by inserting the drain flange with plumber’s putty or gasket to ensure a secure, leak-free seal.
Follow these steps to fasten the drain flange properly:
- Press the flange firmly into place, allowing excess putty to squeeze out.
- From under the sink, slide the rubber gasket and metal washer onto the threaded portion.
- Screw on the mounting nut by hand, then tighten it with a wrench for a snug fit.
- Remove any excess putty from around the flange on the sink surface.
Attach the Kitchen Sink Drain Tailpiece
Now that the drain flange is secure, the next step is to line up the tailpiece right underneath it. You want to make sure it fits snugly. Once it’s in place, go ahead and secure it with washers to keep any leaks at bay. Just tighten everything enough so it holds firmly—no need to overdo it.
Aligning The Tailpiece
Before securing the tailpiece, make sure it aligns perfectly with the sink drain and the trap. Proper tailpiece alignment prevents leaks and ensures smooth drainage.
Follow these steps for accurate drain positioning:
- Hold the tailpiece against the sink drain outlet and check its angle.
- Adjust the tailpiece so it lines up directly with the trap inlet.
- Ensure there’s enough clearance for any fittings or washers you’ll install later.
- Double-check that the tailpiece isn’t twisted or under strain, which can cause misalignment.
Taking time with tailpiece alignment now will save you from leaks or rework later. Once you’re confident the drain positioning is spot on, you can proceed to secure the tailpiece properly.
Securing With Washers
Once you’ve aligned the tailpiece correctly, you’ll secure it using washers to create a watertight seal. Start by placing the rubber washer onto the drain tailpiece, followed by the metal washer to evenly distribute pressure.
Pay close attention to the drain flange positioning to guarantee it sits flush against the sink’s drain hole. This prevents leaks and maintains proper alignment.
Next, thread the locknut onto the tailpiece, tightening it by hand at first. Then use pliers or a wrench to snug it further, but don’t overtighten as this could damage the washers or flange.
Properly securing washers ensures your drain won’t leak and keeps everything stable. Take your time here; a solid seal now saves you from future water damage and repairs.
Install the P-Trap and Ensure Proper Fit
Although installing the P-trap might seem tricky, you can handle it by carefully aligning the pieces and tightening the connections. The P-trap is essential for preventing sewer gases from entering your kitchen, so guaranteeing a proper fit is vital. Here’s how to get it right:
- Choose the right drain pipe materials compatible with your sink and wall drain. PVC or metal are common options.
- Position the P-trap under the sink, aligning it with the drain tailpiece and wall drain pipe.
- Slide the slip nuts and washers onto the pipes before connecting the P-trap; this helps with easy adjustments.
- Hand-tighten the slip nuts to hold the P-trap in place but stay ready to adjust for an airtight seal.
Proper installation also makes future P trap maintenance easier, preventing leaks and clogs. Take your time to guarantee everything fits snugly before moving to the next step.
Tighten All Connections and Check for Leaks
As you finish assembling the drain components, tighten all slip nuts and connections firmly by hand. Then use a wrench for a snug fit without over-tightening. Over-tightening can cause cracks or damage, while under-tightening may lead to leaks.
Apply the appropriate sealant types, like plumber’s putty or silicone, to joints that require extra sealing. Avoid using sealants that promote pipe corrosion, especially on metal parts.
Once tightened, inspect each connection carefully for potential leaks. Here’s a quick reference for common connection points:
| Connection Point | Recommended Sealant Type | Notes on Pipe Corrosion |
|---|---|---|
| Tailpiece Joint | Plumber’s putty | Avoid harsh chemicals |
| P-Trap Slip Nuts | Rubber washers | Check washers regularly |
| Drain Flange | Silicone sealant | Prevent water damage |
Proper tightening and sealant use ensure a durable, leak-free kitchen sink drain.
Test the Drain for Smooth Flow and No Drips
After tightening all connections and applying sealants, you’ll want to verify that the drain flows smoothly and doesn’t leak. This step confirms your plumbing maintenance is effective and prevents future issues. Here’s how to test the drain:
Verify smooth, leak-free drain flow after tightening connections to ensure effective plumbing maintenance and prevent future problems.
- Run water at full pressure to check for smooth flow without any slow drainage or gurgling sounds.
- Carefully inspect all joints and seals for drips or moisture buildup.
- Use a flashlight to spot any hidden leaks under the sink or around the drain pipes.
- If you notice slow drainage, consider performing drain cleaning to clear any blockages.
Testing the drain now saves you from costly repairs later and keeps your kitchen sink working efficiently. Regular drain cleaning and plumbing maintenance are key to avoiding clogs and leaks, so make this test a routine part of your sink installation process.
Frequently Asked Questions
What Type of Plumber’s Putty Is Best for Kitchen Sinks?
You’ll want to use a non-staining plumber’s putty specifically designed for kitchen sinks to avoid discoloring your countertop. This type seals well around the drain and prevents leaks.
When you apply it, make certain it’s evenly spread to create a tight seal that helps with effective drain cleaning later on. Avoid cheap putties that can crack or crumble, as they won’t hold up under regular use and may cause plumbing issues.
Can I Install a Kitchen Sink Drain Without Professional Help?
Yes, you can install a kitchen sink drain without professional help. You can tackle DIY plumbing, save money, and gain confidence by doing it yourself. However, you should follow instructions carefully, use the right tools, and check for leaks.
While professional installation guarantees expertise and quick fixes, DIY plumbing lets you control the process and learn new skills. Just make sure you’re prepared and patient throughout the project.
How Often Should I Replace My Kitchen Sink Drain?
You should consider drain cleaning every few months to keep your kitchen sink drain clear and functioning well.
As for replacement frequency, most kitchen sink drains last around 10 to 15 years. But you might need to replace yours sooner if you notice leaks, rust, or persistent clogs despite regular cleaning.
Keep an eye on its condition, and don’t hesitate to replace it if problems keep popping up.
What Causes Persistent Leaks in Kitchen Sink Drains?
Oh, your kitchen sink drain just loves to perform a never-ending drip recital, huh? Persistent leaks usually happen because your pipes have decided to throw a rusty party. Hello, pipe corrosion!
Or maybe you thought “improper sealing” was a fun DIY challenge. When seals aren’t snug, water sneaks out like it owns the place. So, if you want peace and dryness, ditch the corrosion and seal those joints tight before your sink becomes a fountain.
Are There Eco-Friendly Alternatives to Traditional Drain Materials?
Yes, you can choose eco-friendly alternatives to traditional drain materials. Look for biodegradable materials like bamboo or certain bioplastics that break down naturally, reducing landfill waste.
You’ll also find recycling options for metal drains, allowing you to reuse old parts instead of throwing them away. By opting for these sustainable choices, you not only help the environment but also promote a greener kitchen setup that’s both functional and eco-conscious.
Conclusion
Now that you’ve followed these simple steps, your kitchen sink drain should be working perfectly. Isn’t it satisfying to know you’ve handled the job yourself, saving time and money?
With the right tools and a bit of patience, installing a kitchen sink drain isn’t as intimidating as it seems. Just keep an eye out for any leaks, and enjoy your smoothly flowing sink.
You’ve got this! Installing a kitchen sink drain yourself is a great way to gain confidence and take control of your home repairs.