How to Install a Kitchen Backsplash in 10 Easy Steps
If you’ve ever tried to install a kitchen backsplash and felt overwhelmed by the process, you’re not alone. Many people struggle with getting the layout right or dealing with messy grout. But with the right guidance, you can transform your kitchen easily and confidently.
To install a kitchen backsplash in 10 easy steps, start by gathering tools and prepping your wall. Clean it well and smooth any damage.
Measure carefully and plan your tile layout from the bottom center for balance.
Cut tiles safely to fit, then apply adhesive evenly with a notched trowel. Place tiles using spacers for even gaps, and let adhesive set before grouting.
Finish by applying grout, wiping off excess, and sealing for protection. You’ll want to follow each step closely to get professional results.
Key Takeaways
- Prepare the wall by cleaning, sanding, and filling holes. This ensures smooth, strong tile adhesion.
- Measure and plan your tile layout starting from the bottom center. This helps create a balanced and symmetrical installation.
- Cut tiles accurately with the right tools. Don’t forget to wear safety gear, especially when fitting tiles around outlets and corners.
- Apply adhesive evenly using a notched trowel. Place tiles with spacers and check their alignment carefully.
- Once the adhesive cures, grout the gaps and clean off any excess. Then seal the grout to protect it and boost durability.
Get the Right Tools and Materials Ready
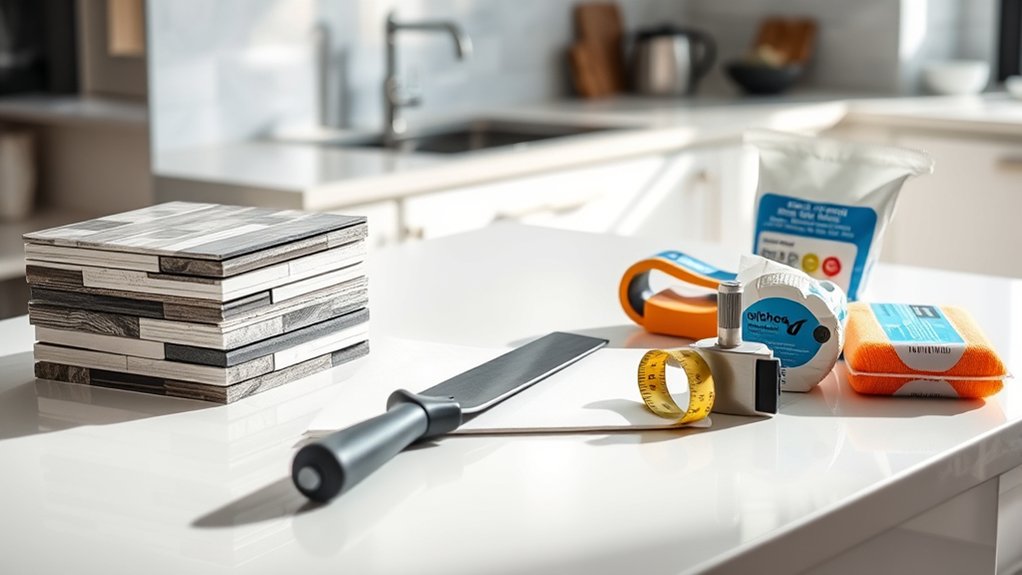
Before you begin installing your kitchen backsplash, make sure you have all the necessary tools and materials on hand. Start by selecting tiles that suit your style, focusing on decorative tile patterns that complement your kitchen’s vibe.
Begin your backsplash project by choosing stylish decorative tiles that enhance your kitchen’s unique atmosphere.
Don’t forget to take into account backsplash color schemes that’ll harmonize with your countertops and cabinets. Gather adhesive or thin-set mortar, a notched trowel for spreading it evenly, and tile spacers to keep your layout consistent.
Have a tile cutter or wet saw ready to trim tiles as needed. You’ll also need a level to ensure your tiles align perfectly, a tape measure for accurate spacing, and a pencil to mark cut lines. Safety gear, like gloves and goggles, is essential too.
With these tools and materials prepared, you’ll avoid interruptions and keep your backsplash installation smooth and efficient from start to finish. Proper preparation sets you up for a beautiful, lasting result.
Prepare Your Wall by Cleaning and Smoothing
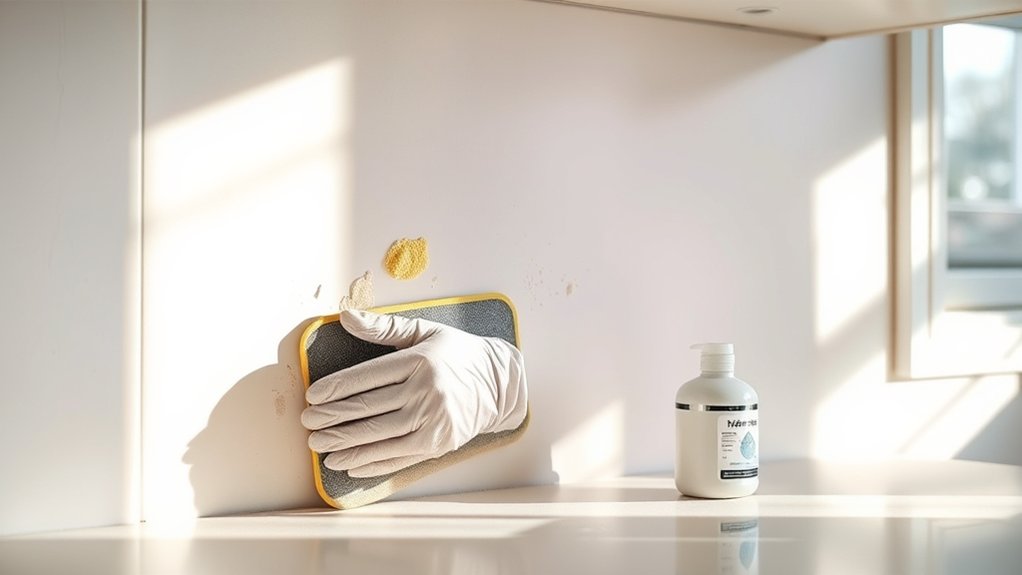
Since a clean, smooth surface guarantees your backsplash adheres properly, you’ll want to thoroughly clean your wall and remove any grease, dust, or loose paint. Begin your wall preparation by wiping down the area with a mixture of warm water and mild detergent. Use a sponge or cloth to scrub off any stubborn residue, then rinse and let it dry completely.
Next, focus on surface smoothing. Check for any bumps, holes, or uneven spots on the wall. Use sandpaper or a sanding block to gently smooth out rough areas. If you find any holes or cracks, fill them with spackle or joint compound, let it dry, then sand again until the surface is flat and even.
Proper wall preparation sets a solid foundation for your backsplash installation, ensuring the adhesive bonds well and your tiles look flawless for years to come.
Measure and Plan Your Kitchen Backsplash Layout
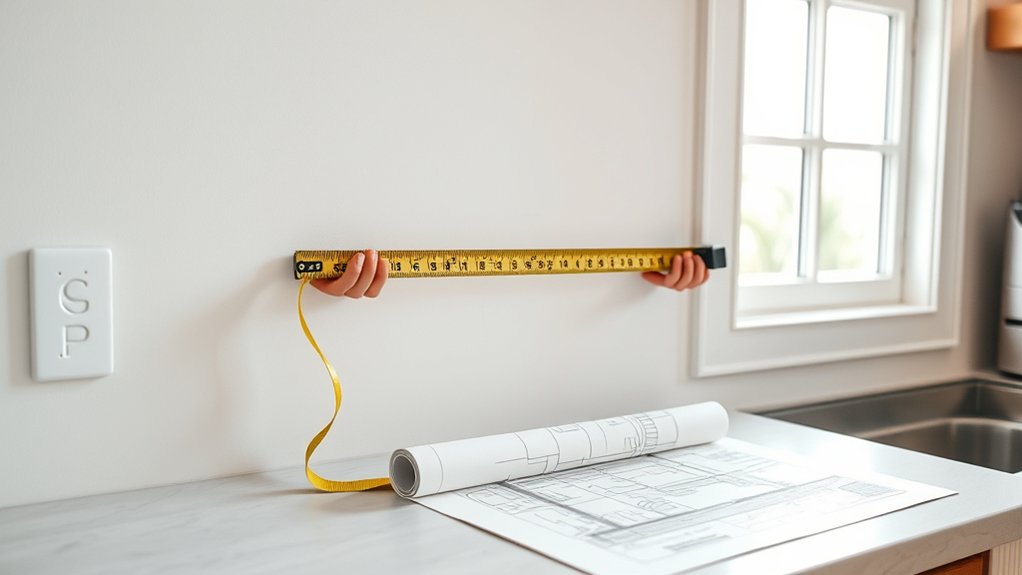
First, take some time to measure your wall carefully—this way, you’ll make sure your backsplash fits just right. Next, think about your tile layout and plan it out so the design looks balanced and visually appealing. Doing these steps ahead of time will definitely save you a lot of time and frustration when it comes to installation.
Accurate Wall Measurements
Although measuring might seem straightforward, getting accurate wall measurements is essential to guarantee your backsplash fits perfectly and looks professional. Start by evaluating the wall surface for any irregularities, as these can affect measurement accuracy.
Use a reliable tape measure and record the width and height of each wall section where the backsplash will go. Measure twice to avoid mistakes.
| Measurement Point | Width (inches) | Height (inches) |
|---|---|---|
| Left Wall | 48 | 18 |
| Middle Section | 72 | 20 |
| Right Wall | 36 | 18 |
These precise measurements help you plan your tile purchase and installation, ensuring the backsplash complements your kitchen perfectly without gaps or overlaps.
Design and Tile Placement
Before you lay a single tile, you need to carefully plan your backsplash design and tile placement to guarantee a balanced, visually appealing result. Start by measuring your wall precisely, then sketch your layout on paper.
Consider color coordination with your countertops, cabinets, and walls to ensure harmony in your kitchen’s overall look. Choose tiles that not only match your style but also offer material durability to withstand heat, moisture, and daily wear.
Arrange tile samples on the wall or floor to visualize patterns and spacing. Plan for even cuts at edges and around outlets to keep your design clean.
Taking the time to map out your layout now saves you from costly mistakes later and creates a backsplash you’ll enjoy for years.
Cut Tiles Safely to Fit Around Outlets and Corners
Before you start cutting tiles to fit around outlets and corners, make sure you’re wearing the right safety gear, like gloves and goggles. It’s really important to protect yourself.
Next, take your time to measure and mark your tiles carefully so they fit perfectly into the space you need to fill.
Then, use the proper tile cutting tools to make clean, precise cuts. This way, you won’t damage the tiles and everything will look great once it’s done.
Proper Safety Gear
When you cut tiles to fit around outlets and corners, you’ll need the right safety gear to protect yourself from sharp edges and flying debris. Taking proper safety precautions guarantees you avoid injuries and keep your workspace safe. Always wear protective gear designed for tile cutting tasks to shield your eyes, hands, and lungs.
Here’s a quick list of essential protective gear:
- Safety goggles to protect your eyes from shards
- Cut-resistant gloves to shield your hands
- Dust mask to prevent inhaling fine particles
- Long sleeves to protect your arms from sharp edges
- Ear protection if using loud cutting tools
Measuring and Marking
Although measuring and marking tiles precisely can be tricky, it’s essential for a professional-looking backsplash. Start by evaluating your wall textures, as uneven surfaces may require extra attention to ensure tiles lay flat.
Use a pencil and a level to mark the tile patterns directly onto the tiles before cutting. Measure around outlets and corners carefully, marking exact cut lines to fit tiles snugly without gaps.
Double-check your measurements to avoid mistakes, especially where tiles meet electrical outlets or cabinet edges. Remember, consistent tile patterns create a seamless, polished look.
Taking your time with accurate measuring and marking sets the foundation for a clean installation that complements your kitchen’s style perfectly.
Using Tile Cutting Tools
Since precise cuts are essential for a professional finish, you’ll want to use the right tile cutting tools to fit tiles neatly around outlets and corners. Matching your tile pattern while applying proper cutting techniques guarantees clean edges and a seamless look.
Start by measuring the space carefully, then mark your tile accordingly. Use tools designed for different cuts to maintain accuracy and safety.
Manual tile cutter for straight cuts
Tile nippers for small, curved adjustments
Wet saw for thicker or porcelain tiles
Ruler and pencil for marking the tile pattern
Safety goggles and gloves to protect yourself
Apply Adhesive Evenly for Your Kitchen Backsplash
Before you start placing tiles, make sure you spread the adhesive evenly across the wall to guarantee a strong, lasting bond. Choosing the right adhesive type is essential. Mastic works well for dry areas, while thinset mortar suits moist environments.
Use a notched trowel to apply the adhesive. The size of the notches affects the thickness and evenness of the layer. Hold the trowel at a consistent 45-degree angle and spread the adhesive using smooth, overlapping strokes to avoid lumps or gaps.
| Adhesive Type | Best Use |
|---|---|
| Mastic | Dry areas |
| Thinset | Moist or heat areas |
| Premixed | Quick, easy jobs |
| Epoxy | High durability |
Proper application techniques ensure your backsplash stays secure and prevent tiles from shifting or detaching over time. Take your time spreading the adhesive evenly before moving on to tile placement.
Place Tiles Starting From the Bottom Center
Start by finding the exact bottom center of your backsplash area. Then, line up your first tile right there to make sure everything looks balanced. This careful placement is key because it helps keep your tiles straight as you work your way outward.
Find Bottom Center
Where exactly should you begin tiling your kitchen backsplash? Start at the bottom center of the wall. This spot helps guarantee tile symmetry and a balanced look as you work outward. Finding the bottom center anchors your design and makes the installation easier.
To find the bottom center:
Measure the total width of the backsplash area. Divide the width by two to locate the midpoint. Mark this point at the bottom edge of the backsplash.
Snap a vertical chalk line upward from the mark. Use this line as your starting guide for placing tiles.
Starting here lets you work symmetrically, preventing uneven cuts or awkward gaps along the edges. Focusing on the bottom center sets a solid foundation for your tile layout.
Align Tiles Precisely
Once you’ve marked the bottom center and snapped your vertical chalk line, you’ll want to place your first tiles right along this guide. Start from the bottom center and work outward to assure your backsplash aligns perfectly.
This approach helps maintain symmetry, especially when dealing with decorative patterns that need precise matching. Pay close attention to color coordination to create a seamless, balanced look.
Use spacers to keep grout lines even and check frequently that tiles remain flush with the chalk line. If your tiles feature intricate designs or contrasting colors, aligning from the center guarantees your pattern stays consistent and visually appealing across the entire backsplash.
Taking these careful steps will save you time and avoid corrections later on.
Use Spacers to Space Your Tiles Evenly
Although it might seem tempting to place tiles without spacers, using them guarantees your backsplash looks professional and uniform. Spacers keep your tiles evenly spaced, which is essential for a clean backsplash design and assures the tile grout fills the gaps neatly. Without spacers, your tiles can shift during installation, causing uneven grout lines and a less polished finish.
When you place spacers between your tiles, you’ll:
- Maintain consistent gaps for grout application
- Achieve a balanced and symmetrical backsplash design
- Prevent tiles from sliding out of alignment
- Guarantee easier grout application later on
- Create a professional, custom look with even spacing
Using the right sized spacers for your tile grout width is key. Don’t rush this step. It sets the foundation for a backsplash that looks great and lasts long. Take your time placing spacers after aligning each tile, and your kitchen will have a flawless, professional finish.
Wait for Adhesive to Set Before Grouting
After spacing your tiles evenly with spacers, you need to let the adhesive fully set before moving on to grouting. This waiting period is essential because proper adhesive curing ensures your tiles stay firmly in place. Rushing this step can lead to tiles shifting or coming loose later.
Typically, adhesive curing takes about 24 hours, but always check the manufacturer’s instructions for exact times. During this time, avoid disturbing the tiles or exposing them to moisture.
Once the adhesive has cured, you can confidently apply grout without worrying about tile movement. Remember, grout drying is a separate process that happens after you apply the grout, so don’t confuse it with adhesive curing.
Apply Grout and Remove Excess From Tiles
Before the grout starts to harden, apply it evenly across the tiles using a rubber float. Press it firmly into the gaps to fill them completely. Make sure you choose grout with a color that complements your backsplash and kitchen design.
After filling the joints, hold the float at a 45-degree angle and scrape off excess grout from the tile surfaces. Don’t wait too long because removing the excess while the grout is still wet prevents hard-to-clean residue.
Next, use a damp sponge to gently wipe the tiles. This softens any grout haze without pulling grout from the joints. Rinse the sponge frequently to keep the tiles clean.
Let the grout set slightly before doing a final wipe to ensure a smooth finish.
Key points to remember:
- Press grout firmly into gaps for full coverage
- Match grout color for a cohesive look
- Remove excess grout promptly
- Use a damp sponge to clean haze
- Avoid disturbing grout before it sets
This sets you up well before grout sealing.
Seal the Grout to Protect Your Kitchen Backsplash
Once you’ve cleaned off the grout haze and allowed it to set, sealing the grout will help protect your kitchen backsplash from stains, moisture, and daily wear. Grout sealing is essential because it creates a protective barrier that prevents moisture from seeping into the grout lines. This moisture can cause mold, mildew, and damage over time.
To seal the grout, choose a high-quality grout sealer designed for kitchen use. Apply it evenly with a small brush or applicator, making sure to cover all grout lines thoroughly. Let the sealer penetrate for the recommended time, then wipe off any excess from the tiles to avoid residue.
After the sealer dries, your backsplash will have improved moisture protection, making cleaning easier and extending its lifespan. Remember, regularly resealing every 1-2 years keeps your grout in top shape. This ensures your kitchen backsplash stays beautiful and durable for years to come.
Frequently Asked Questions
What Types of Tiles Are Best for Kitchen Backsplashes?
You’ll find ceramic and porcelain tiles are best for kitchen backsplashes since they’re durable and easy to clean. Glass tiles add a sleek, modern look, while natural stone offers a classic vibe.
When choosing tile patterns, consider subway or herringbone for style and simplicity. Don’t forget grout colors. They can either blend in for a seamless look or contrast to make patterns pop, giving your backsplash a unique personality.
How Long Does the Entire Backsplash Installation Usually Take?
Installing a kitchen backsplash usually takes about 4 to 8 hours, like painting a masterpiece one brushstroke at a time. Your tile patterns and grout colors can affect this. Intricate patterns take longer, and matching grout colors requires extra precision.
If you prep well and keep everything organized, you’ll breeze through it faster. Just remember, patience pays off when your backsplash turns out flawless and adds that perfect pop to your kitchen.
Can I Install a Backsplash Over Existing Wallpaper or Paint?
You can install a backsplash over paint if you do proper paint preparation, like cleaning and sanding the surface to guarantee good adhesion.
However, you shouldn’t install directly over wallpaper. You’ll need to do wallpaper removal first because wallpaper can peel or trap moisture, causing your backsplash to fail.
Taking the time to prep the wall by removing wallpaper and properly prepping painted surfaces will give you a smooth, durable backsplash installation.
What Safety Precautions Should I Take When Cutting Tiles?
You should always wear safety gear like goggles and gloves to protect your eyes and hands when cutting tiles. Use proper cutting techniques, like scoring tiles gently before snapping them or using a wet saw for smoother cuts.
Keep your workspace clean and well-lit to avoid accidents. Don’t rush, and make sure your tools are sharp and in good condition. Making sure these steps keeps you safe and ensures better results.
How Do I Maintain and Clean My Kitchen Backsplash?
You might think cleaning a backsplash is too much hassle, but with simple cleaning tips, it’s easy to keep it looking great. Wipe your backsplash regularly with a mild detergent or vinegar solution to prevent stains.
For maintenance routines, avoid abrasive tools that can scratch tiles or grout. Seal grout lines every six months to protect against moisture and dirt. Staying consistent makes your backsplash last longer and stay beautiful with minimal effort.
Conclusion
Installing your kitchen backsplash might seem intimidating at first, but by following these simple steps, you’ll transform a plain wall into a stunning focal point. The patience you invest in careful measuring and setting contrasts beautifully with the immediate satisfaction of seeing your tiles in place.
Remember, the effort you put in now protects and beautifies your kitchen for years. So don’t rush. Embrace the process and enjoy your new backsplash installation!