How to Replace a Kitchen Sink in 3 Easy Steps
Replacing a kitchen sink can feel overwhelming, especially if you’re not sure where to start or worry about making a mess. You’re not alone—many people struggle with this task and wish there was a simple, straightforward way to get it done without stress.
If you’ve been putting off upgrading your kitchen sink, this guide will help you tackle the job with confidence.
To replace your kitchen sink in 3 easy steps, start by gathering all necessary tools and materials like wrenches, supply lines, and sealant, and turn off the water supply.
Next, carefully disconnect plumbing and remove the old sink, loosening mounting clips or caulk as needed.
Finally, install the new sink by sealing the edges, securing it with clips, reconnecting plumbing, and testing for leaks.
Keep going to investigate useful tips that make the process smoother.
Key Takeaways
- Turn off the water supply and disconnect plumbing fixtures carefully before removing the old sink.
- Loosen mounting clips or caulk to detach and lift out the old sink safely.
- Verify the new sink fits the countertop cutout and apply sealant around the edge before installation.
- Secure the new sink with mounting clips and reattach the faucet and plumbing connections.
- Test all water connections for leaks and ensure the sink is firmly installed and functional.
Gather Essential Tools and Materials for Kitchen Sink Replacement

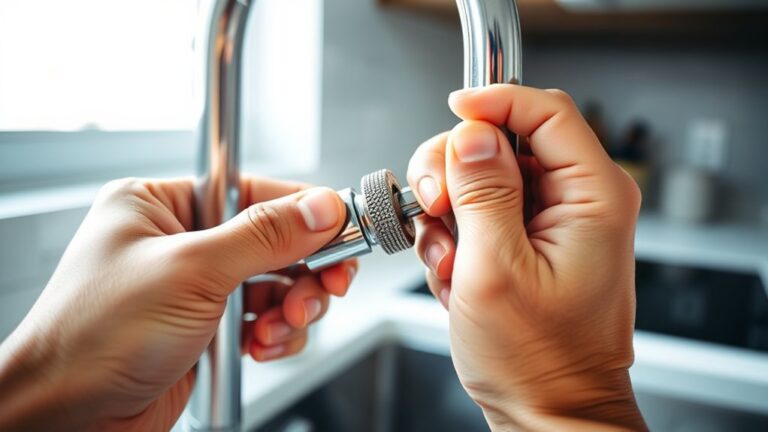
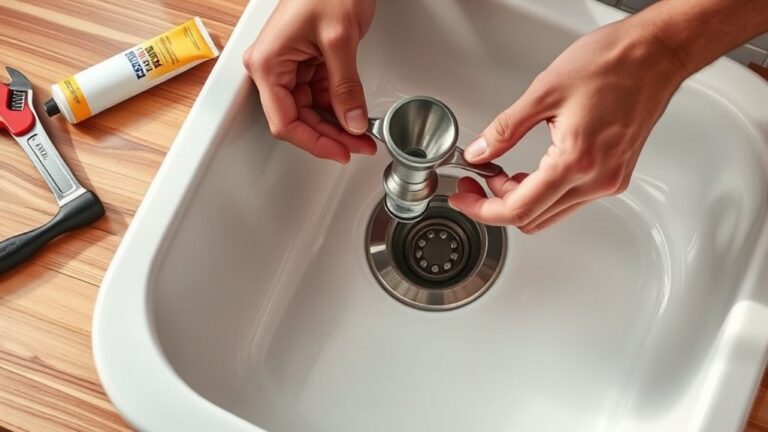
Before you begin replacing your kitchen sink, gather all the essential tools and materials to assure a smooth process. Start by collecting plumbing fixtures such as new faucet sets, supply lines, and drain assemblies tailored to your sink model.
Gather all essential tools and plumbing fixtures before replacing your kitchen sink for a smooth, hassle-free process.
Don’t forget essential sink accessories like mounting clips, putty, and sealant to guarantee a watertight fit. You’ll also need common tools like an adjustable wrench, plumber’s putty, a screwdriver, and a basin wrench for hard-to-reach nuts.
A bucket and towels will help manage any leftover water during the change. Confirm that your new sink aligns with your countertop cutout and plumbing connections before starting.
Having everything ready prevents delays and frustration. By gathering the right plumbing fixtures and sink accessories upfront, you’ll handle the replacement efficiently and avoid surprises mid-project.
This preparation sets a solid foundation for a successful kitchen sink replacement.
How to Remove Your Old Kitchen Sink Safely

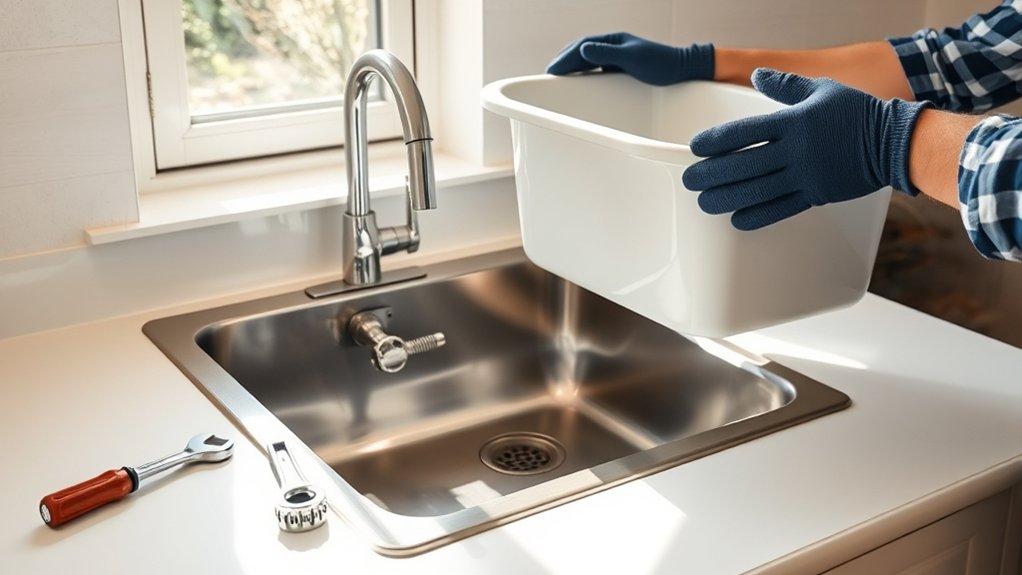
Although removing your old kitchen sink might seem intimidating, following a clear process makes it manageable and safe. First, turn off the water supply to prevent leaks or flooding.
Next, disconnect the plumbing carefully, paying close attention to plumbing safety. Wear gloves and goggles to protect yourself from debris or sharp edges. Use a wrench to loosen the water supply lines and drain pipes, then detach the sink’s mounting clips or caulk sealing it to the countertop.
When lifting out the sink, have a helper assist you if it’s heavy or awkwardly shaped.
For disposal methods, check local regulations for recycling or waste guidelines. Many sinks can be taken to a scrap metal recycling center or a hazardous waste facility if they contain materials like lead.
Avoid simply discarding the sink in regular trash to prevent environmental harm. By following these steps and prioritizing safety, you’ll remove your old kitchen sink efficiently and responsibly.
Step-by-Step Guide to Installing Your New Kitchen Sink
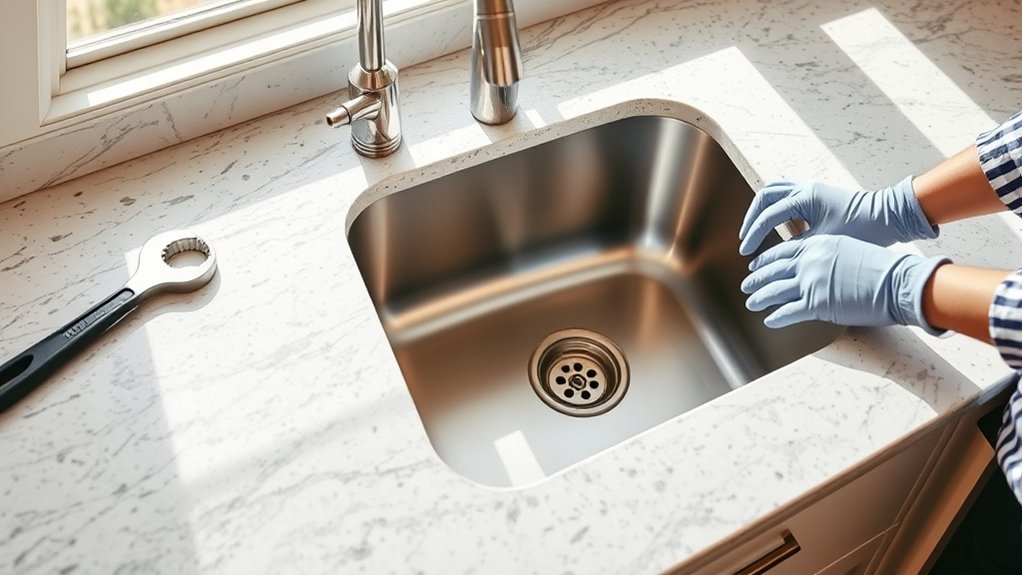
Once you’ve removed the old sink, you can begin installing your new one by preparing the countertop and plumbing connections. First, verify the countertop cutout matches your new sink’s dimensions. Apply a bead of plumber’s putty or silicone around the edge to create a watertight seal. Carefully lower the sink into place, pressing firmly.
Next, secure the sink with mounting clips underneath the countertop. Move on to faucet installation by attaching the faucet to the sink and tightening all connections. Connect the water supply lines, making sure they’re snug but not overtightened to avoid leaks.
Don’t forget the dishwasher connection. Attach the dishwasher drain hose to the sink’s drain tailpiece or a dedicated dishwasher inlet, securing it properly with a clamp. Finally, reconnect the P-trap and test all connections by running water and checking for leaks. With these steps, your new kitchen sink will be ready to use efficiently and leak-free.
Frequently Asked Questions
How Do I Choose the Right Size Sink for My Kitchen?
You’ll want to start by measuring your countertop’s cutout to guarantee countertop compatibility. Pick a sink size that fits well without overcrowding your workspace.
Consider your kitchen’s daily use. Larger sinks suit big families, while smaller ones save space. When planning, don’t forget sink installation tips like checking cabinet space underneath and plumbing connections. This way, you’ll choose a sink that fits perfectly and installs smoothly.
What Type of Sink Material Lasts the Longest?
If you want a sink material that lasts the longest, stainless steel is your best bet. It resists rust, stains, and heat, making it durable and low-maintenance.
You’ll appreciate easy cleaning tips like using mild soap and avoiding abrasive pads to keep it shiny. As for installation tools, you’ll need a wrench, plumber’s putty, and a screwdriver for a smooth setup.
This combo ensures your sink stays sturdy for years.
Can I Replace a Sink Without Changing the Faucet?
You can totally replace your sink without changing the faucet. Picture gently lifting out the old sink like sliding a puzzle piece free, then fitting the new one snugly into place.
Just make sure the faucet compatibility matches the new sink’s mounting holes. If the sink’s mounting aligns with your existing faucet setup, you’re good to go. No need to swap faucets unless you want a fresh look or upgraded features.
How Do I Prevent Leaks After Installation?
To prevent leaks after installation, you need to focus on proper leak prevention techniques. Start by applying a high-quality sealant around the sink’s edges and plumbing connections. Make sure the sealant is evenly spread and fully covers gaps.
Tighten all fittings securely but avoid over-tightening. After installation, run water to check for leaks and address any drips immediately. This will guarantee your sink stays leak-free and durable.
What Should I Do if My Plumbing Is Outdated?
If your plumbing is outdated, you should consider plumbing upgrades to avoid future issues like pipe corrosion. Imagine Sarah, who ignored her old pipes until a major leak flooded her kitchen.
Upgrading her plumbing saved her thousands and prevented health hazards. You’ll want to inspect pipes for corrosion, replace worn parts, and possibly install modern materials like PVC or PEX.
Don’t wait. Upgrading now keeps your sink working smoothly and your home safe.
Conclusion
Replacing your kitchen sink is easier than you might think. With the right tools and a clear plan, you can tackle the job confidently.
Just like fitting puzzle pieces together, removing the old sink and installing the new one flows smoothly when you follow each step carefully. Soon, you’ll enjoy a fresh, functional sink that brightens your kitchen and makes cleanup a breeze.
Don’t hesitate, your upgraded kitchen sink is within reach!