How to Make Kitchen Cabinets in 7 Easy Steps
If you’ve ever dreamed of upgrading your kitchen but felt overwhelmed by the idea of building your own cabinets, you’re not alone. Many people struggle with knowing where to start or how to get the perfect fit and finish.
The good news? Making kitchen cabinets yourself can be easier than you think, and with the right guidance, you can achieve professional-looking results.
Start by planning your cabinet design and measuring your space carefully. Gather quality materials and all the right tools before cutting wood pieces with precision.
Assemble the cabinet boxes step by step, then attach doors, drawers, and hardware accurately. Finish your cabinets with paint or stain for a durable, attractive look.
Finally, mount them securely on wall studs, ensuring everything is level and stable. Keep going, and you’ll master each step for beautiful, lasting kitchen cabinets.
Key Takeaways
- Measure your kitchen space accurately and choose cabinet style, colors, and durable materials that complement your kitchen design. This will ensure everything fits perfectly and looks great.
- Cut and prepare cabinet components using sharp tools, aligning cuts with wood grain and sanding edges for smooth finishes. Taking your time here makes assembly easier and results neater.
- Assemble cabinet boxes by attaching sides, bottom, and top panels. Secure joints with glue, clamps, and screws for strength so your cabinets hold up well over time.
- Finish cabinets with paint or stain, applying primer and thin, even coats. Then seal with a clear topcoat for durability and a professional look.
- Install cabinets securely by locating wall studs and using long screws. Level cabinets carefully and follow safety precautions during mounting to keep everything sturdy and safe.
Plan Your Cabinet Design and Measure Accurately
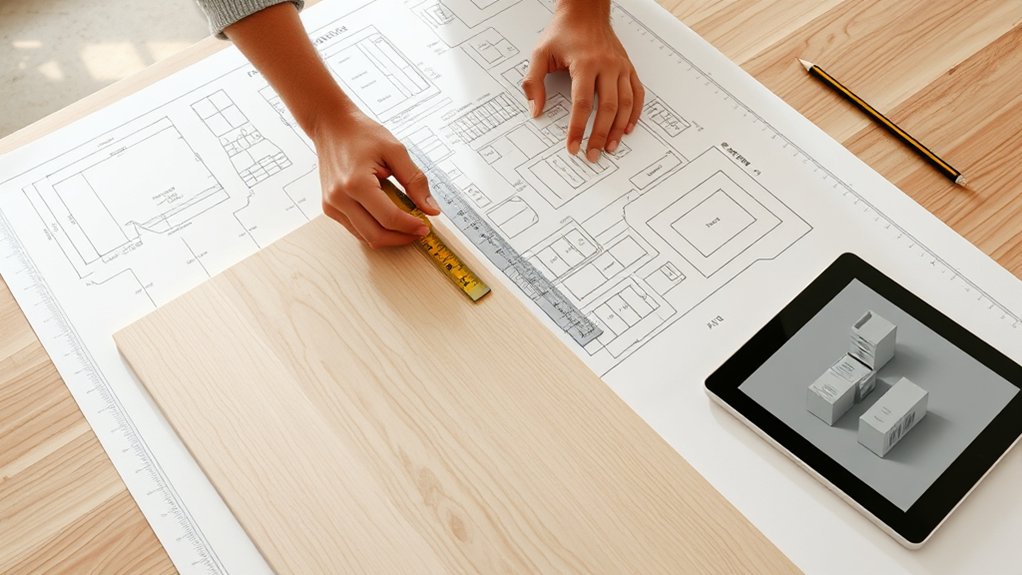
Where do you begin when making kitchen cabinets? Start by planning your cabinet design and measuring accurately. You need a clear idea of the cabinet style that fits your kitchen’s overall look, whether it’s modern, traditional, or rustic.
Think about how the style will blend with your kitchen’s existing elements. Next, focus on color coordination. Choose colors that complement your countertops, walls, and flooring to create a cohesive space.
Consider how your cabinet style harmonizes with existing features, then select colors that unify your kitchen’s design.
Accurate measurements are essential; use a reliable tape measure and double-check every dimension. Measure wall height, width, and depth where cabinets will go. Don’t forget to account for appliances and plumbing.
Sketch your layout to visualize spacing and cabinet placement. This planning step prevents costly mistakes and guarantees your cabinets not only fit perfectly but also elevate your kitchen’s aesthetic.
With a solid plan, you’re ready to move on to gathering the materials and tools needed for construction.
Gather Your Materials and Tools
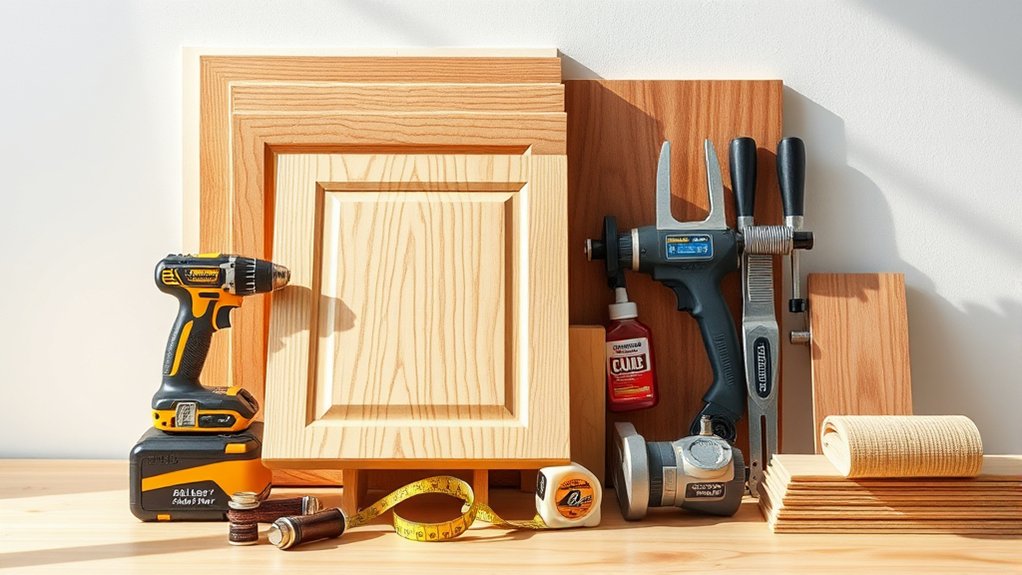
Before you start building, make sure you have all the essential tools on hand—things like a saw, drill, and measuring tape. Picking out the right materials is just as important because you want your cabinets to be sturdy and look great. So, let’s go over what you’ll need to get started.
Essential Tools Checklist
What tools do you really need to build sturdy kitchen cabinets? Start with a reliable circular saw and a drill, essential for precise cuts and secure assembly. A tape measure and carpenter’s square help assure accuracy.
Don’t forget clamps to hold pieces steady while you work. To install cabinet hardware, a screwdriver set is a must. Sandpaper or an electric sander prepares surfaces for smooth finishing techniques, giving your cabinets a professional look.
A level guarantees everything aligns perfectly, and a hammer comes in handy for small adjustments. Having these tools ready will make your cabinet-building process efficient and enjoyable, setting you up for success before moving on to material selection.
Gather these essentials, and you’re well on your way to crafting beautiful kitchen cabinets.
Material Selection Tips
With your tools ready, it’s time to focus on selecting the right materials for your kitchen cabinets. Prioritize cabinet material durability to ensure your cabinets stand up to daily use and last for years.
Solid hardwoods like oak and maple offer strength. But if you want to be kind to the environment, consider eco-friendly wood options such as bamboo or reclaimed wood. These choices provide excellent durability while reducing environmental impact.
Moreover, plywood is a strong and stable alternative for cabinet boxes. Avoid particleboard if possible, as it tends to wear out faster.
Cut and Prepare Wood Pieces for Kitchen Cabinets
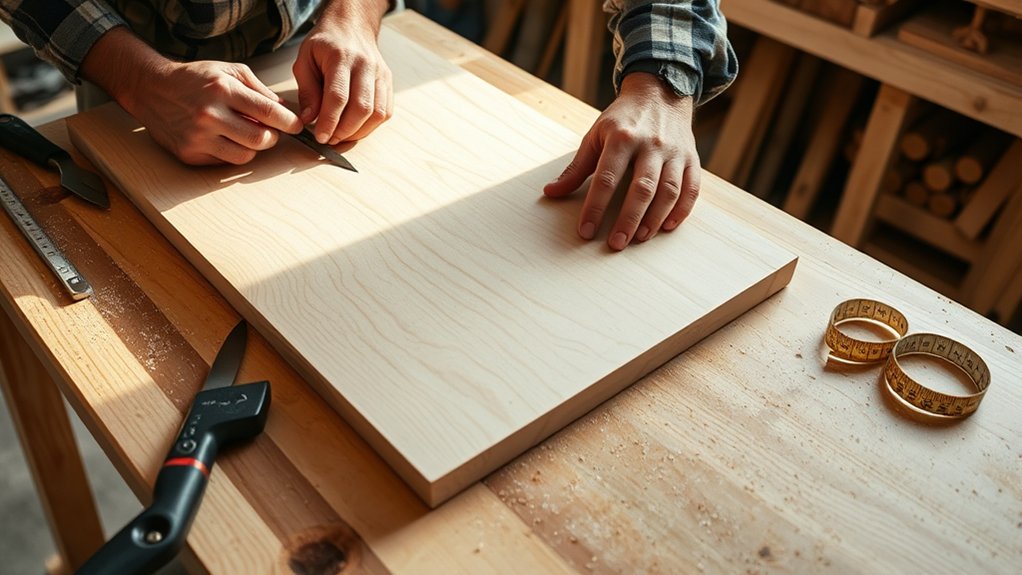
Once you have your design finalized, you’ll need to cut and prepare the wood pieces accurately to guarantee your kitchen cabinets fit perfectly. Start by studying the wood grain direction. Aligning your cuts with the grain not only improves the cabinet’s strength but also enhances its visual appeal.
Use sharp, well-maintained tools for clean cuts. This reduces splintering and ensures smooth edges.
Choose the right cutting techniques for each piece: for straight cuts, a table saw or circular saw works best, while a jigsaw handles curves or intricate shapes. Measure twice before cutting to avoid costly mistakes.
Sand each piece after cutting to smooth rough edges and prepare the surfaces for finishing. Pay attention to the thickness and dimensions you specified in your design to maintain consistency throughout.
Assemble Kitchen Cabinet Boxes Step by Step
Before you start assembling your cabinet boxes, make sure you have all the materials and tools ready. It really helps to have everything within reach before diving in. Then, just follow a clear, step-by-step process to put the pieces together accurately. Take your time with each step to avoid mistakes. And don’t forget to secure all joints and edges tightly—this will ensure your cabinets are sturdy and long-lasting.
Preparing Materials And Tools
Although assembling kitchen cabinet boxes might seem intimidating, gathering the right materials and tools will make the process straightforward and efficient. Before you start, focus on selecting cabinet styles that suit your kitchen’s design. Also, consider caring for hardware to guarantee durability.
Having everything prepared will save you time and frustration.
| Material/Tool | Purpose | Tips |
|---|---|---|
| Plywood Sheets | Cabinet box structure | Choose quality, smooth finish |
| Drill & Bits | Fastening components | Use appropriate drill bits |
| Wood Glue | Strengthening joints | Apply sparingly for neatness |
| Clamps | Holding pieces together | Secure firmly during drying |
| Screws & Hardware | Assembly and finishing | Care for hardware to avoid rust |
Prepare these essentials to guarantee your cabinet assembly goes smoothly.
Stepwise Box Assembly
As you begin assembling your kitchen cabinet boxes, focus on aligning and securing each panel carefully to guarantee a sturdy frame. Start by attaching the sides to the bottom panel, ensuring edges meet squarely. Use clamps to hold pieces steady while you drill pilot holes and insert screws.
Next, fix the top panel, double-checking all corners remain flush. Once the box structure is firm, consider your cabinet hinge installation. Pre-drill holes for hinges to avoid splitting wood, positioning them precisely for smooth door movement.
Finally, think ahead about decorative hardware selection. Knobs and pulls should complement your cabinet’s style and be easy to install after doors are mounted. Taking these steps methodically ensures your cabinet boxes are both functional and stylish.
Securing Joints And Edges
Once you’ve aligned the panels, you’ll want to secure the joints and edges firmly to guarantee your cabinet box holds together under daily use. Start by applying wood glue to all mating surfaces for strong joint reinforcement. Use clamps to hold the panels tightly while the glue dries, preventing gaps or misalignment.
After that, reinforce corners with screws or dowels for lasting strength. Don’t forget edge sealing to protect the wood from moisture and wear. Finally, sand down any rough spots to ensure a smooth finish.
- Apply wood glue for durable joint reinforcement
- Clamp panels securely during drying
- Insert screws or dowels at corners
- Seal edges to prevent moisture damage
- Sand edges for a clean, smooth surface
This approach assures your cabinet box stays sturdy and looks professional.
Attach Doors, Drawers, and Hardware With Precision
Before you attach the doors, drawers, and hardware, make sure all components are properly aligned and sanded smooth. Start with hinge alignment to guarantee doors swing evenly without gaps. Use a jig or template to keep hinges consistent.
For drawer installation, check for smooth sliding by testing the fit before permanently screwing in the slides or runners. Proper alignment prevents sticking or uneven gaps.
Next, attach your hardware like handles and knobs, ensuring they’re centered and level. Use the following checklist to stay organized:
| Task | Tip |
|---|---|
| Hinge Alignment | Use a template for accuracy |
| Drawer Installation | Test slides before securing |
| Hardware Placement | Measure twice, drill once |
Finish Your Cabinets With Paint or Stain
Though the structural work is complete, you’ll want to protect and improve your cabinets by applying paint or stain. Choosing the right finish boosts both durability and appearance, so consider your color options carefully. Paint offers a smooth, versatile look, while stain highlights wood grain for a natural feel.
To get the best results, follow these finishing techniques:
- Sand surfaces thoroughly for smooth application
- Apply a primer if painting to guarantee even coverage
- Use thin, even coats to avoid drips and runs
- Let each coat dry completely before adding another
- Seal with a clear protective topcoat for lasting durability
Mount Your Cabinets Safely and Securely
Because cabinet installation affects both function and safety, you’ll want to mount your cabinets securely and accurately. Start by locating the wall studs using a stud finder, as these provide the strongest support for your cabinets. Mark the stud positions clearly before you begin.
When you’re ready, use proper cabinet anchoring techniques. Secure your cabinets with long screws driven directly into the studs to guarantee a firm hold. Avoid drywall anchors alone, as they won’t support the cabinet’s weight.
Take safety precautions seriously during this step. Wear safety goggles and gloves to protect yourself from debris and sharp edges. Use a level to keep cabinets straight, preventing future issues with doors and drawers.
If you’re mounting upper cabinets, it’s wise to have a helper hold the cabinet in place while you fasten it. Following these steps will help you mount your kitchen cabinets safely and securely, ensuring they last and function perfectly.
Frequently Asked Questions
What Type of Wood Is Best for Kitchen Cabinets?
You’ll find hardwoods like maple, oak, and cherry are best for kitchen cabinets because their wood grain is durable and visually appealing. Maple offers a smooth, consistent grain pattern, while oak has a more pronounced, rustic look.
Cherry wood’s grain pattern darkens beautifully over time, adding warmth. Choosing wood with a grain pattern you love guarantees your cabinets not only last but also improve your kitchen’s style effortlessly.
How Do I Maintain and Clean My Kitchen Cabinets?
You know what they say: “A stitch in time saves nine.” To maintain and clean your kitchen cabinets, wipe them regularly with a soft cloth and mild soap to avoid grime buildup.
Don’t forget to clean cabinet hardware separately to keep it shiny and functional. Use gentle cleaning techniques like avoiding harsh chemicals and abrasive tools, which can damage finishes.
Regular care keeps your cabinets looking great and lasting longer.
Can I Add Soft-Close Hinges to Existing Cabinets?
Yes, you can add soft-close hinges to your existing cabinets easily. Cabinet hinge upgrades like soft close installation are straightforward and don’t require replacing the entire cabinet.
Just remove your current hinges, buy compatible soft-close hinges, and follow the instructions to attach them. This upgrade reduces noise and wear, making your kitchen more functional and quieter.
You’ll love the smooth, gentle closing action after the installation.
What Are Eco-Friendly Paint Options for Cabinets?
Imagine you’re brushing your cabinets on a sunny morning, the fresh scent filling the room. You’ll want to pick eco friendly finishes like water-based paints or natural oils made from sustainable materials.
These options not only protect your cabinets but also keep your kitchen toxin-free and fresh. Choosing low-VOC or zero-VOC paints helps the environment and your family’s health, making your renovation both stylish and responsible.
How Long Does It Typically Take to Build Cabinets?
It typically takes you about one to two weeks to build cabinets, depending on your cabinet design complexity and skill level. Simple designs with basic cabinet hardware go faster, while custom features take more time.
You’ll spend extra hours measuring, cutting, assembling, and finishing each piece. If you’re careful and patient, the process is rewarding, but don’t rush. It guarantees your cabinet hardware fits perfectly and your design looks professional.
Conclusion
Now that you’ve planned your design and measured with care, gathered materials and cut wood precisely, assembled boxes step by step, attached doors and hardware neatly, finished with paint or stain beautifully, and mounted cabinets safely and securely, you’re ready to enjoy your new kitchen space.
You’ve built with confidence, crafted with patience, and finished with pride. Keep these steps in mind, and you’ll always create kitchen cabinets that are functional, stylish, and truly your own.